
Related Manuals for KVM-TEC 6850


Summary of Contents for KVM-TEC 6850
- Page 1 Check out our Installation Channel: kvm-tec User manua Art.Nr. 6850 Gateway www.kvm-tec.com...
-
Page 2: Table Of Contents
2.1 Installing the extender 2.2 Quickinstallation Gateway 2.3 Operating for RDP 2.4 Operating for VNC 3. Configure the Extender 3.1 Features 3.2 Apps 3.3 Update 3.4 Settings 3.5 Exit www.kvm-tec.com 3.6 Close RDP connection 2 | kvm-tec kvm-tec | 3... -
Page 3: Introduction
7.1 Recommended switches system and Free RDP as connection client. 8. Contacts & phone / emails WARNINg The device may only be opened by an authorized technician. Danger of electric shock! 9. Notes 4 | kvm-tec 5 | kvm-tec kvm-tec | 5... -
Page 4: Safety Instructions
• Prior to connecting to the mains, make sure your local mains voltage matches the rating indicated on the product. • The product must be connected to a permanent and earthed AC wall socket. 6 | kvm-tec kvm-tec | 7... -
Page 5: Technical Spezifications
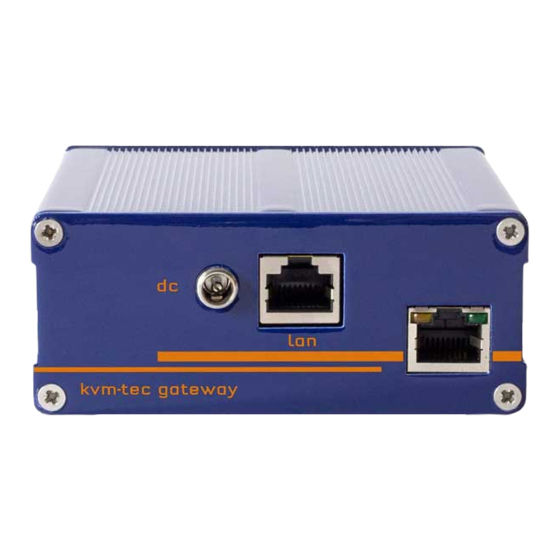
12V/2A power supply MTBF 82 820 calculated hours / 10 years connection to LAN reset button for reset kvm-link connection for CAT X cable to KVM network power/status LED display the extender status 8 | kvm-tec kvm-tec | 9... -
Page 6: About The Status Led
To attach the mounting pads or rubber feet: 1. Remove the protection layer from the mounting pads or rubber feet (G). Meaning of LED indicators 2. Attach the mounting pads or rubber feet (G) to the bottom the units. 10 | kvm-tec kvm-tec | 11... -
Page 7: Installation Of The Extender
5. then connect Remote audio/out to speakers or headphones using the audio cable. 6. connect the gateway to the Internet with a network cable via the Lan port. haVE FUN - your kvm-tec Gateway is now ready for all virtual machines ! 12 | kvm-tec... -
Page 8: Operating For Rdp
Once the server address has been entered, you can press Enter or press the „KVM-Let‘s connect...“ button. button to connect to the desired VNC server. Once all parameters are set, you can connect to the desired RDP server by pressing Enter or the „KVM-Lets‘ connect...“ button. 14 | kvm-tec kvm-tec | 15... -
Page 9: Configure The Extender
„lan/wan“ RJ45 beech is connected to the Internet. Before the update is carried out, the entry must be confirmed as follows: 3.2 Apps KVM-Client: If the KVM client is closed for any reason, you can restart the „KVM Client“ input software. 16 | kvm-tec kvm-tec | 17... -
Page 10: Settings
By pressing the key combination „Windows key“ + „F1“ (up to „F4“) or with „Tab“ + „Mouse wheel rotation“ you can switch to up to four different desktops. Attention! Simultaneous access is not possible. 18 | kvm-tec kvm-tec | 19... -
Page 11: Close Vnc Connection
The packaging is made of environmentally friendly materials, which may be disposed through your local recycling facilities. By disposing of the packaging and packaging waste in the proper manner, you help to avoid possible hazards for the environment and public health. 20 | kvm-tec 21 | kvm-tec kvm-tec | 21... -
Page 12: Warranty
2 years standard warranty color orange/White orange green/White Blue Blue/White Art Nr 9003 warranty extension to 5 years per Set green Art Nr 9002 warranty extension to 5 years Brown/White per Unit Brown 22 | kvm-tec kvm-tec | 22 kvm-tec | 23... -
Page 13: Requirements Network-Switch
Fax: 0043 (0) 2253 81 912 99 Email: support@kvm-tec.com Web: www.kvm-tec.com A list of kvm-tec tested and recommended switches can be found on our website at www.kvm-tec.com Find our newest updates and FAQs on our homepage: http://www.kvm-tec.com products - Switching System - Datasheet -recommended Switch kvm-tec Inc. -
Page 14: Notes
9. NOtes 26 | kvm-tec...
Need help?
Do you have a question about the 6850 and is the answer not in the manual?
Questions and answers