Table of Contents
Advertisement
Quick Links
The location of the incubator is important to successful operation. A thermostatically controlled room temperature between 75 F to 80 F (24 C
LOCATION
to 27 C) degrees with fresh air without drafts is ideal. Room temperatures from 55 F to 90 F (13 C to 32 C) are acceptable but good temperature
control in the incubator is obtained when the room temperature is held within a few degrees. The back of the incubator and the right side
where the vents are located should be placed no closer to a wall or barrier than 12 inches (30 cm) in order to have free air exchange within the room. Avoid areas of strong
sunlight or air ducts that could infl uence the temperature in the incubator.
It is suggested that a small number of inexpensive eggs be used during the fi rst setting to establish the operator's procedure and the incubators
TESTING
desired operation. (See warranty on last page.) Allow the incubator to run for at least half a day in order to warm the cabinet
and stabilize the operation.
When operating as expected the eggs may be placed in the turning racks. Plastic trays may be used to hold the eggs
EGG TRAYS
upright with the small end down. GQF offers plastic trays for different size eggs which will allow maximum capacity with
proper air fl ow around eggs. Goose, turkey and other large eggs maybe too tall to stand on end. If so they should be
placed with large/small end oriented to the parallel turning axis of the tray. Extremely large eggs may be secured with rows of "V" shaped hardware
cloth fastened to the turning rack or a removable tray (see accessories). Sliding metal trays are also an option.
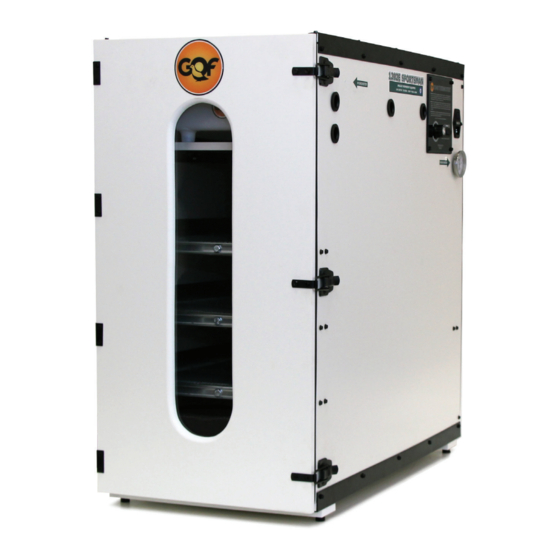
1200E SERIES INSTRUCTIONS
For All 1200E series Incubators & Hatchers including
READ THE FOLLOWING BEFORE STARTING
G.Q.F. MANUFACTURING COMPANY
110 and 220 Volt models
The items listed below should be included with your incubator.
Hatcher models will not include the sample egg trays.
No. 4502
No. 4502
WICK PADS
No. 4500
MOISTURE PAN
No. 3036
Hatching TRAY (1202E,
1220E, 1250E & 1254E)
No. 3078
FOOT PAD
ASSEMBLY
TOP LATCH
UNINSTALLED
FOR SHIPPING
No. 3048
No. 3048
CORD SET
CORD SET
No. 3018
THERMOMETER
No. 3020
Hygrometer
1250E & 1254E HATCHER ONLY
HATCHING TRAY &
HATCHING TRAY &
3068 COVER
Wicks
X 4
No. 3066
No. 3066
Advertisement
Table of Contents

Related Manuals for G.Q.F. 1200E Series

Summary of Contents for G.Q.F. 1200E Series
- Page 1 1200E SERIES INSTRUCTIONS For All 1200E series Incubators & Hatchers including 110 and 220 Volt models The items listed below should be included with your incubator. Hatcher models will not include the sample egg trays. TOP LATCH No. 4502 No. 4502...
- Page 2 SETUP 1. Remove plastic film from door window and thermostat. 2. Remove red label & silver shipping screws shown in Image 1 below. Discard screws & 7. Unplug the incubator and gently lay it on 10. The red LED on the rear panel will illuminate shipping block.
- Page 3 VENTILATION HATCH Start checking the eggs that are due to hatch VENTILATION a full day before expected hatch day. Look for ANALYSIS any signs of piping or hatched eggs and note this on the calendar for that day. After the hatch is complete check the un- There are two holes hatched eggs for any development such as blood rings, partial or fully formed chicks to establish the number or percentage of fertile eggs that did not hatch.
- Page 4 PARTS FRONT DIAGRAM PART BACK NUMBER Diagram Part GQF Part Item Diagram GQF Part Item Number Number Description Number Number Description No 4502 No 3179 Humidity wick pads (2) Off/On switch with fuse No 4500 No 3178 Humidity pan Fuse 250-V 5amp fast blow No 3170 No 3248 Heater assembly 110V...
Need help?
Do you have a question about the 1200E Series and is the answer not in the manual?
Questions and answers