Advertisement
Quick Links
Advertisement

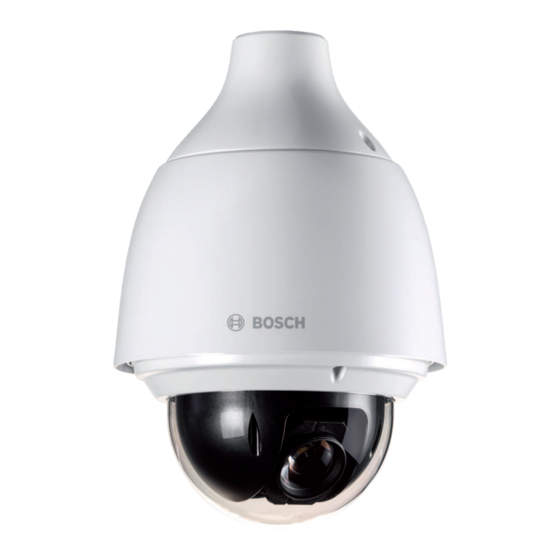
Summary of Contents for Bosch AUTODOME IP 5000i
- Page 1 Bosch AUTODOME IP 5000i camera configuration...
- Page 2 EasyCam - Bosch AUTODOME IP 5000i camera This document describes how to setup/configure a Bosch 5000i camera and the EasyCam software in order to use this camera for both IP camera control and IP- based video.
- Page 3 Setup the Bosch AUTODOME IP 5000i camera Step 1 - Please follow the 5000i installation manual first. The camera will first-time ask to configure a password for the camera. TIP: The initial username is most likely service when the camera asks to login.
- Page 4 Setup the Bosch AUTODOME IP 5000i camera Step 2 - Go to configuration → camera → encoder profile. - Select profile 1, and configure the camera for 10000 Mbps, highest quality and 255 Iframe distance.
- Page 5 Setup the Bosch AUTODOME IP 5000i camera Step 3 - Go to camera → encoder steams and set Non-recording profile to 1: HD Image Optimized.
- Page 6 Setup the Bosch AUTODOME IP 5000i camera Step 4 - Go to Camera → Installer Menu and select below settings: 50Hz for most of Europe and use the H.264 codec.
- Page 7 Setup the Bosch AUTODOME IP 5000i camera Step 5 - Go to General → display stamping and disable all OSD effects.
- Page 8 Setup the Bosch AUTODOME IP 5000i camera Step 6 - Go to camera → enhance and disable all enhancement effects. - Note: All slides to the left (-15).
- Page 9 Setup the Bosch AUTODOME IP 5000i camera Step 7 - Optionally go to camera → color and change some color settings like a bit more contrast, saturation or manually setup the white balance.
- Page 10 EasyConf - camera control settings These settings are required to setup the camera for camera control use.
- Page 11 EasyConf/EasyCam camera control settings Step 1 - Open EasyConf admin menu, then select Camera control settings.
- Page 12 EasyConf/EasyCam camera control settings Step 2 - For each camera, select Onvif as camera Brand. Enter the IP address, and the User and Password for the camera. If needed setup a new Username and Password in the User section of the camera for this purpose.
- Page 13 EasyCam - camera client video display settings These settings are required to display the live camera feed from the Bosch 5000i camera in the EasyCam software.
- Page 14 EasyConf/EasyCam camera control settings Step 1 - Open the Settings window of the EasyCam client software. Tip: Click on the camera client window and press F12. Or right-click on the EasyCam mini-icon next to your Windows time and select Settings.
- Page 15 EasyConf/EasyCam camera control settings Step 2 - Go to the Inputs tab and use below settings. - Again, you require the Username and Password of the camera in order use the camera feed. - Also note to use the RTSPalternativeH264 as RTSP client decoder for this camera.
- Page 16 EasyConf/EasyCam camera control settings Testing You should be able to select the camera in our Camera Control UI. If the button is greyed out, you may have forgotten to select the Enable checkbox in the Settings. After selection, you should be able to see the video of the camera. If you don’t see the video, please check using an external tool like FFplay (from FFmeg) to play the RTSP feed or use VLC.
- Page 17 EasyConf/EasyCam camera control settings Tips - There is no limitation in the amount of prepositions. - The camera has a color menu which can be used to give a more natural feel to the live video. - Increase the contrast slightly for a better dark experience on dark surfaces, it reduces the noise somewhat as well on dark surfaces, since we disabled all noise reductions.


Need help?
Do you have a question about the AUTODOME IP 5000i and is the answer not in the manual?
Questions and answers