Table of Contents
Advertisement
Quick Links
Advertisement
Table of Contents

Related Manuals for Force 10 S2410


Summary of Contents for Force 10 S2410
- Page 1 S2410 Quick Reference Version 2.4.1.0 June 2007 101-00256-02...
- Page 2 Properly shielded and grounded cables and connectors must be used in order to meet FCC emission limits. Force10 Networks is not responsible for any radio or television interference caused by using other than recommended cables and connectors or by unauthorized changes or modifications in the equipment.
-
Page 3: Table Of Contents
Contents of the S2410 Documentation CD-ROM ........ -
Page 4: Overview
(Installing the Hardware on page 6) in this guide contains a subset of the information in Installing the S2410 System, a book stored as a PDF both on the S2410 CD-ROM and at the iSupport website. The software configuration section (see “Basic Software Configuration on page... -
Page 5: Contents Of The S2410 Documentation Cd-Rom
SSH keys and SSL certificates. Training Material: This link is to a folder on the S2410 CD-ROM containing sets of slides, in PDF format, that are used in the S-Series training. -
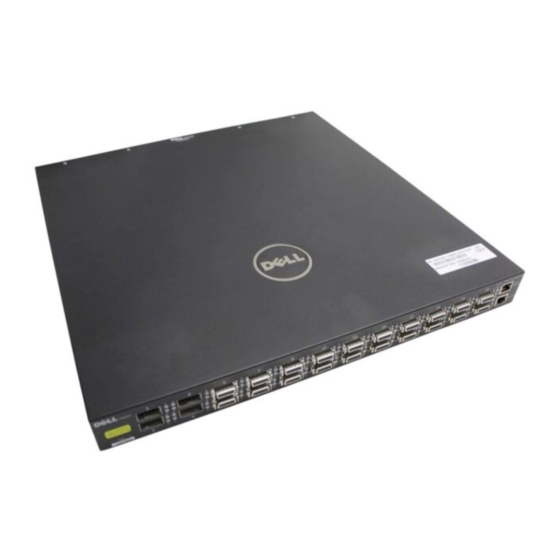
Page 6: Installing The Hardware
Attaching the S2410 to a Rack The S2410 ships with a bag containing rubber feet for adhering to the chassis base, which you would do if you want to put the switch in a cabinet or on a table top. The bag also contains two universal front-mount brackets (rack ears) with the philips screws for attaching them to the switch and to a standard 19-inch rack. -
Page 7: Supplying Power
28). Ideally, the power sources are on separate circuits. Connect the plug to the AC receptacles at the rear of the S2410, making sure the cords are secure at both ends. Connecting either power cord starts the system (no on/off switch). -
Page 8: Connecting Cx4 Ports
Using any cable that is not approved by Force10 might cause interface errors and/or have issues with mechanical fit. CX4 cables are not included with the switch, but Force10 has certified cables to use with the S2410CP. For a list of approved cables, see the S2410 data sheet: http://www.force10networks.com/products/s2410.asp... -
Page 9: Using The Console Port
8, pin 2 to pin 7, pin 3 to pin 6, pin 4 to pin 5, and the inverse for pins 5 through 8. Then, optionally, connect the RJ-45/DB-9 adapter that is shipped with the S2410 system to the cable. -
Page 10: Basic Software Configuration
Enabling Spanning Tree Protocol on page 13 Creating a User and Password The S2410 comes installed with one read/write user named “admin”, with no password. You can add that password, and also create up to five more read/write users with the username command in Global Config mode. -
Page 11: Enabling Ports
Password Changed! (Force10) (Config)# Enabling Ports When the S2410 is first installed, all ports are disabled by default. You can use the no shutdown command for a specific interface (Interface Config mode), or, to enable all ports, enter no shutdown all in Global Config mode, as shown here: (Force10) >enable... -
Page 12: Setting The Ip Address Of The Virtual Management Port
Stacking component of the Layer 2 package is not included, as the S2410 is not stackable. If you need to upgrade the software image that is installed on the S2410, and you want to download the image from a TFTP server, use:... -
Page 13: Creating A Simple Configuration Using Vlans And Stp
Note: The SFTOS software for the S2410 has a file name that follows this format: "SFTOS-<platform>-<version>-<switching|routing>.bin". For example, the file name for SFTOS 2.4.1.1 is SFTOS-S2410-2.4.1.1-switching.bin. You can use variations of the copy command to download or upload files to and from the switch. For... -
Page 14: Notable Differences Between S-Series And E-Series
(Force10) #configure (Force10) (Config)#spanning-tree (Force10) (Config)#spanning-tree port mode all (Force10) (Config)#exit (Force10) #show spanning-tree summary Spanning Tree Adminmode... Enabled Spanning Tree Version..... IEEE 802.1s Configuration Name....00-01-E8-D5-A0-F7 Configuration Revision Level..0 Configuration Digest Key..0xac36177f50283cd4b83821d8ab26de62 Configuration Format Selector..0 No MST instances to display. (Force10) #show spanning-tree interface 1/0/1 Hello Time........ -
Page 15: The Isupport Website
Access to some sections of the iSupport website do not require a password. If some section does require a password, you can request one at the website: 1. On the Force10 Networks home page, http://www.force10networks.com, click the Support link. 2. Click the Account Request link. - Page 16 The iSupport Website...
Need help?
Do you have a question about the S2410 and is the answer not in the manual?
Questions and answers