Table of Contents
Advertisement
Quick Links
Advertisement
Table of Contents

Summary of Contents for VOLTCRAFT WBS-220
- Page 1 App Instruction Manual Voltcraft WBS-220 Item no. 2104425...
-
Page 2: Table Of Contents
Contents Introduction General Information Important Information Legal Notice Requirements Network Connection Installation Operation Explanation of the functions Home Files Settings Information Pencil icon Network icon Bin symbol Information symbol Point Line Area Retrieve thermal images on your smartphone Exiting the thermal imaging app... -
Page 3: Introduction
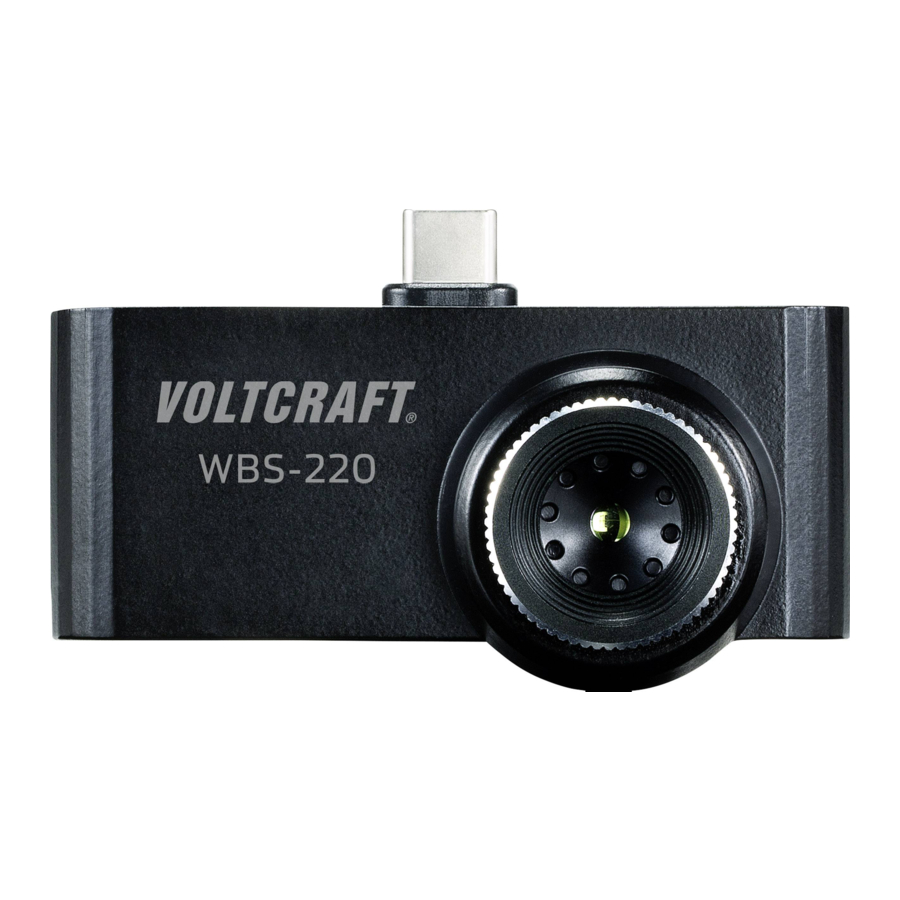
WBS-220. To connect the camera, a USB-C port must be available. Likewise, the smartphone must support the USB OTG (On-The-Go) standard. -
Page 4: General Information
General Information Important Information Pay special attention to information in a blue-coloured frame. The blue frame provides tips on product use and features. -
Page 5: Legal Notice
Legal Notice This is a publication by Conrad Electronic SE, Klaus-Conrad-Str. 1, D-92240 Hirschau (www.conrad.com). All rights including translation reserved. Reproduction by any method, e.g. photocopy, microfilming, or the capture in electronic data processing systems require the prior written approval by the editor. Reprinting, also in part, is prohibited. -
Page 6: Requirements
Requirements Network Connection ■ Smartphone with USB-C port and USB OTG standard ■ Operating system: Android 5.0 or later... -
Page 7: Installation
Installation Installing the app Before reinstalling apps, make sure that your smartphone software is always up-to-date. Open the Play Store app on your smartphone. If necessary, log in with your personal credentials to the Play Store. Enter the name of the required app in the top search bar. -
Page 8: Operation
Operation The operation of the app is self-explanatory and menu-driven. The following sketch shows an overview of the control panels. 9 10... - Page 9 1. System menu 2. Temperature display for markers S = Spot (centre point) H = Hot (warmest point) C = Cold (coldest point) 3. Red marker for warmest point 4. White marker for centre point 5. Infrared image 6. Recording mode Photo = Single shot Video = Video recording 7.
-
Page 10: Explanation Of The Functions
Explanation of the functions The program interface is divided into different submenu areas. System menu (1) -
Page 11: Home
Home Returns to the main display Files File list for photos and videos... -
Page 12: Settings
Settings Basic setting of the temperature unit, display settings, storage path and report information. -
Page 13: Information
Information Version display... - Page 14 Image menu (7)
-
Page 15: Pencil Icon
Pencil icon The images can be edited. It is possible to subsequently change the colour palette or insert additional measuring markers. There is also a memory function for the edited images. - Page 16 Radiometric data The thermal imaging camera saves the corresponding radiometric temperature value for each pixel. This allows the later accurate analysis of the image data.
-
Page 17: Network Icon
Network icon Here, the recorded data can be shared via common social media channels or sent by e-mail. Likewise, a pdf export in the internal memory is possible. -
Page 18: Bin Symbol
Bin symbol The current image can be deleted if necessary. YES = delete, NO = don't delete. -
Page 19: Information Symbol
Information symbol File information can be displayed (name, file size, image date). - Page 20 Measurement menu (9)
-
Page 21: Point
Point A single measurement point can be freely set in the image. Line A line can be drawn in the image. Along this line, the coldest and warmest temperature points are displayed. Area An area can be marked in the image. Within this area, the coldest and warmest temperature points are displayed. - Page 22 Menu for colour palettes (10) Here you can set 9 different colour palettes for displaying the thermal images.
- Page 23 Marker menu (13) Auto Center Spot = Marker for centre of image Auto Hot Spot = Automatic marker shows the warmest measuring point Auto Cold Spot = Automatic marker shows the coldest measuring point...
-
Page 24: Retrieve Thermal Images On Your Smartphone
Retrieve thermal images on your smartphone Thermal images and videos can be accessed within the app. You can also access the video and image data from the standard "Gallery" app. The memory directory can be set in the "Smart Thermview" app.


Need help?
Do you have a question about the WBS-220 and is the answer not in the manual?
Questions and answers