Table of Contents
Advertisement
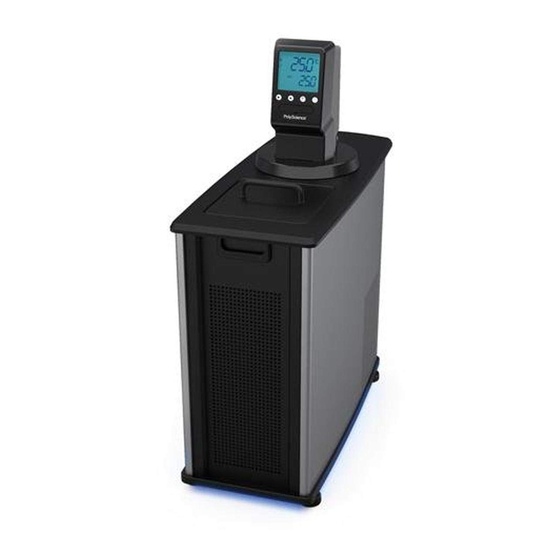
Circulating Baths with
MX Temperature Controller
Operator's Manual
Models:
MX07R-20
MX7LR-20
MX15R-30
MX20R-30
MX07H135
MX15H135
MX20H135
MX06S135
MX10S135
MX20S135
MX28S135
MX08P100
MX11P100
MX14P100
MX17P100
MX23P100
MX28P100
MX17VB6G
MX27VB6G
MX28C135
110-509 PSC/EN 07 May 2018
GlobalTestSupply
www.
.com
Find Quality Products Online at:
sales@GlobalTestSupply.com
Advertisement
Table of Contents
Troubleshooting


Need help?
Do you have a question about the MX07R-20 and is the answer not in the manual?
Questions and answers