
Related Manuals for Sencor SBR 2000SS


Summary of Contents for Sencor SBR 2000SS
- Page 1 SBR 2000SS EN Breadmaker Translation of the original manual Copyright © 2020, Fast ČR, a.s. - 1 - 07/2020...
- Page 2 Breadmaker Important safety instructions READ CAREFULLY AND STORE FOR FUTURE USE. This appliance may be used by children 8 years of age and ■ older and by persons with physical or mental impairments or by inexperienced persons, if they are properly supervised or have been informed about how to use the product in a safe manner and understand the potential dangers.
- Page 3 ■ Make sure that the power cord does not hang over the edge of a table and that it is not touching a hot surface. ■ Do not use the appliance in the vicinity of flammable materials such as curtains, drapes, wiping cloths, etc. A safety clearance of at least 50 cm must be maintained in the main radiant heat direction from the surface of flammable materials, with a clearance of at least 10 cm in all other directions.
-
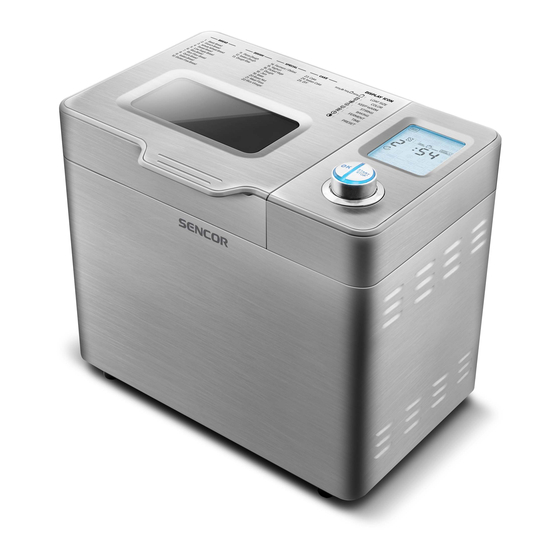
Page 4: Description Of The Breadmaker
DESCRIPTION OF THE BREADMAKER START STOP Copyright © 2020, Fast ČR, a.s. - 4 - 07/2020... - Page 5 Copyright © 2020, Fast ČR, a.s. - 5 - 07/2020...
-
Page 6: Description Of The Appliance And Accessories
Breadmaker User's manual Prior to using this appliance, please read the user's manual thoroughly, even in cases, when one has already familiarised themselves with previous use of similar types of appliances. Only use the appliance in the manner described in this user’s manual. Keep this user's manual in a safe place where it can be easily retrieved for future use. -
Page 7: Overview Of The Programs
After confirming the loaf size selection, the "RAISIN DISPENSER" (Add ingredients) icon will start flashing on the display B1. Use knob A8 to confirm (icon will appear) or cancel (icon will appear). After confirming, press the OK B9 button. This function is available for these programs: BASIC, FRENCH, WHOLE WHEAT, SWEET, LOW SUGAR BREAD, RICE BREAD, RICE FLOUR BREAD, QUICK, ITALIAN BREAD, GLUTEN FREE BREAD and DIY. -
Page 8: Program Table
9 – ITALIAN BREAD (Italian bread) This program consists of the kneading, rising and baking phases. This bread has a finer taste and the bread centre is denser compared to standard bread. 10 – GLUTEN FREE BREAD (gluten-free bread) This program consists of the kneading, rising and baking phases. Dough rises only in a single phase and the baking time is longer due to its higher moisture component. -
Page 9: Before First Use
500 g 03:04 5 – LOW SUGAR Light / medium 750 g 03:08 BREAD dark / dark 900 g 03:19 500 g 03:18 Light / medium 6 – RICE BREAD 750 g 03:23 dark / dark 900 g 03:33 500 g 03:21 7 –... -
Page 10: Cleaning And Maintenance
Note: To make the removal of the kneading blade from the baked bread easier, we recommend coating the kneading blade A3 and shaft with food-grade fat that can be heated. Measure out the ingredients according to the recipe and place them into the baking container A4 in the following order: First, add all the liquid ingredients, such as water, milk, beer, buttermilk, yoghurt, eggs, etc. - Page 11 WARNING: To prevent the risk of injury by electrical shock, do not submerge the appliance, power cord or power plug in water or any another liquid. Baking container and hook In the event that it is very difficult to remove the kneading blade A3 from the shaft, fill the baking container A4 with hot water and allow it to act for approximately 30 minutes.
- Page 12 Tip: Following the procedure described below, you may find out whether the yeast is fresh and active, or not. 1. Pour 1/2 a cup of warm water (45– 50 °C) into a measuring cup. 2. Add 1 teaspoon of white sugar and mix it in, then sprinkle everything with 2 teaspoons of yeast. 3.
- Page 13 TROUBLESHOOTING GUIDE TO BAKING Problem Cause Solution Smoke coming out the vents while Certain ingredients are stuck on the bottom Disconnect the breadmaker from the power grid, baking. heating element or have come close to it. Upon allow it to cool down, and clean the heating first use, it may be caused by oil residues on the element.
- Page 14 The dough is too bulky and is flowing Excessive amount liquids causing the dough It is important to correctly measure out the out of the baking container A4. structure to be too fine, or too much yeast. ingredients. Adjust the amount of the individual ingredients and check that all the ingredients were correctly added and in the correct order.
- Page 15 The centre is too porous. You used too much water. Reduce the amount of liquids by 1–2 tablespoons. You did not use salt. Adjust the amount of the individual ingredients and check that all the ingredients were correctly added and in the correct order. You are using the breadmaker in an excessively Do not use the delayed start function at high humid environment, liquids are hot.
-
Page 16: Technical Specifications
TECHNICAL SPECIFICATIONS Rated voltage range ..........................................220 – 240 V~ Rated frequency ..............................................50 Hz Rated power input of motor..........................................50 W Rated power input of the heating element ....................................500 W Noise level ................................................65 dB(A) The declared noise emission level of the appliance is 65 dB(A), which represents a level A of acoustic power with respect to a reference acoustic power of 1 ...
Need help?
Do you have a question about the SBR 2000SS and is the answer not in the manual?
Questions and answers