
Subscribe to Our Youtube Channel
Related Manuals for XO Appliance XOA30


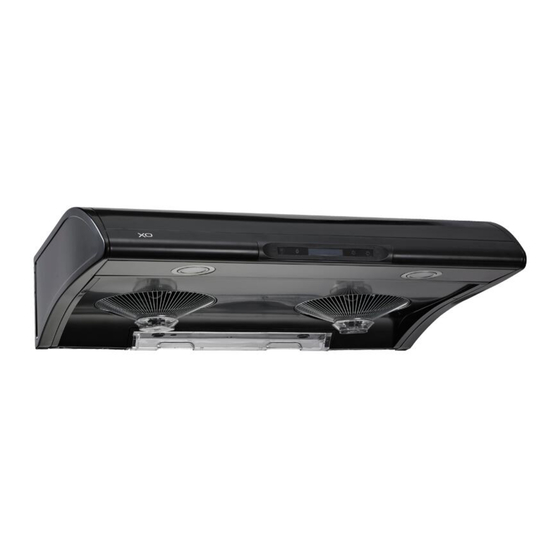
Summary of Contents for XO Appliance XOA30
- Page 1 XOA30 XOA36 READ AND SAVE THE INSTRUCTIONS FOR RESIDENTIAL COOKING ONLY Register your product online at: www.xoventilation.com NEED HELP? Call our ventilation experts at 800-966-8300...
-
Page 2: Warning And Caution
Dear Customer, If you follow the recommendations contained in this Instruction Manual, our appliance will give you constant high performance and will remain efficient for many years to come. CONTENTS WARNING & CAUTION CHARACTERISTICS INSTALLATION & USE MAINTENANCE & CLEAN P r o d u ct S p eci f i ca t i o n &... - Page 3 WARNING TO RUDUCE THE RICK OF FIRE, ELECTRIC SHOCK OR INJURE TO PERSONS, PLEASE OBSERVE THE FOLLOWINGS: length) 1. Installation work and electric wiring (including switch location) must be done by the qualified person(s) in accordance with local applicable codes and standards, including fire- rated construction.
-
Page 4: Installation And Use
best capture of cooking impurities. WARNING - TO REDUCE THE RISK OF A RANGE TOP GREASE FIRE: 6. This hood is not intended to be used as a shelf. 1. Never leave surface units unattended at high settings. Boilovers cause smoking 7. -
Page 5: Hood Preparation
2.Install the large shutoff plate on the back of the hood. Using 5 screws. 3.Install the rubber gasket(Included)on the top of the hood. As shown below. HOUSE WIRING 26"-32" ** Duct and roof cap/wall cap are not supplied. Warning: to avoid the risk of fire, use only the metal ductwork. HOOD PREPARATION 1.Remove the bottom panel of the hood by removing its (7) mounting screws and set 6’’... -
Page 6: Hood Installation
2.Mount the shutoff plate on the top of the hood, using 10 screws(Included) 3 1/4’ ’×10’ ’ DUCT INSTALLATION 4.Mount 3 1/4″×10″duct on the top of the hood, using 5 screws(Included). 3.Seal with duct tape. 5.Seal with duct tape. 4.Install the adapter in the back of the hood, using 6 screws. HOOD PREPARATION-HORIZONTAL DISCHAREG INSTALLATION 3 1/4’... -
Page 7: Operation
CAUTION: 1.THE SURFACE, THE COVER OF THE HALOGEN BULBS MAY BE HOT. TAKE CARE WHEN TAKING THE REPLACEMENT. 2.BULBS MAY BE HOT. TAKE CARE WHEN TAKING THE REPLACEMENT. OPERATION 2.Reinstall the wiring box cover. 3.Plug back the small connector inside the hood. 4.Reinstall the bottom plate, make sure both grease guides are aligned with the The hood is operated using electronic switch on the front panel. -
Page 8: Hood Cleaning
MAINTENTANCE & CLEAN HOOD CLEANING Stainless steel is one of the easiest materials to keep clean. Occasional care will help 1.Disengage the grease pan from the hood body. preserve its fine appearance. 2.Disengage the small grease guard cups from the grease guard by turning Cleaning tips: counterclockwise and remove.
Need help?
Do you have a question about the XOA30 and is the answer not in the manual?
Questions and answers