Table of Contents
Advertisement
Quick Links
Advertisement
Table of Contents

Related Manuals for Brinsea Maxi II eco


Summary of Contents for Brinsea Maxi II eco
- Page 2 For more information on incubation and hatching please download our FREE Incubation Handbook: www.brinsea.com/brochures/BrinseaIncubationHandbook2016.pdf To register your new Brinsea product please visit www.brinsea.com and follow the link on the right hand side of the home page to qualify for your free 3 year guarantee.
-
Page 3: Table Of Contents
AC25 US Issue 01 CONTENTS Setting Up Your Incubator Unpacking & Part Quantities Assembly Location & Installation Product Introduction – Functional Features Temperature Humidity Eggs Hatching & Cleaning up Specifications... -
Page 4: Setting Up Your Incubator
Ensure you have the correct quantities of each part. If there are any parts damaged or missing please contact your retailer or Brinsea Products (at the address at the end of the document). Damaged appliances must not be used. -
Page 5: Assembly
AC25 US Issue 01 1 SETTING UP YOUR INCUBATOR ASSEMBLY : Fit the water pot guard to prevent chicks from drowning. : Place the top onto the base. Check the top fits flush all the way around the base edge. -
Page 6: Location & Installation
AC25 US Issue 01 1 SETTING UP YOUR INCUBATOR LOCATION AND INSTALLATION Your incubator will give best results in a heated room free from wide temperature variations and with generous ventilation – particularly if several incubators are running at the same time. Ensure that the room temperature cannot drop on a cold night. -
Page 7: Product Introduction - Functional Features
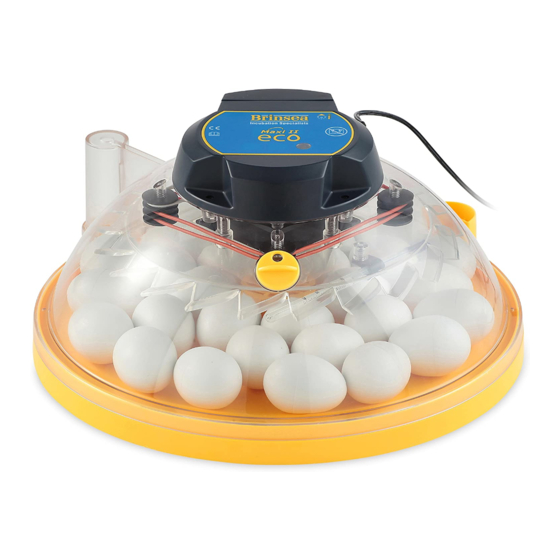
AC25 US Issue 01 2 PRODUCT INTRODUCTION FUNCTIONAL FEATURES : Heater indicator LED : Temperature Adjuster (Inside Rear Cover) See section 5. : Adjustable Air Vent : Spirit Thermometer : External Fill Point Example settings for poultry: Temperature: 99.5°F (37.5 °C) Humidity: Fill one side of the central water pot, set vent to minimum... -
Page 8: Temperature
AC25 US Issue 01 5 TEMPERATURE Heater indicator LED Adjuster screw hole SETTING THE TEMPERATURE Stable and correct temperature is essential for good results. Adjust with care. Your incubator has been factory set to the correct temperature for most species (99.3 – 99.7°F) but it is advisable to check the temperature and follow this procedure:- : As the incubator warms up and approaches its... -
Page 9: Humidity
Resist the temptation to lift the lid frequently – leave for at least 6 hours between inspections. For more specific information on particular species’ requirements check the relevant literature. For more detailed information on all aspects of egg incubation including helpful advice on getting best results please visit our website at www.brinsea.com/brochures/BrinseaIncubationHandbook.pdf... - Page 10 Humidity will not go high enough Close the vent to its minimum setting to help. Fit evaporating card strips available from Brinsea or your stockist. CLOSE OPEN Condensation It is normal for some condensation to occur on the cooler exposed parts of the clear top.
-
Page 11: Eggs
Before setting eggs ensure that the incubator has been running for several hours and has stabilised at the correct temperature. The Maxi II Eco is designed to accommodate eggs of different sizes up to duck eggs. Some experimentation may be necessary to maximise capacity. -
Page 12: Hatching & Cleaning Up
(product code 14.902). Following each hatch in the Maxi II Eco wash the base in Brinsea Incubation Disinfectant Solution and then rinse thoroughly. Use a vacuum cleaner and soft brush to remove dust from the fan guard. Wipe all other internal surfaces with a cloth made damp with the solution and then wipe off with a cloth made damp with clean water. -
Page 13: Specifications
Incubator maximum 40 Watts (typical average) 24 Watts Electrical Supply: 100 - 240v, 50/60Hz, 1.3A max. Brinsea Products Inc., 704 N Dixie Ave., Titusville, FL 32796-2017 USA. Phone (321) 267-7009 Toll Free 1-888-667-7009 Fax (321) 267-6090 e-mail sales@brinsea.com website www.brinsea.com...
Need help?
Do you have a question about the Maxi II eco and is the answer not in the manual?
Questions and answers