Table of Contents
Advertisement
Quick Links
Advertisement
Table of Contents

Related Manuals for Russell Hobbs RHBL2


Summary of Contents for Russell Hobbs RHBL2
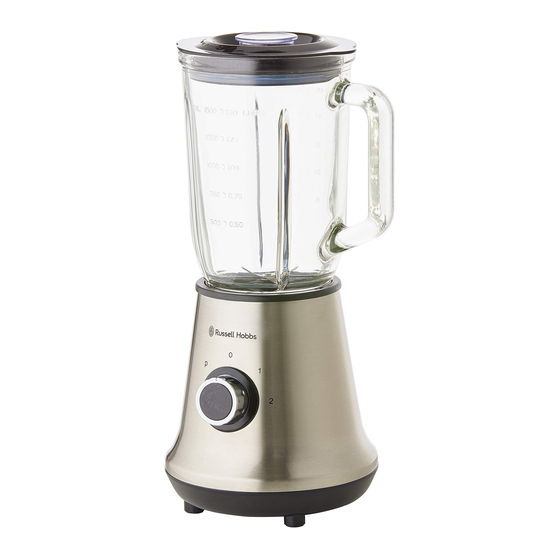
- Page 1 CLASSIC BLENDER CLASSIC BLENDER 2 YEAR WARRANTY RHBL2 INSTRUCTIONS & WARRANTY...
-
Page 2: Important Safeguards
IMPORTANT SAFEGUARDS When using this appliance, basic safety precautions should always be followed, including the following: Read all instructions before, and follow whilst using this appliance. 1. Read all instructions before, and follow whilst using this appliance. 2. To protect against electric shock DO NOT immerse cord, plug or motor unit in water or any other liquid. 3. - Page 3 25. Do not use alkaline cleaning agents or harsh abrasives when cleaning this appliance. 26. For added safety, electrical appliances should be connected to a power outlet that is protected by a residual current device (RCD), also often referred to as a ‘Safety Switch’. Your switchboard may already incorporate an RCD.
- Page 4 Congratulations on the purchase of your new Russell Hobbs Classic Blender. Each unit is manufactured to ensure safety and reliability. Before using the Blender for the first time, please read this instruction booklet carefully and keep it for future reference. Pass it on if you pass on the appliance.
-
Page 5: Before First Use
BEFORE FIRST USE • All parts of the blender need to be thoroughly cleaned before being used for the first time. See "cleaning" section for disassembly instructions. ASSEMBLY OF THE GLASS JUG • Invert the glass jug onto a level surface. CAUTION: Be careful when handling the blade assembly. -
Page 6: Operating The Blender
INSERTING THE GLASS JUG • Check that the speed selector dial is set to ‘0’ off. • Place the jug assembly onto the motor unit, ensuring it is seated correctly. OPERATING THE BLENDER CAUTION: Do not place hot ingredients in the jug. Blending hot ingredients can create pressure and/or may be ejected during blending which may result in a possible scalding hazard. - Page 7 CLEANING Rinsing out the assembled glass jug: • Empty the glass jug and fill it with water. • Place the glass jug on the motor unit and turn the dial to pulse several times. • Empty the glass jug and rinse until clean. DISASSEMBLY OF THE GLASS JUG FOR THOROUGH CLEANING •...
-
Page 8: Speed Setting
BLENDING SPEED SELECTION GUIDE ACTION SUGGESTED FOOD TYPE SPEED SETTING Aerating Milkshakes Thickshakes Blending Fruit smoothies Cocktails Soups Curry pastes Chopping Chocolate Dried herbs Nuts Coffee beans Seeds Combining Marinades Mayonnaise Dressing and Sauces Creaming Butter and Sugar Crumbing Breadcrumbs Biscuits Crushing Ice cubes... - Page 9 Spectrum Brands Australia Pty Ltd Spectrum Brands New Zealand Ltd Locked Bag 3004 Braeside PO Box 9817 Newmarket Victoria 3195 Australia Auckland 1149 New Zealand Customer Service in Australia Customer Service in New Zealand TollFree: 1800 623 118 TollFree: 0800 736 776 Email: info@spectrumbrands.com.au Email: service@spectrumbrands.co.nz Website: www.spectrumbrands.com.au...
- Page 10 Warranty Conditions 4. The Goods must be used in accordance with the manufacturer’s instructions. This Warranty does not apply should the defect in or failure of the Goods be attributable to misuse, abuse, accident or non-observance of manufacturer’s instructions on the part of the user.
- Page 11 NOTES:...
- Page 12 NOTES:...
- Page 13 NOTES:...
Need help?
Do you have a question about the RHBL2 and is the answer not in the manual?
Questions and answers