
Related Manuals for NewAir FlipShelf NWB180SS00


Summary of Contents for NewAir FlipShelf NWB180SS00
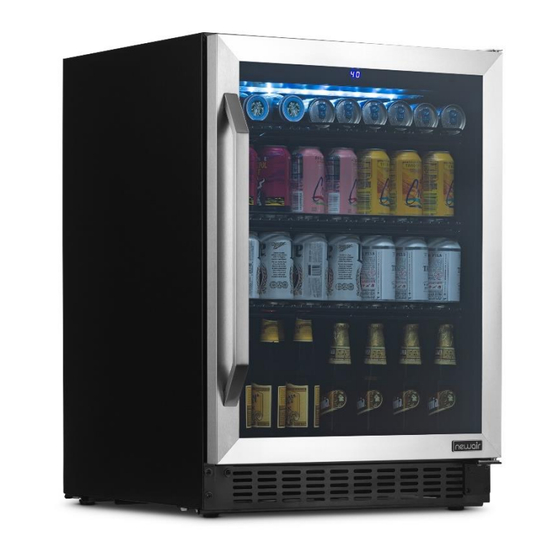
- Page 1 NWB180SS00 24'' FlipShelf™ Wine and Beverage Fridge OWNER'S MANUAL Read and save these instructions. Manual v1.0...
- Page 2 Count on NewAir. As a proud NewAir owner, welcome to our family. There are no robots here, real people shipped your product and real people are here to help you. Contact Us:...
-
Page 3: Table Of Contents
EAD AND SAVE THESE INSTRUCTIONS TABLE OF CONTENTS Register your product online ..................4 Safety information & warnings ................5 Parts list .........................6 Electrical circuit diagram ..................7 Installation .........................8 Operating instructions ..................10 Cleaning & maintenance ..................11 Troubleshooting ..................... 11 Limited manufacturer’s warranty ..............13 SPECIFICATIONS MODEL NO. -
Page 4: Register Your Product Online
REGISTER YOUR PRODUCT ONLINE Register Your NewAir Product Online Today! Take advantage of all the benefits product registration has to offer: Service and Support Diagnose troubleshooting and service issues faster and more accurately Recall Notifications Stay up to date for safety, system updates and recall notifications... -
Page 5: Safety Information & Warnings
SAFETY INFORMATION & WARNINGS When using any electrical appliance, basic safety precautions must be followed in order to reduce the risk of fire, electrical shock and/or injury to persons or property. Be sure to read all instructions before using this appliance and observe the following safety tips: Shock Hazard –... -
Page 6: Parts List
PARTS LIST Drip Tray Door Compressor Handle Power Cord Lower Hinge Plug of Door Hinge Fixed Plate for Door Hinge Pivot Upper Door Hinge Tapped Plate for Lower Hinge Cover of Door Pivot Kick Plate Sensor Support Plate for Foot Cooling Fan Foot Top Light Board... -
Page 7: Electrical Circuit Diagram
ELECTRICAL CIRCUIT DIAGRAM DISPLAY / CONTROL PCB BL GN BK RED YE WH GY BK RED YE WH GY BL GN YE/GN POWER PCB RED BL RED BL STARTER PLUG YE/GN... -
Page 8: Installation
INSTALLATION Before connecting the appliance to a power source, let it stand upright for approximately 2 hours. This will reduce the possibility of a malfunction in the cooling system from handling during transportation. Before operating your cooler for the first time, follow these steps: •... -
Page 9: Operating Instructions
OPERATING INSTRUCTIONS HOW TO USE THE BUTTONS ON THE DISPLAY PANEL Lower the desired Raise the desired temperature. * temperature. * * To set the temperature, press the UP or DOWN button on the control panel. The interior temperature can be adjusted in increments of one degree between 37°F and 65°F (3°... -
Page 10: Cleaning & Maintenance
CLEANING & MAINTENANCE CLEANING YOUR BEVERAGE FRIDGE To clean your beverage fridge: • Unplug the beverage fridge and remove anything inside. • Wash the inside of the unit with a solution made of warm water and baking soda solution (2 tablespoons of baking soda to one quart of water). -
Page 11: Troubleshooting
TROUBLESHOOTING Problem Possible Causes Solution Beverage fridge does not The unit may be plugged Check if using the wrong operate. in usinga different voltage. voltage. The circuit breaker may Reset the circuit breaker be tripped or there is a or check for a broken fuse. blown fuse. - Page 12 Problem Possible Causes Solution The door is not properly Check the door hinges to installed. make sure they are properly installed. The seal is weak. Replace the seal on the door. Replacements can be acquired from the manufacturer. The shelves are out of Make sure the shelves position.
-
Page 13: Limited Manufacturer's Warranty
When making a warranty claim, please have the original bill of purchase with the purchase date available. Once confirmed that your appliance is eligible for warranty service, all repairs will be performed by a NewAir™ authorized repair facility. The purchaser will be responsible for any removal or transportation costs.
Need help?
Do you have a question about the FlipShelf NWB180SS00 and is the answer not in the manual?
Questions and answers