Advertisement
Quick Links
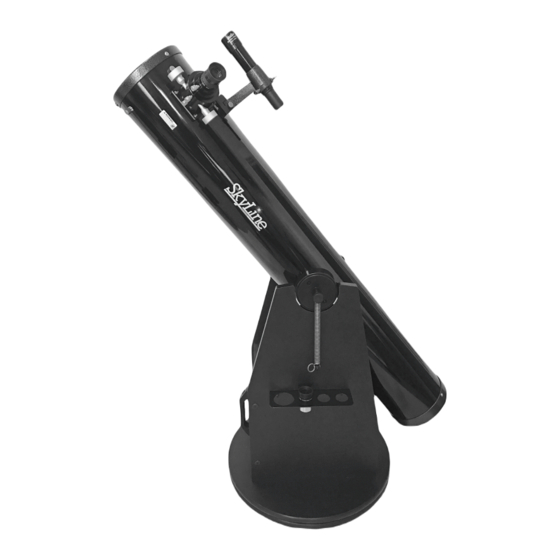
INSTRUCTION MANUAL
Optronic SkyLine
6"
™
Dobsonian Reflector
#52136
Copyright © 2018 Optronic Technologies
All Rights Reserved. No part of this product instruction or any of its contents may be reproduced,
copied, modified or adapted, without the prior written consent of Optronic Technologies.
IN 615 Rev. A 04/18
Advertisement

Related Manuals for ORION TELESCOPES & BINOCULARS SkyLine 52136


Summary of Contents for ORION TELESCOPES & BINOCULARS SkyLine 52136
- Page 1 INSTRUCTION MANUAL Optronic SkyLine 6" ™ Dobsonian Reflector #52136 Copyright © 2018 Optronic Technologies All Rights Reserved. No part of this product instruction or any of its contents may be reproduced, copied, modified or adapted, without the prior written consent of Optronic Technologies. IN 615 Rev.
-
Page 2: Included Parts
Optronic SkyLine Dobsonians are big, fun telescopes with exceptional features and accessories that give them a performance edge. This instruction manual will guide you through the one-time assembly process for the SkyLine 6" Dobsonian and provide other important information about your new tele- scope. - Page 3 Optical tube Eyepiece rack Rubber o-ring Collimation Rack mounting Dust cover 25mm Finder scope 6x30 finder screws Plössl Plössl bracket scope Figure 3. Optical tube assembly and accessories. final tightening with a standard screwdriver to avoid strip- ping. 1. Find the ground plate with the threaded metal insert in the center hole.
- Page 4 Top groundplate Countersunk hole Figure 7. Figure 8. With the front and side panel assembly turned Install the eyepiece rack on the left side panel with the upside down, attach the top groundplate to the assembly with the two small wood screws provided. countersunk holes facing up.
- Page 5 4. Place a pull ring onto the free end loop of the spring Small washer (Figure 15). Large washer 5. Repeat steps 1 to 4 on the other side of the tube. 6. Now lift the optical tube and place it onto the base, lowering the side bearings into the cradle wells at the top of the side panels (Figure 16).
-
Page 6: Using Your Telescope
3. Then unthread the two screws on the bracket until the screw ends are flush with the inside diameter of the bracket. While pulling the spring pin, slide the eyepiece end (narrow end) of the finder scope into the end of the bracket’s cylinder opposite the alignment screws (Figure 19). - Page 7 If you find the drawtube tension when focusing is either too tight (drawtube doesn’t move when you turn the focus knobs) or too loose (drawtube slips under the weight of the eyepiece), the tension can be adjusted for optimal performance. Thumbscrew lock Aligning the Finder Scope The finder scope must be aligned accurately with the optical tube of the telescope for proper use.
- Page 8 see if that point is centered in the field of view. If it is, the job moved from a warm indoor location to cooler air outside (or is done. If not, make the necessary adjustments until the two vice-versa), a telescope needs time to equilibrate to the outdoor images match up.
- Page 9 Figure 22. The quick collimation cap assists in ensuring precise optical alignment. Primary Mirror Center Mark The primary mirror of your telescope has a tiny ring (sticker) marking its center. This “center mark” is helpful in achieving a precise collimation. Do not remove it! Because it lies directly in the shadow of the secondary mirror, its presence in no way adversely affects the optical performance of the telescope or the image quality. That might seem counterintuitive, but it’s true!
- Page 10 24d. At the end of the procedure all three alignment screws should be tight – but don’t overtighten! -- to ensure that the sec- ondary mirror can’t move. Aligning the Primary Mirror The final adjustment is made to the primary mirror. It will need adjustment if, as in Figure 24d, the secondary mirror is cen- tered under the focuser and the reflection of the primary mirror is centered in the secondary mirror, but the small reflection of the secondary mirror (with the “dot”...
-
Page 11: Specifications
5. Specifications Objective lens: 1200mm Center Primary mirror diameter: 152mm screw Locking thumbscrew Focal ratio: f/7.9 Minor axis of secondary mirror: 33mm Optics: Parabolic, diffraction limited Collimation Mirror coatings: Enhanced aluminum (94%-96% thumbscrew Alignment reflectivity), with SiO2 overcoat screws Focuser: 1.25"... -
Page 12: One-Year Limited Warranty
One-Year Limited Warranty This product is warranted against defects in materials or workmanship for a period of one year from the date of purchase. This warranty is for the benefit of the original retail purchaser only. During this warranty period Optronic Technologies will repair or replace, at Optronic’s option, any warranted instrument that proves to be defective, provided it is returned postage paid.
Need help?
Do you have a question about the SkyLine 52136 and is the answer not in the manual?
Questions and answers