Table of Contents
Advertisement
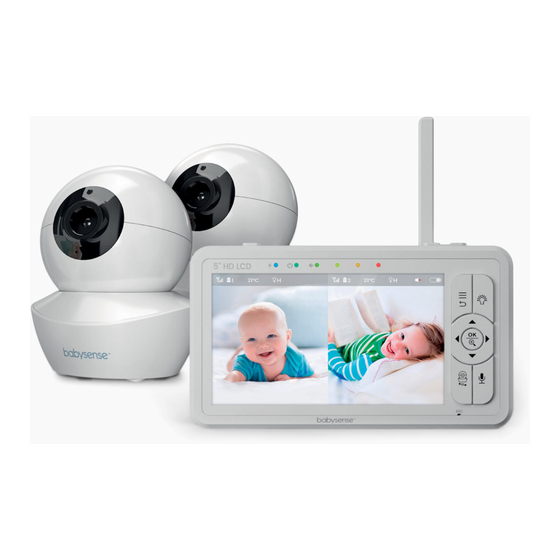
HD S2
By
Video Baby Monitor
User Manual
Wireless Digital Video Baby Monitor
atch, Listen and Talk to Your Baby
Model: HD-S2 1 Cam, HD-S2 2 Cam
or any product related question please contact us at
upport@babysensemonitors.com
ww.babysensemonitors.com
isense Ltd. 27 Shaked St.
evel Modi'in Industrial Park,
319900 ISRAEL
Advertisement
Table of Contents


Need help?
Do you have a question about the HD-S2 1 Cam and is the answer not in the manual?
Questions and answers