Table of Contents
Advertisement
Quick Links
CPT-G Quick Start "PRESET MODE"
PRESET MODE can register up to 10 kinds of target torque,
working like having 10 different preset type torque wrenches.
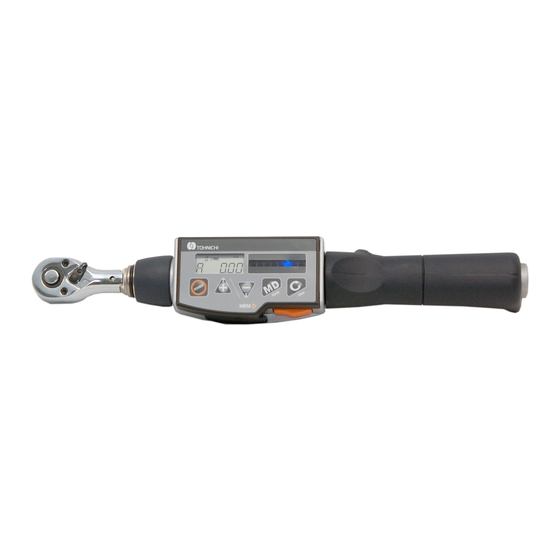
STEP.1
Put in the batteries and the interchangeable head before turning on the power.
STEP.2
Turning on Power
STEP.3
Setting the counter to "00"
STEP.4
Selecting the subject
STEP.5
Selecting the tightening mode
Push Power key and turn on the power.
Use
key to set the counter to "00",
and press MD key for more than 2 seconds.
When "MODE_S"appears,
press MEM key to confirm.
Use
key to select "PRESET" and press
MEM key to confirm.
(note) If you are changing from "JUDGE"mode, "CLR_OK"(Clear OK?)
appears when you push MEM key.
Push MEM key again to confirm, then it proceed to STEP6.
(The measured data will be deleted as you push MEM key to confirm.
Record the data in advance if necessary.)
STEP.6
Setting the higher limit value
STEP.7
Setting the target torque
key: Change digit
key: Change number
STEP.8
Selecting the registered target torque
STEP.9
Tightening bolts
Memo)
Please refer to the instruction manual for details.
Refer P8 for PRESET mode, and P15 for its setting.
Refer P18 for other setting including auto memory, buzzer on/off, etc.
Select the target range by using
key to select the
percentage "0% to +10%" against the target torque
value and press MEM key to confirm.
Set the target torque of part A through J respectively
in order.
Use
key to set the target torque and press
MEM key to confirm. If you need to fininsh setting in
the middle of the way, Press C key. It returns to
counter "00".
note) Target torque cannot be set when it is out of its capacity range.
Use
key to set the counter to "01", and press
MD key. LCD starts to blink.
Use
key to select the part from A - J, and press
MEM key to confirm.
note) If the measured data remains in the memory, you cannot change to
other parts A - J.
Press C key to clear the measured data first, then select part A - J.
Now it is ready.
Target torque is indicated by the blue LED. The red LED
starts to move toword right as you tighten. Upon
reaching the target torque, the blue LED starts to blink
and the buzzer goes off to signal tightening completion.
After tightening is complete, press MEM key to save the
measured data.
note) Upon reaching 80% of the target torque, the buzzer starts to sound
off-and-on to signal it is coming close to the target torque. When it
reaches out of the target torque range, the red LED turns on and the
buzzer pattern changes to indicate over-torque tightening.
Advertisement
Table of Contents

Related Manuals for Tohnichi CPT-G


Summary of Contents for Tohnichi CPT-G
- Page 1 CPT-G Quick Start "PRESET MODE" PRESET MODE can register up to 10 kinds of target torque, working like having 10 different preset type torque wrenches. STEP.1 STEP.6 Put in the batteries and the interchangeable head before turning on the power.
- Page 2 STEP.6 Setting the lower limit torque value CPT-G Quick Start "JUDGEMENT MODE" Set the lower limit torque value of part A. JUDGEMENT MODE can register up to 10 different torque ranges, key to set the lower limit torque value and makes judgement for the measurement.
Need help?
Do you have a question about the CPT-G and is the answer not in the manual?
Questions and answers