Do you have a question about the MMY-MAP1404 Series and is the answer not in the manual?
Questions and answers
Виктор
June 10, 2025
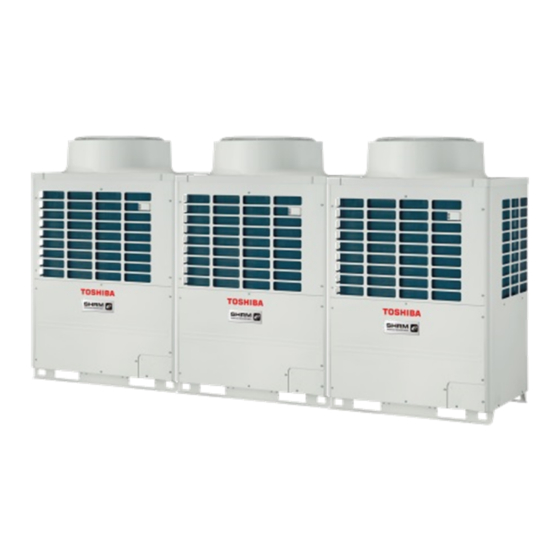
MMY-MAP1404HT8-E настройка количества наружных блоков.
Вышел из строя компрессор 1 ведомого блока. Установлено 3 блока. 1 - ведущий и 2 ведомых. Как отключить ведомый блок.


Need help?
Do you have a question about the MMY-MAP1404 Series and is the answer not in the manual?
Questions and answers
MMY-MAP1404HT8-E настройка количества наружных блоков. Вышел из строя компрессор 1 ведомого блока. Установлено 3 блока. 1 - ведущий и 2 ведомых. Как отключить ведомый блок.