Table of Contents
Advertisement
Quick Links
Advertisement
Table of Contents

Related Manuals for Zest 4 Leisure Clifton


Summary of Contents for Zest 4 Leisure Clifton
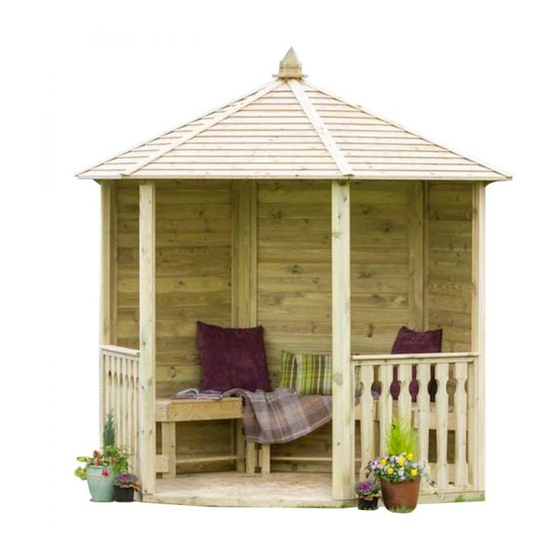
- Page 1 V1-02.16 Assembly Instructions (W x D x H) 2.64m x 2.64m x 2.49m Product Name: Clifton, Tatton & Moreton Gazebos Pressure Treated products should not be treated with any other products for the first month. PLEASE KEEP THIS INSTRUCTION Zest4Leisure...
- Page 2 Clifton Gazebo Assembly Instructions Requires 2 person assembly. Tools required: Corded / Cordless Drill, Pozi-drive Bit / Screwdriver, 3mm Drill Bit required in order for you to drill all screw holes before construction. Clifton Gazebo Pack List Item Description Quantity...
- Page 3 Please take a few moments to check all pack contents listed. Assembly requires 2 persons. Tools required: Corded/Cordless Drill, Pozi-drive Bit/Screwdriver, 3mm Drill Bit required in order for you to drill all screw holes before construction.
- Page 4 Clifton Gazebo Assembly Instructions Important - All screw holes to be pre-drilled (N.B. This product must be assembled on a level surface.) 1. Lay out 6 Floor Panels A as shown in Fig.1a and fix together using 12no 70mm Screws as shown in Fig.1b.
- Page 5 www.zest4leisure.co.uk...
- Page 6 www.zest4leisure.co.uk...
- Page 7 Seat Assembly – Optional Extra Left Leg Right Leg Assembly Left Leg Assembly Assembly www.zest4leisure.co.uk...
Need help?
Do you have a question about the Clifton and is the answer not in the manual?
Questions and answers