
Related Manuals for Herutu TW-810T


Summary of Contents for Herutu TW-810T
- Page 1 POKAYOKE (MISTAKE PREVENTION) TOOLS TW-810T Instruction Manual V1.00 Please use this Instruction manual correctly on reading well. Please keep it carefully to be able to read immediately, when required.
-
Page 3: Table Of Contents
1.Overview ................................1 2.Main part and accessories ..........................2 3.Safety Precautions (Be Sure to Read This) .......................3 4.Name and Function of Each Part ........................7 5.Attachment of TW-810T ............................8 6.Setting .................................. 11 7.How to Use the transmitter ..........................12 8.Specifications ..............................15 9.Dimensions Drawing ............................16 10.Before Determining Fault ..........................17... -
Page 4: Overview
TW-810T 1.Overview “TW-810T” (below referred to as “the transmitter”) is a Pokayoke (mistake prevention) slim transmitter upgraded with “slimmer design”, “extended battery life” and “longer communication distance”, compared with the Pokayoke transmitter TW-800T. The transmitter can be attached to various Pokayoke-compatible tools to transmit work completion signals to receivers wirelessly. -
Page 5: Main Part And Accessories
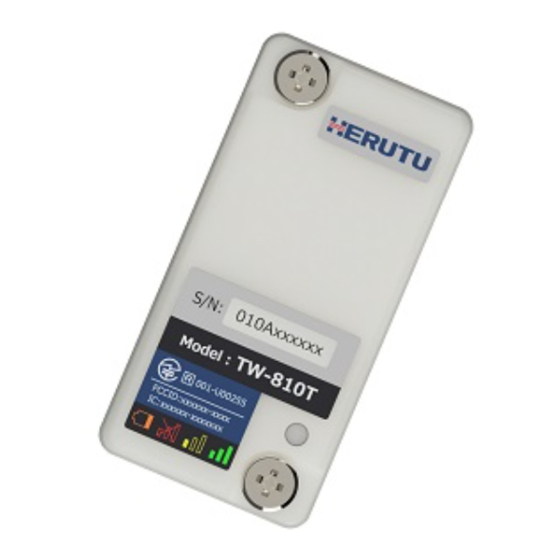
TW-810T 2.Main part and accessories Transmitter TW-810T Coin battery CR 2032 Harness connector with limit switch Base mounting screw Slim head small screw M4xL12×2pcs *Pre-attached to the transmitter. Limit switch fixing bolt Hex socket head cap bolt M2×L10×2pcs Washer M2(φ2.2)×2pcs Onerous option Harness connector with limit switch TW810T-HCL (Purchase 10 pcs/lot.) -
Page 6: Safety Precautions (Be Sure To Read This)
TW-810T 3.Safety Precautions (Be Sure to Read This) This section describes the matters to be observed in order to prevent harm to the users and other persons and damages to the property. ■The following marks and displays classify and describe the extent of harm and damage caused by failing to observe the display content and using this product wrongly. - Page 7 TW-810T ■Notes on the Radio Law ○ The wireless device used for this product is certified as a specific radio device for a radio equipment of a low power data communication system based on the Radio Law. Therefore, a radio station license is not required to use this product.
- Page 8 TW-810T ■FCC/IC Warning Information about FCC Standard. Contains FCC ID: T82-HRF2403 This device complies with part 15 of the FCC Rules. Operation is subject to the following two conditions: (1) This device may not cause harmful interference, and (2) this device must accept any interference received, including interference that may cause undesired operation.
- Page 9 TW-810T Information about ISED Standard. Contains IC: 10608A-HRF2403 This device contains licence-exempt transmitter(s)/receiver(s) that comply with Innovation, Science and Economic Development Canada’s licence-exempt RSS(s). Operation is subject to the following two conditions: (1) This device may not cause interference. (2) This device must accept any interference, including interference that may cause undesired operation of the device.
-
Page 10: Name And Function Of Each Part
TW-810T 4.Name and Function of Each Part ①Main body case Main body case. POM, a highly durable material, is used. ②Battery cap Lid for fixing the coin battery (CR2032). ③Monitor LED An LED for communication confirmation/battery check. It lights up/blinks (green/red/yellow/orange) green/red/yellow/orange according to the communication result. -
Page 11: Attachment Of Tw-810T
TW-810T 5.Attachment of TW-810T <Attachment to torque wrenches> ①Attachment of the harness connector with limit switch The harness connector is attached to the transmitter at factory. When it is removed for maintenance or replacement, securely connect the harness connector with limit switch so that the black cable sits on the outer side, as shown below. - Page 12 TW-810T ③Attachment of the transmitter To prevent the harness of the limit switch from getting caught in the case, limit switch or screw, use the mounting holes of the main body case and fix the transmitter with the two supplied slim head small screws (M4 screws).
- Page 13 TW-810T <Input Judgment time for transmitter> The transmitter is designed not to transmit signals when the signal input time from the limit switch is 40ms or less. This prevents the transmitter from accidentally transmitting signals when dropping the torque wrench.
-
Page 14: Setting
TW-810T 6.Setting The transmitter and a Pokayoke receiver TW-800R-*** need to be paired before use. By pairing them, they recognize an identification signal from each other and communicate with each other. This manual describes how to pair the transmitter with the receiver TW-800R. -
Page 15: How To Use The Transmitter
TW-810T 7.How to Use the transmitter ①Turn ON the power switch of the receiver. Make sure the receiving LED is OFF. When the receiving LED lights up, the transmitter is not paired. Pair the receiver and transmitter. Receiving LED (Green) - Page 16 TW-810T ●Test switch The transmitter is equipped with a test switch for checking the communication status. When the transmitter transmit the signal by test switch not limit switch, receiver doesn’t output relay output. But LED of receiver only turns on.
- Page 17 TW-810T ●Communication status notification When your wireless communication is not good, the blinking green LED after signal transmission turns into blinking yellow. The transmitter can be used even when the yellow LED is blinking. However, there is higher possibility that wireless communication will fail.
-
Page 18: Specifications
TW-810T 8.Specifications Item Specifications <Japan> 2.4GHz Low Power Data Communication System Radio Equipment of Certification Regulation Article 2, Paragraph 1 Item 19 Compliance Standards Radio Equipment Regulations Article 20 of 49 Paragraph 1 <USA> FCC Part.15-247 <Canada> ISED RSS-247 Issue 2... -
Page 19: Dimensions Drawing
TW-810T 9.Dimensions Drawing... -
Page 20: Before Determining Fault
TW-810T 10.Before Determining Fault Phenomenon Cause and remedy Battery capacity is low. The transmitter does not transmit LED does not light up →Please replace the battery (CR2032). Pairing is not done. (not registered) The red LED blinks 3 times after transmitting. -
Page 21: When Something Is Wrong
TW-810T 11.When something is wrong I f t h e problem persists even after a remedy action is taken or if it is unclear which remedy action should be taken, then contact the dealer where the product was purchased or our Sales Department with the following information: Product name / Serial No. - Page 22 TW-810T ■ Initial Defect The Warranty for initial defect is valid for 30 days from the date of shipment of the Product. In case an initial defect is found, the defective product should be shipped to your dealer or our Sales Department within the period mentioned above.
- Page 24 HERUTU ELECTRONICS CORPORATION 62-1 Toyooka-cho, Kita-ku, Hamamatsu, Shizuoka, 433-8103 Japan (Sales dept) TEL.+81-053-438-3555 FAX. +81-53-438-3411 Website URL https://www.herutu.co.jp/en/ E-mail info@herutu.co.jp...
Need help?
Do you have a question about the TW-810T and is the answer not in the manual?
Questions and answers