Table of Contents
Advertisement
Thank you for purchasing a Panasonic product.
Please read these operating instructions before using the
unit and save them for future reference.
Before initial use, see "Important Information" on
page 14.
Supplied accessories
– AC adaptor (Part No. TPA-97H050055VW01): 1 pc
– Rechargeable battery (Part No. 514047AR): 1 pc
– Headset (Part No. JYK-E112): 1 pc
– Charger: 1 pc (KX-TU466 only)
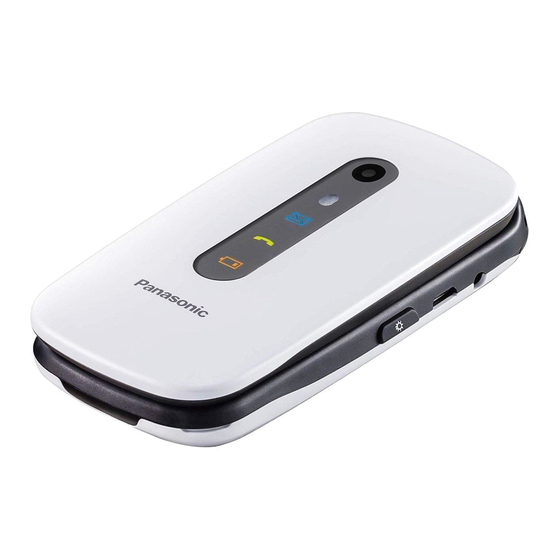
Operating Instructions
Easy Use Mobile Phone
KX-TU456 EX
Model No.
KX-TU466 EX
Advertisement
Table of Contents


Need help?
Do you have a question about the KX-TU456 EX and is the answer not in the manual?
Questions and answers