Casio SE-S2000 Technical Information For The Quick Setup
Hide thumbs
Also See for SE-S2000:
- Operation manual (17 pages) ,
- User manual (110 pages) ,
- Service manual (74 pages)
Advertisement
Quick Links
TECHNICAL INFORMATION FOR THE QUICK SETUP OF CASIO CASH REGISTERS
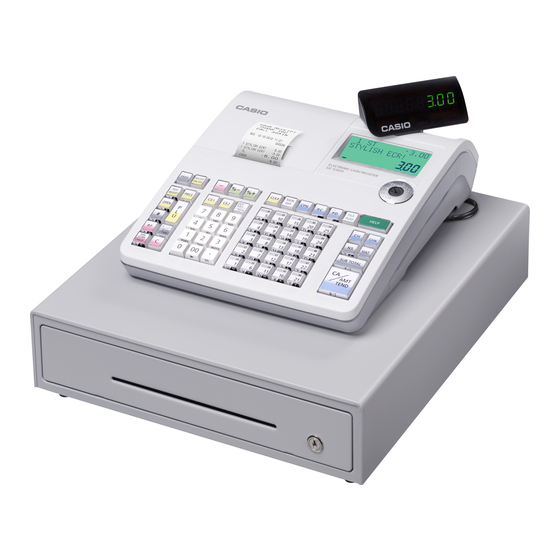
CASIO SE-S2000 Cash Register
MAC Clear ECR
Set mode switch to off
Hold Down the [JOURNAL FEED] button
Turn Key to PGM while still holding down the [JOURNAL FEED] button
After 5 seconds release the [JOURNAL FEED] button
'0000000000' will appear on the display and the register is now ready to receive it's
MAC code
Enter 13000
Press Sub Total
Insert Memory Batteries
Set Register For Australian GST
Turn Key to X
Enter 01012001
Press Sub Total
Press Cash
Set Time
Turn Key to Program
Enter time in 24 hr format HH:MM eg 4:30pm = 16:30
Press the" X/Date Time" Key
Press "Clear" [C] Key
Set Date
Turn Key to Program
Enter date as YY:MM:DD
Press the "X/Date Time" Key
Press "Clear" [C] Key
C:\Users\Nick\AppData\Local\Microsoft\Windows\Temporary Internet Files\Content.Outlook\LK4QWJEV\SE-S2000.doc
WWW.HOTPOS.COM.AU
QS12 - 1 -
Advertisement

Related Manuals for Casio SE-S2000


Summary of Contents for Casio SE-S2000
- Page 1 WWW.HOTPOS.COM.AU TECHNICAL INFORMATION FOR THE QUICK SETUP OF CASIO CASH REGISTERS CASIO SE-S2000 Cash Register MAC Clear ECR Set mode switch to off Hold Down the [JOURNAL FEED] button Turn Key to PGM while still holding down the [JOURNAL FEED] button After 5 seconds release the [JOURNAL FEED] button ‘0000000000’...
- Page 2 Use the Numeric Keys to choose the letters you want to use. There are 3 letters on the leading edge of each key. To move to the next letter use the arrow on the 00 key. Press Cash Press Subtotal when finished ALL C:\Users\Nick\AppData\Local\Microsoft\Windows\Temporary Internet Files\Content.Outlook\LK4QWJEV\SE-S2000.doc QS12 - 2 -...
- Page 3 Line of Bottom Message 1232 Line of Bottom Message 4032 Line of Australian GST TAX INVOICE Message 4132 Line of Australian GST * INDICATES Message 4232 Line of Australian GST TAXABLE SUPPLY Message C:\Users\Nick\AppData\Local\Microsoft\Windows\Temporary Internet Files\Content.Outlook\LK4QWJEV\SE-S2000.doc QS12 - 3 -...
- Page 4 Your Graphic Logo should appear in the New Window. If it has not, close down the program and try the procedure below again. Double click on the your graphic logo. It should now be sending to the ECR. C:\Users\Nick\AppData\Local\Microsoft\Windows\Temporary Internet Files\Content.Outlook\LK4QWJEV\SE-S2000.doc QS12 - 4 -...
- Page 5 Then Save the Bitmap by Clicking on the File Menu Select Save As Save the File to the Folder ‘C:\cvw\store001\Te100\Logo’ Folder. This may change if you have used more than one store or installed it to another folder. C:\Users\Nick\AppData\Local\Microsoft\Windows\Temporary Internet Files\Content.Outlook\LK4QWJEV\SE-S2000.doc QS12 - 5 -...
Need help?
Do you have a question about the SE-S2000 and is the answer not in the manual?
Questions and answers