Sign In
Upload
Download
Add to my manuals
Delete from my manuals
Share
URL of this page:
HTML Link:
Bookmark this page
Add
Manual will be automatically added to "My Manuals"
Print this page
×
Bookmark added
×
Added to my manuals
Manuals
Brands
Manitou Manuals
Bicycle Accessories
Mara Pro
Service manual
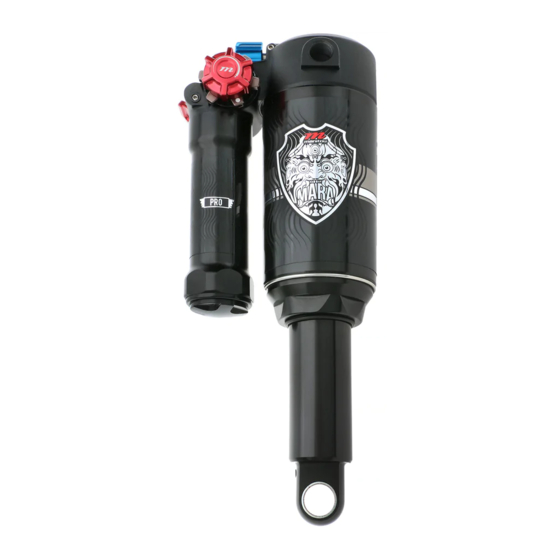
Manitou Mara Pro Service Manual
50 hour air can & piston
Hide thumbs
1
2
3
Table Of Contents
4
5
6
7
8
9
10
11
12
13
14
15
16
17
18
page
of
18
Go
/
18
Contents
Table of Contents
Bookmarks
Advertisement
Quick Links
1
Table of Contents
2
Required Tools
3
Air Can Removal
4
King Can Service
5
Air Can Service
6
Air Piston Service
7
Air Can Install
Download this manual
MARA 50 HOUR AIR CAN & PISTON | SERVICE GUIDE
Table of
Contents
Previous
Page
Next
Page
1
2
3
4
5
Advertisement
Need help?
Do you have a question about the Mara Pro and is the answer not in the manual?
Ask a question
Questions and answers
Related Manuals for Manitou Mara Pro
Bicycle Accessories Manitou Mattoc Travel Adjust Manual
(18 pages)
Bicycle Accessories Manitou MARA PIGGYBACK Service Manual
(41 pages)
Bicycle Accessories Manitou Mara Inline Service Manual
50 hour air can & piston (18 pages)
Bicycle Accessories Manitou Mezzer Pro Service Manual
(44 pages)
Bicycle Accessories Manitou Mezzer Expert Service Manual
(44 pages)
Bicycle Accessories Manitou MATTTOC PRO Service Manual
(29 pages)
Bicycle Accessories Manitou BLACK COMP 80/100 Owner's Manual
(5 pages)
Bicycle Accessories Manitou Axel Super 2004 Service Manual
(20 pages)
Bicycle Accessories Manitou SIX Owner's Manual
(5 pages)
Bicycle Accessories Manitou 2001 MARS Service Manual
(14 pages)
Bicycle Accessories Manitou Circus Expert Service Manual
Suspension fork (27 pages)
Bicycle Accessories Manitou R7 EXPERT Service Manual
(32 pages)
Bicycle Accessories Manitou DORADO Owner's Manual
(10 pages)
Bicycle Accessories Manitou Jack SL Dropper Seat Post Setup Manual
(13 pages)
Bicycle Accessories Manitou LUXE COMP Owner's Manual
(6 pages)
Bicycle Accessories Manitou DORADO PRO Service Manual
(34 pages)
This manual is also suitable for:
Mara inline
Print
Rename the bookmark
Delete bookmark?
Delete from my manuals?
Login
Sign In
OR
Sign in with Facebook
Sign in with Google
Upload manual
Upload from disk
Upload from URL


Need help?
Do you have a question about the Mara Pro and is the answer not in the manual?
Questions and answers