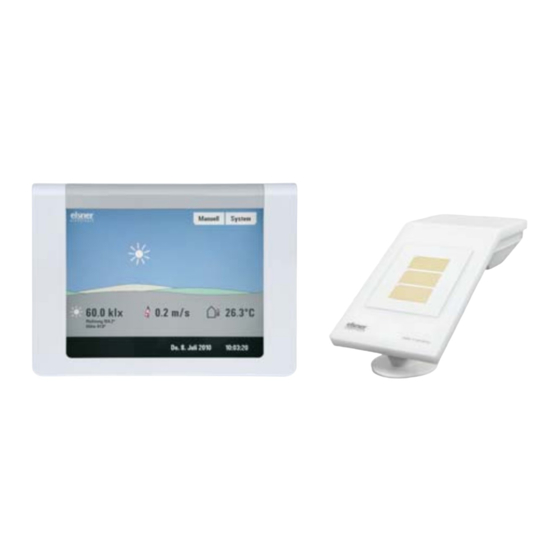
elsner elektronik WS1 Color Brief Instruction
Hide thumbs
Also See for WS1 Color:
- Brief instructions (2 pages) ,
- Installation & operation manual (148 pages)
Table of Contents
Advertisement
Quick Links
EN
Brief Instruction
Mounting of WS1 Color
Item numbers 60135-60142, 60145-46 (WS1 Color)
The manual with additional information about commissioning,
functions and use of the controls WS1 Color can be down-
loaded from www.elsner-elektronik.de in the menu area "Ser-
vice/Downloads".
Warning, mains voltage! National legal regulations are to be
observed. Installation, inspection, commissioning and
troubleshooting of the device must only be carried out by a
competent electrician.
Notes on wireless equipment
When planning facilities with devices that communicate via radio, adequate radio
reception must be guaranteed. The range will be limited by legal regulation and
structural circumstances. Avoid sources of interference and obstacles between re-
ceiver and transmitter, that could disturb the wireless communication. Those
would be for example:
•
Walls and ceilings (especially concrete and solar protection glazing).
•
Metal surfaces next to the wireless participants (e. g. aluminium
construction of a conservatory).
•
Other wireless devices and powerful local transmitters (e.g. wireless
headphones), which transmit on the same frequency. Please maintain a
minimum distance of 30 cm between wireless transmitters for that reason.
Preparing the installation location
The device must only be installed and used in dry, interior
spaces. Avoid condensation.
The device is to be installed flush to the wall surface. When selecting an installation
location, please ensure that the measurement results of the integrated temperatu-
re/humidity sensor are affected as little as possible by external influences. Possible
sources of interference include:
•
Direct sunlight
•
Drafts from windows and doors
•
Draft from ducts which lead from other rooms to the concealed box
•
Warming or cooling of the building structure on which the device is
mounted, e.g. due to sunlight, heating or cold water pipes
•
Connection lines which lead from warmer or colder areas to the device
External dimensions
of concealed box
in mm:
(depth approx. 62 mm)
An external antenna can be connected in order to improve wireless communicati-
ons. During installation, a conduit 50 cm in length should be placed beneath the
recessed housing, in which the external antenna can be mounted (antenna dimen-
sions approx. 565 x 8 x 5, L × W × H in mm):
Conduit angled diagonally dow-
Conduit angled vertically downwards
nwards (for cable access from
(only for cable access from above!)
above or below)
concealed
concealed
box
cable
45°
M16 conduit, 50 cm in length
Preparing for installation
Wall-fitting
Cavity wall fitting
Assembling the control unit with concealed box
During electrical installation, please introduce all connection cables into the con-
cealed box through the lower or upper side wall. In the process, keep the individual
connection wires short to prevent long reserve loops.
cable
box
M16 conduit,
50 cm in length
Mounting of WS1 Color • Version: 30.06.2020 • Technical changes and errors excepted. • Elsner Elektronik GmbH • Sohlengrund 16 • 75395 Ostelsheim • Germany • www.elsner-elektronik.de • Technical Service: +49 (0) 7033 / 30945-250
Mounting of WS1 Color
Loosen the frame on the upper corners by
pulling it forward. You can press your
thumbs on the screen while doing this.
Take the frame off at the top first, then at
the bottom.
The lower portion of the housing is moun-
ted on the flush mounting box with 2
screws: loosen the screws.
Take off the housing component with the
screen board. The screen is connected via
a ribbon cable (1) with the board in the
flush mounting box. Loosen the plug in
order to be able to remove the upper part.
Remove the transport lock (2).
Remove the circuit board from the con-
cealed box to be installed a keep it in a
place where it is protected from dirt. It
may never be exposed to dust or mo-
isture!
For fitting, screw the cover (board) on to
the concealed box with the enclosed
screws.
Clamp the concealed box to the wall with
the four enclosed screws.
Upon delivery, the pouch containing the
or
assembly screws can be found in the con-
trol unit's flush-mounted casing.
After wiring, connect the ribbon cable to the screen board. Make sure that the
transport lock (foam) is removed and also remove the foil protecting the screen
(red flap). Screw the lower part of the housing onto the flush mounting box. Set
the frame on the lower part of the housing. To this end, the frame is first suspended
below and then clapped shut above and snapped in place.
Structure of the connector board WS1 Color
16
9
8
10
13
14
11
15
12
6
1
2
3
4
1 Drive group 1
13 Weather station (terminals 1-2)
2 Drive group 2
Wire assignment: red = 1, black = 2,
3 Drive group 3
yellow and white = not connected
4 Drive group 4
14*Multifunctional input 1
5 Mains connection L/N/PE 230 V/50
(terminal 3: +12 V | 4: GND | 5: IN)
Hz
15*MF input 2
6 Outer conductor L1
(6: +12 V | 7: GND | 8: IN)
7 Multifunctional output 1
16 Connector for flat-ribbon cable to
(potential-free)
front board
8 MF output 2 (potential-free)
17 Microfuse T6,3 A
9 Wall button 1
(terminal 1: +12 V | 2: Up | 3: Down)
* Supply voltage e. g. indoor sensor
10 Wall button 2
possible via MF inputs
(4: +12 V | 5: Up | 6: Down)
(No. 14, terminal 3(+), 4(-) and
11 Wall button 3
No. 15, terminal 6(+), 7(-)),
(7: +12 V | 8: Up | 9: Down)
max. 50 mA altogether.
12 Wall button 4
(10:+12V|11:Up|12:Down)
1
7
17
5
Advertisement
Table of Contents

Related Manuals for elsner elektronik WS1 Color


Summary of Contents for elsner elektronik WS1 Color
- Page 1 M16 conduit, 50 cm in length 50 cm in length Mounting of WS1 Color • Version: 30.06.2020 • Technical changes and errors excepted. • Elsner Elektronik GmbH • Sohlengrund 16 • 75395 Ostelsheim • Germany • www.elsner-elektronik.de • Technical Service: +49 (0) 7033 / 30945-250...
- Page 2 The product conforms with the provisions of EU directives. neutral conductor Mounting of WS1 Color • Version: 30.06.2020 • Technical changes and errors excepted. • Elsner Elektronik GmbH • Sohlengrund 16 • 75395 Ostelsheim • Germany • www.elsner-elektronik.de • Technical Service: +49 (0) 7033 / 30945-250...
Need help?
Do you have a question about the WS1 Color and is the answer not in the manual?
Questions and answers