Advertisement
Quick Links
INTRODUCTION
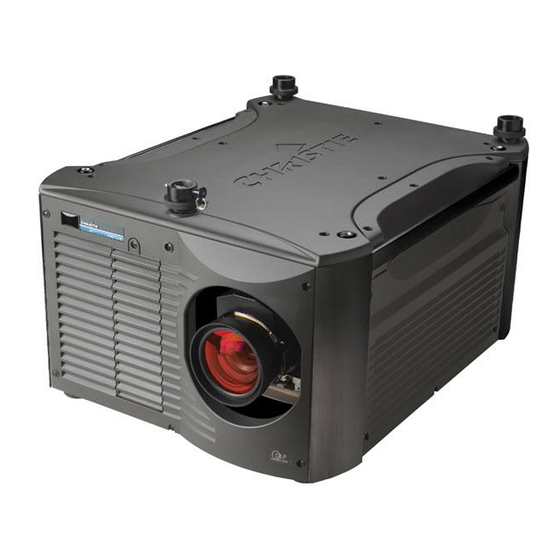
The following instructions outline Boresight Adjustment on any Roadster, Mirage, Matrix, DLV,
Christie DS and Christie DW model projector.
Boresight alignment ensures the projection lens is precisely parallel with the exit-face of the prism and
that the correct distance exists between the exit face and the input of the projection lens. Typically, this
procedure is performed whenever a lens mount is replaced to ensure the displayed image has optimum
focus in all four corners and the center.
Replacement must be performed by qualified Christie service personnel only.
NOTICE: Projectors must be serviced in a clean environment to prevent dust particles from settling on
optical components.
TOOLS REQUIRED
Lens cap with pinhole in center (Recommended, but not necessary).
Boresight Alignment Procedure Instruction Sheet
020-100116-01 Rev. 1 (11/07)
Boresight Alignment Procedure
WARNINGS
Observe all electrostatic precautions.
Instruction Sheet
1 of 3
Advertisement

Related Manuals for Christie Roadster


Summary of Contents for Christie Roadster
- Page 1 Boresight Alignment Procedure Instruction Sheet INTRODUCTION The following instructions outline Boresight Adjustment on any Roadster, Mirage, Matrix, DLV, Christie DS and Christie DW model projector. Boresight alignment ensures the projection lens is precisely parallel with the exit-face of the prism and that the correct distance exists between the exit face and the input of the projection lens.
- Page 2 INSTRUCTIONS NOTE: For DLV1400-DX and DLV1920-DX models, refer to Boresight Alignment for Fixed Lens Mount Models, on page 3. 1. Set the spacing behind screws 1a, 2a, 3a and 4a to 4mm. Refer to Figure 1. 2. Load the “GRID” internal test pattern (Figure 3.
- Page 3 You are now ready to perform a precision boresight alignment on the projector to achieve the best possible uniform focus. 1. Back off each corner locking screw (1b, 2b, 3b, & 4b) - refer to Figure 1). 2. Observe which portion of the image is out of focus. For example if the top left corner of the image is out of focus than you will need to adjust screw 3a until that point is correctly focused (see Grid Test Patterrn at right).