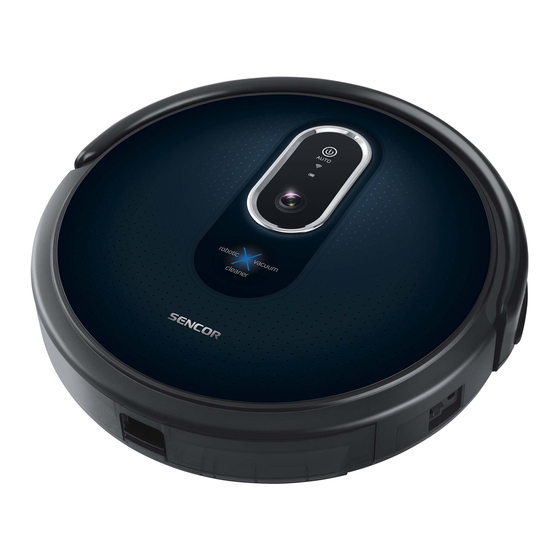
Summary of Contents for Sencor SRV 8250BK
- Page 1 SRV 8250BK EN Robotic Vacuum Cleaner Translation of the original manual Copyright © 2019, Fast ČR, a.s. - 1 - 07/2019...
- Page 2 Robotic vacuum cleaner Important safety instructions READ CAREFULLY AND STORE FOR FUTURE USE. General warnings ■ This appliance may be used by children 8 years of age and older and by persons with physical or mental impairments or by inexperienced persons, if they are properly supervised or have been informed about how to use the product in a safe manner and understand the potential dangers.
- Page 3 SRV 8250BK Copyright © 2019, Fast ČR, a.s. - 3 - 07/2019...
- Page 4 Copyright © 2019, Fast ČR, a.s. - 4 - 07/2019...
- Page 5 Copyright © 2019, Fast ČR, a.s. - 5 - 07/2019...
- Page 6 EN: Link to the application for controlling APP Store Google Play the vacuum cleaner Copyright © 2019, Fast ČR, a.s. - 6 - 07/2019...
-
Page 7: Before First Use
it leaking on to the floor. Robotic vacuum cleaner ■ For easy identification of the operating state, the button on the cover has an indicator light the colour of which indicates low battery voltage (lit red), battery charging (flashing alternately red and blue), full charge and operation (lit blue). User's manual Apart from the indicator lights, the vacuum cleaner also has audio signals and voice messages that accompany certain functions or error states of the vacuum cleaner,... - Page 8 SELECTING THE ROBOTIC VACUUM CLEANER CLEANING MODE INSERTING AND REPLACING BATTERIES IN THE REMOTE CONTROL ■ Push down the latch of cover C13 on the rear side of the remote control C1 to ■ Before starting the cleaning process, check that the entry door into your apartment release it and remove the cover.
-
Page 9: Scheduled Cleaning
■ Slide the dust container out of the water tank. ■ After docking in the charging station, the charging cycle will commence. A complete ■ Attach the mop fabric to the underside of the water tank using the velcro zip E4 charge takes approximately 4 to 7 hours. -
Page 10: Cleaning And Maintenance
■ At least once per week or more frequently, clean the front swivel wheel A9, the Overload of one of the side rotary brushes, motorized wheels A13 and A16, the suction hole A19, rotary brushes A11 and A15 probably due to dirty material or jamming on and the bottom sensors A10, A12 and A14. -
Page 11: Disposal Of Used Batteries
DISPOSAL OF USED BATTERIES Prior to handing over the product at a specialised collection facility, it is necessary to ensure that the battery is removed. Prior to removing the battery, turn off the vacuum cleaner using the main switch. Disconnect the battery using the reverse sequence to that described in chapter INSERTING AND REMOVING THE BATTERY.


Need help?
Do you have a question about the SRV 8250BK and is the answer not in the manual?
Questions and answers