
Related Manuals for Kohler Torsion


Summary of Contents for Kohler Torsion
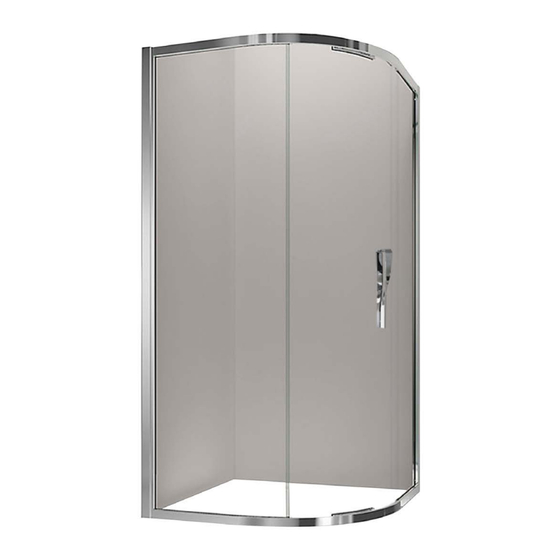
- Page 1 Torsion Round Sliding Shower These instructions must be left with the user Installation Guide July 2019 1281734-A02-C G006-02...
-
Page 2: General Information
Instructions, drawings and diagrams contained in this manual present information available at the time of printing. Although every attempt has been made to keep them up-to-date, KOHLER reserves the right to implement product changes without futher notice. -
Page 3: Construction Requirements
CONSTRUCTION REQUIREMENTS Attention Due to the weight of the glass panels, KOHLER strongly recommends fixing the wall retainers to double studs in the wall framing. Double studs Double studs Nominal Size Dim “A” Dim “B” 1000 x 1000 1000 1000... -
Page 4: Pack Contents
PACK CONTENTS Glass Aftercare Pack Handle Pack Twisted Info Booklet Component Pack 1 x 3 mm 8 x 50 mm 8 x 19 mm... - Page 5 Pack 1 flat curved panel panel...
- Page 6 Pack 2...
-
Page 7: Installation Options
INSTALLATION OPTIONS Note This shower enclosure is designed to be installed onto tiled floor and walls. However, an acrylic wall & tray installation may also be possible. Please refer to all applicable documentation before proceeding. The door frame is to be assembled before placing it in its designated location. This task will require two people. -
Page 8: Installation
INSTALLATION (a) Separate the wall channels from the glass panels. - Page 9 ± 0 mm 10 mm Ensure that the tiled floor or tray is level, and walls are vertical and square. Position the side panel wall channel on wall. Use a level to ensure it is upright. Drill the holes and insert the wall plugs if required. Position wall channel on the wall and partially install fixing screws Apply silicone sealant according to the manufacturer’s instructions along the length of the wall and at the bottom of wall channel.
- Page 10 ± 0 mm 10 mm Position the second channel on the wall. Use a level to ensure it is upright. Drill the holes and insert the wall plugs if required. Position wall channel on the wall and partially install fixing screws Apply silicone sealant according to the manufacturer’s instructions along the length of the wall and at the bottom of wall channel.
- Page 11 Note! The shower enclosure is reversible and can be open onto the curved panel. Ensure you install the curved panel to suit the door opening. Door opening direction Door opening direction Curved panel Curved panel (a) To change the handing of the enclosure, carefully rotate the curved panel through 180º, end over end.
- Page 12 curved panel Top Track (Two Fixing Holes) Bottom Track (Two Fixing Holes) (a) Install the seals onto the glass. (b) Fit the glass into the bottom track and glass clamp making sure that the seal locates correctly. (c) Secure the bottom assembly together with two screws (d) Fit the glass into the top track and glass clamp making sure that the seal locates correctly.
- Page 13 flat panel (a) Install the seals onto the glass, top and bottom. (b) Slide the glass in between the top and bottom tracks, making sure that the seals and glass clamps locate correctly. (c) Secure the assembly together with screws , top and bottom.
- Page 14 Wall Channel Return Channel (a) Fit the return channels inside the wall channels on both sides of the enclosure. (b) Centralise the enclosure within the wall channels and ensure everything is level. Note!
- Page 15 ± 0 mm 3 mm (a) Drill four 3 mm holes from inside the shower enclosure in the door frame through the pre-drilled holes in the wall channel with the 3 mm HSS drill (supplied). (b) Install the screws (c) Tighten the screws. (d) Repeat the process for the other wall channel.
- Page 16 Note! The door on the enclosure is reversible and can be altered to suit your configuration. The door will always open onto the curved glass panel. If the door is already correctly oriented, skip steps 9,10,11. Note! Handle shown fitted to door for illustration purposes.
- Page 17 5 12 Make sure that both door adjusters are screwed fully down prior to installation (a) Hang the door onto the upper track, taking care not to damage the bearings. (b) Adjust the top rollers until the bottom rollers can be located in the bottom track without excessive clearance.
- Page 18 Remove the cover from the top rail and peel the film off the adhesive tape. Re-insert the cover into the rail and firmly press to hold in position. Remove the cover and rubber seal from the bottom rail. Fit the door clip into the bottom rail and secure with the screw into the pre-drilled hole.
- Page 19 5 14 Door Flat Panel...
- Page 20 5 15 (a) Fit the seal to the door. Note!
- Page 21 5 16 (a) Install retainer cover clips, evenly spaced along the length of wall channel. Install the retainer cover into the clips. It should ‘snap’ into place. Apply silicone sealant to the inside of the cover panel if required. (c) Repeat the process for the other wall channel.
- Page 22 5 17 Handle Pack Twisted 2.0 mm...
- Page 23 (a) Apply sealant in accordance with the sealant manufacturer’s instructions along the outside surfaces of the door frame only. (b) Allow the silicone sealant to cure for 24 hours before use. silicone sealant if necessary to secure in position. Modify caps if required. Installation is complete.
-
Page 24: Spare Parts
CALL US FOR HELP NEW ZEALAND AUSTRALIA KOHLER NZ LTD KOHLER AUSTRALIA Free Ph: 0800 564 537 (0800 KOHLER) Free Ph: 1 800 KOHLER Free Fax: 0800 664 488 (1 800 564 537) www.kohler.co.nz www.kohler.com.au 1281734-A02-C July 2019...
Need help?
Do you have a question about the Torsion and is the answer not in the manual?
Questions and answers