Advertisement
Quick Links
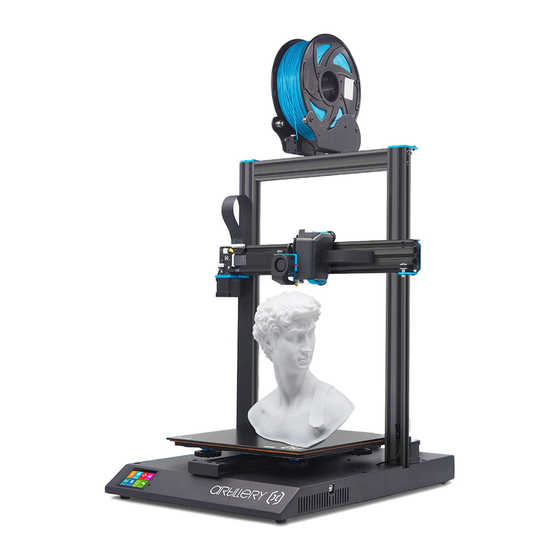
EVNOVO 3D Printer
SW-X1
Step 2
Fix the spool holder to the top of the printer, adjust
the width to fit the size of your filament spool.
Make
sure the filament sensor is facing
forward.
Front
List 1
Step 3
Connect the filament runout sensor as shown in
pictures below:
List 2
M4x45 (5pcs)
Step 4
Fix the Z Endstop to the frame as shown in pictures
below.
The distance between the sensor top and base
top should be approx 75mm.
75mm
Step 1
Fix the XZ gantry to the base with 4pcs of M4x45
screws as shown in picture。
M4x45 (4pcs)
Step 5
Connect the Z Stepper Motors as shown in picture
belows:
Advertisement

Related Manuals for Artillery EVNOVO SW-X1


Summary of Contents for Artillery EVNOVO SW-X1
- Page 1 EVNOVO 3D Printer List 1 List 2 Step 1 Fix the XZ gantry to the base with 4pcs of M4x45 SW-X1 screws as shown in picture。 M4x45 (4pcs) M4x45 (5pcs) Step 4 Step 5 Step 2 Step 3 Fix the Z Endstop to the frame as shown in pictures Connect the Z Stepper Motors as shown in picture Fix the spool holder to the top of the printer, adjust Connect the filament runout sensor as shown in...
- Page 2 Step 6 Step 7 Step 8 Step 8 Connect the X carriage and filament runout sensor as Connect the FFC to the board on X gantry. Adjust the tension of all the wheels on the machine. Try For wheels under build plate, please adjust the middle shown in picture to the base.
Need help?
Do you have a question about the EVNOVO SW-X1 and is the answer not in the manual?
Questions and answers