Advertisement
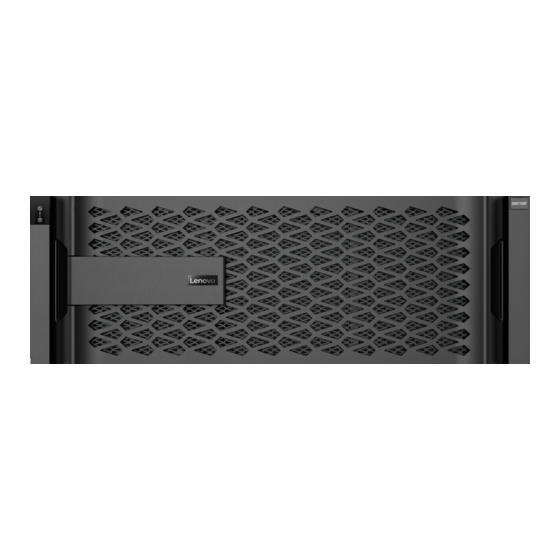
ThinkSystem DM7100F Systems
Installation and Setup Instructions
Machine type: 7D25
Prepare for installation | Stage 1
1. Unpack all boxes and inventory contents.
Pre-setup
2. Complete the Cluster Configuration Worksheet.
100 GbE cables (QSFP28)
In the box
32 Gb FC (SFP+ Op)
FC optical network cables
You provide
Rack space
4U per DM7100F chassis
+2U for each DM240N shelf
Prepare for installation
RJ-45 cables
Wrench port (e0M/BMC)
(order-dependent)
16 Gb FC or 25GbE cables
Mezzanine cards (SFPs pre-installed)
Screwdriver
Additional network cables
For connecting your storage system
to your network switch and
Microsoft
Windows
®
Install hardware
Cable storage
1
2
25 GbE cables (SFP28)
HA interconnect, GbE network cables
Storage Cables
mini-SAS HD to
mini-SAS HD cables
Client
Runs the software to configure
your storage system.
client
®
Complete system setup
and configuration
3
4
Additional cables
Power cables
Ethernet cables
micro USB console cable
Slide rail kit
Cable management tray
Advertisement
Table of Contents

Summary of Contents for Lenovo ThinkSystem DM7100F
- Page 1 Prepare for installation Install hardware Cable storage Complete system setup and configuration ThinkSystem DM7100F Systems Installation and Setup Instructions Machine type: 7D25 Prepare for installation | Stage 1 1. Unpack all boxes and inventory contents. Pre-setup 2. Complete the Cluster Configuration Worksheet.
- Page 2 Install hardware | Stage 2 16Gb FC or 25GbE e0a-e0b ports Rear view of DM240N drive shelf Rear view of DM7100F System 16Gb FC or 25GbE Installing system in a rack • Install the rail kits, as needed, and then install and secure your system CAUTION LIFTING HAZARD using the instructions included with the kit.
- Page 3 Cable storage | Stage 3 Attention: Be sure to check the illustration arrow for the proper cable connector pull-tab orientation. Pull-tab Note: To unplug a cable, gently pull the tab to release the locking mechanism. Cabling a DM7100F system to one DM240N shelf Shelf 1 NSM A 100 GbE QSFP28 copper cable...
- Page 4 Cable storage | Stage 3 cont. Attention: Be sure to check the illustration arrow for the Pull-tab proper cable connector pull-tab orientation. Pull-tab Note: To unplug a cable, gently pull the tab to release the locking mechanism. Cabling a DM7100F system to three DM240S shelves mini-SAS HD Connect the shelf-to-shelf ports...
- Page 5 Using Storage Manager Guided Setup to configure your cluster Completing setup 1. Go to https://commercial.lenovo.com and log in with your corporate account. 2. Choose Monitor from the navigation pane to enter the ThinkSystem Intelligent Monitoring page. 3. Monitor health status of all your systems on the page.


Need help?
Do you have a question about the ThinkSystem DM7100F and is the answer not in the manual?
Questions and answers