Table of Contents
Advertisement
Quick Links
T
ECHNICAL
Related Standards
The Hub 10 24 Port TP has been designed to conform to the following
standards:
Functional
ISO 8802/3, IEEE 802.3
Safety
UL 1950, EN 60950, CSA 22.2 #950
EMC
EN 55022 Class B, EN 50082-1, FCC Part 15 Class A,
CSA C108.8 Class A
(screened cables must be used to ensure
compliancewith these standards)
Environmental
EN 60068 (IEC 68)
Physical
Width
440mm (17.3 ins)
Depth
224mm (8.8 ins)
Height
44mm (1.7 ins) or 1U
Weight
2.7kg (5.9lb)
Mounting
free standing,
or 19" rack or wall mounted using kit supplied
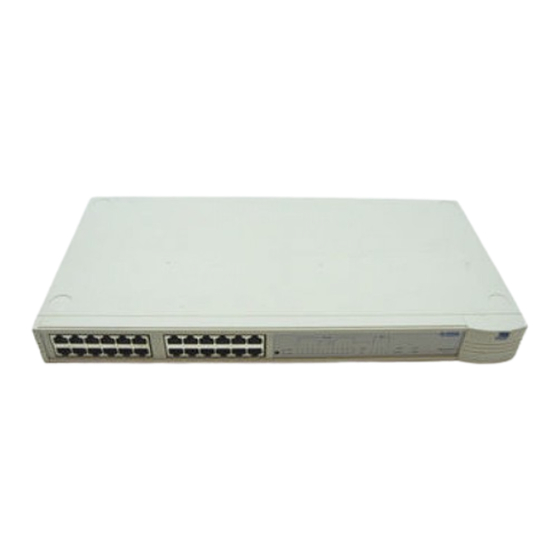
SuperStack™ II Hub 10
24 Port TP (3C16671A)
User Guide
I
NFORMATION
DUA1667-1AAA03
Electrical
Hub 10 24 Port TP only
Power Inlet
Fuse Protection
Power Consumption
Power Dissipation
Hub 10 24 Port TP & Management Module
Power Inlet
Fuse Protection
Power Consumption
Power Dissipation
Environmental
Operating Temperature
Humidity
IEC 320
2 Amps
28 VA
96 BTU/hr
IEC 320
2 Amps
36 VA
123 BTU/hr
0-50 ° C (32-122 ° F)
0-90% (non-condensing)
Advertisement
Table of Contents

Subscribe to Our Youtube Channel
Related Manuals for 3Com SuperStack II 3C16671A


Summary of Contents for 3Com SuperStack II 3C16671A
-
Page 1: User Guide
SuperStack™ II Hub 10 24 Port TP (3C16671A) User Guide ECHNICAL Related Standards The Hub 10 24 Port TP has been designed to conform to the following standards: Functional ISO 8802/3, IEEE 802.3 Safety UL 1950, EN 60950, CSA 22.2 #950 EN 55022 Class B, EN 50082-1, FCC Part 15 Class A, CSA C108.8 Class A (screened cables must be used to ensure... -
Page 2: S Afety I Nformation
AFETY Please read the following safety information carefully before installing the Hub 10 24 Port TP. WARNING: Installation and removal of the unit must be carried out by qualified personnel only . Connect the unit to an earthed power supply to ensure compliance with safety standards. -
Page 3: Network Connections
AUI port on the rear panel. The rear panel also has a slot for a 3Com Transceiver Module or Bridge MicroModule; if fitted the Module will operate in addition to the AUI port. -
Page 4: Front Panel
F ront Panel 24 RJ45 Ports WARNING: These are shielded RJ45 data sockets. They can not be used as telephone sockets. Only connect RJ45 data connectors to these sockets. AVERTISSEMENT: Les ports RJ45 sont les prises de courant de données RJ45 protégées. Ils ne peuvent pas être utilisés comme prises de courant téléphoniques. -
Page 5: Rear Panel Connections
Klappe der Sicherungshalterung wieder schließen. Socket for Redundant Power System Only connect a 3Com Redundant Power System, option 3C565047, to this socket. For details, follow the installation instructions in the guide accompanying the Redundant Power System. Management Module or Advanced RMON Module Slot The Hub 10 24 Port TP can be fitted with an optional SuperStack II Hub 10 Management Module or Advanced RMON Module. -
Page 6: Rack Or Wall Mounting
11 or 12 . Connect the plug to the power supply outlet socket and switch on the power supply at the socket. If you are using a 3Com Redundant Power Supply make sure it is switched on. -
Page 7: Bulletin Boards
RODUCTS AND Products SuperStack II Hub 10 is part of the SuperStack II range of 3Com products. Contact your supplier for the latest product information. Hub 10 hubs 3C16670 SuperStack II Hub 10 12Port TP 3C16671 SuperStack II Hub 10 24Port TP... -
Page 8: Warranty
Material Authorization (RMA) number marked on the outside of the package, and sent prepaid, insured, and packaged appropriately for safe shipment. The repaired or replaced item will be shipped to Customer, at 3Com's expense, not later than thirty (30) days after receipt of the defective product by 3Com.
Need help?
Do you have a question about the SuperStack II 3C16671A and is the answer not in the manual?
Questions and answers