Table of Contents
Advertisement
Advertisement
Table of Contents

Related Manuals for Mitcorp FASTA F500


Summary of Contents for Mitcorp FASTA F500
- Page 1 F500 (FASTA) Videoscope system User Manual...
-
Page 2: Table Of Contents
Table of Contents System Outlook ..............2 Taking Photos ...............12 • Getting started ..............3 Video Recording ............13 • System Environment ............4 Viewing Photo/Video ..........13 • Multi-function Keys ............5 Zoom-in ................14 • Menu Operations Mirror View ..............14 • Delete All ................7 Specifications ..............15 •... -
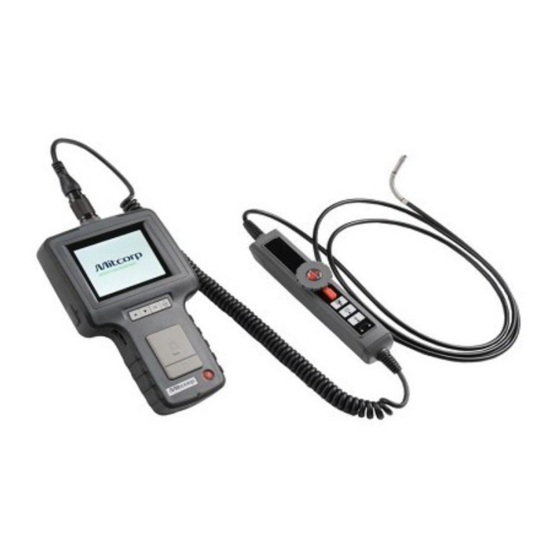
Page 3: System Outlook
System Outlook Getting started Record Snap Power Previous Next OK / Menu ESC / ZOOM / MIRROR USB port SD Port TV Out Step 1 Step 2 AC Jack Insert the insert tube into the connector according Press and hold the power button for 3 seconds until Light Adjustment to the direction of the red align dot and tighten the the image is displayed on the monitor. -
Page 4: System Environment
System Environment Multi-function Keys This product provides three simple working modes: each button on the system performs a unique function depending on the Mode when system is operated. Preview, Browse and Manual Mode. Preview Mode fUNCTION IN PreVIeW MODe IN BROwSE MODE IN MANUAL MODE When the system turns on, the preview mode will be Switch to Browse Mode... -
Page 5: Menu Operations
Menu operations Overview DELETE ALL Delete All (Delete all files in SD) Deleting a specific photo (Browse mode only) Press OK button into Manual Mode and select the Delete all files in the SD card. Step 1 Press OK in Preview mode. Step 1 enter Browse mode, then press to find out the photo or video you wish to setting needs to be adjusted. -
Page 6: Setting Time Display
AV OUTPUT Setting Time Display Language Date/Time Setup Step 1 Plug in the AV cord into the AV socket Step 1 Press OK in Preview mode. Step 1 Press OK in Preview mode. Step 1 Press OK in Preview mode. located on the right side of the system. -
Page 7: Tv System
TV system Auto power off Operations TV System Power On/Off Taking Photos Step 1 Press OK in Preview mode. Press button in Preview Mode to take a photo. Step 1 Press OK in Preview mode. Step 1 To turn on the system, press and hold the button for 3 –5 seconds until system start. -
Page 8: Viewing Photo/Video
Recording Video Viewing Photo / Video Zoom-In* Mirror effect* Step 1 Press button to start recording video . Press button once, the screen will show 2x zoom Step 1 Press in to Preview Mode. Press and hold button for 3 seconds to activate in view while 2.0x will show on the night button the mirror view while... -
Page 9: Specifications
Caution Specifications Specifications This product is designed for industrial use only. Do not remove the SD card while capturing Do not use the system for human or any other photos or videos. This can cause a loss of the System biological inspection. - Page 10 Note...
- Page 11 VER.3...
Need help?
Do you have a question about the FASTA F500 and is the answer not in the manual?
Questions and answers