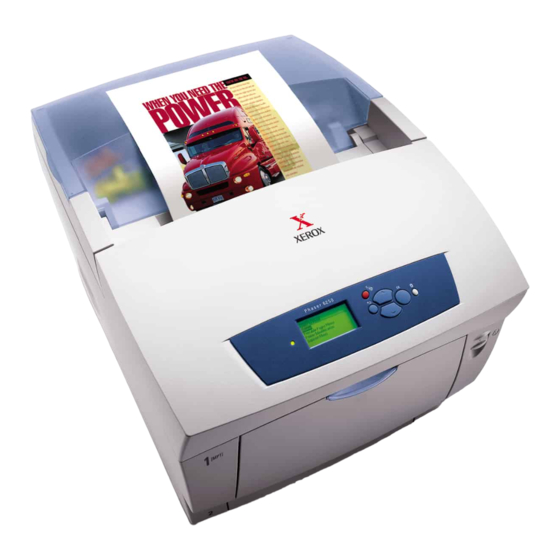
Xerox PHASER 6250 Cartridge Remanufacturing Instructions
Color, laser, toner cartridge with chip
Hide thumbs
Also See for PHASER 6250:
- Service manual (467 pages) ,
- Manual (39 pages) ,
- Quick reference manual (11 pages)
Advertisement
Quick Links
XEROX
®
PHASER 6250
CARTRIDGE REMANUFACTURING INSTRUCTIONS
Includes UniNet Alternate Unichip
®
& Clearseal
®
Installation
XEROX
®
PHASER 6250
COLOR LASER PRINTER
XEROX
®
PHASER 6250
TONER CARTRIDGE WITH CHIP
w w w.
i m a g i n g . c o m / t e c h n i c a l . a s p
u n i n e t
11124 Washington Blvd., Culver City, California USA 90232 • Ph +1 310 280 9620 • Fx +1 310 280 0533 • techsupport2@uninetimaging.com
© 2007 UniNet Imaging Inc. All Trademark names are property of their respective owners. Product brand names mentioned are intended to show compatibility only. UniNet Imaging does not guarantee or warrant downloaded information.
Advertisement

Summary of Contents for Xerox PHASER 6250
- Page 1 XEROX ® PHASER 6250 CARTRIDGE REMANUFACTURING INSTRUCTIONS Includes UniNet Alternate Unichip ® & Clearseal ® Installation XEROX ® PHASER 6250 COLOR LASER PRINTER XEROX ® PHASER 6250 TONER CARTRIDGE WITH CHIP w w w. i m a g i n g . c o m / t e c h n i c a l . a s p u n i n e t 11124 Washington Blvd., Culver City, California USA 90232 •...
- Page 2 UNINET IMAGING INC. • XEROX ® PHASER 6250 CARTRIDGE REMANUFACTURING INSTRUCTIONS XEROX ® PHASER 6250 TONER CARTRIDGE REMOVING THE GEARLESS END CAP 1. Remove the gearless end cap (shown) to access the toner fill cap. Using a small flathead screwdriver, carefully push out one side of the end cap (shown) to unlock it from the first set of tabs.
- Page 3 UNINET IMAGING INC. • XEROX ® PHASER 6250 CARTRIDGE REMANUFACTURING INSTRUCTIONS 4. Carefully slide out the gearless end cap. REMOVING THE TONER FILL PLUG NOTE: Note the original positioning (shown) for reassembly. 5. Carefully insert a small flathead screwdriver between the base 6.
- Page 4 UNINET IMAGING INC. • XEROX ® PHASER 6250 CARTRIDGE REMANUFACTURING INSTRUCTIONS OUTER CONTAINER GEARSIDE (SLIDES OUT) END CAP 7. Toner fill plug removed. SEPARATING THE TONER CARTRIDGE 8. Locate the gear side of the cartridge (shown). Note the original positioning of the plug for reassembly.
- Page 5 UNINET IMAGING INC. • XEROX ® PHASER 6250 CARTRIDGE REMANUFACTURING INSTRUCTIONS 11. Wipe the seal opening and surroundings clean using iso- ® INSTALLING THE CLEARSEAL ADHESIVE propyl alcohol and a lint free cloth. 12. Make sure that the new seal is being placed in its proper position (shown) before applying.
- Page 6 UNINET IMAGING INC. • XEROX ® PHASER 6250 CARTRIDGE REMANUFACTURING INSTRUCTIONS INSTALLING THE CARTRIDGE 16. Continue until it is completely inserted. 15. Slide the cartridge into the container as indicated. 17. Final result. REFILLING THE TONER CARTRIDGE 18. Place the cartridge in a vertical position and refill with the You are now ready to fill the cartridge.
- Page 7 UNINET IMAGING INC. • XEROX ® PHASER 6250 CARTRIDGE REMANUFACTURING INSTRUCTIONS INSTALLING THE GEARLESS END CAP 19. First, wrap the remaining seal around the toner fill plug as shown. 20. Place the gearless end cap, in its original positioning, over 21.
- Page 8 UNINET IMAGING INC. • XEROX ® PHASER 6250 CARTRIDGE REMANUFACTURING INSTRUCTIONS REPLACING THE OEM CHIP 23. Using a small flathead screwdriver, press down on the tabs 22. Locate the OEM chip housing near the gearless side of the (shown on either side) to release the chip housing.
- Page 9 UNINET IMAGING INC. • XEROX ® PHASER 6250 CARTRIDGE REMANUFACTURING INSTRUCTIONS 26. Carefully lift the chip from its housing. ® ® INSTALLING THE UNICHIP CONTACT SMARTCHIP 27. Place the new chip on the cartridge in the manner shown. 28. Place the housing over the chip as shown.


Need help?
Do you have a question about the PHASER 6250 and is the answer not in the manual?
Questions and answers