Advertisement
Quick Links
www.smarTrike.com
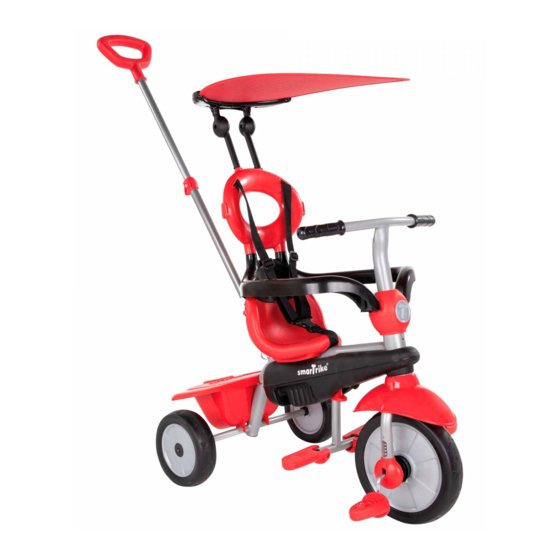
Thank you for buying smarTrike.
If you have any assembly questions,
please contact us for assistance
or store returns.
help@smartrike.com
USA: 1-855-SMTRIKE
(1-855-768-7453)
USA: 1-855-SMTRIKE
(1-855-768-7453)
Watch a live assembly !
Scan this code to view
a step-by-step visual guide, and
assemble your product with ease.
www.Assembly.smarTrike.com/Zoom
-1-
Ⓡ
31902A
Advertisement

Related Manuals for SmartTrike Zoom 319


Summary of Contents for SmartTrike Zoom 319
- Page 1 Thank you for buying smarTrike. Ⓡ If you have any assembly questions, please contact us for assistance or store returns. help@smartrike.com USA: 1-855-SMTRIKE www.smarTrike.com (1-855-768-7453) USA: 1-855-SMTRIKE (1-855-768-7453) Watch a live assembly ! Scan this code to view a step-by-step visual guide, and assemble your product with ease.
- Page 2 Check out other Ⓡ amazing smarTrike products to keep your children active! Activity Centers Balance Bikes Scooters...
- Page 3 Zoom 319 607130 607120 665100 607210 607220 607150 607110 607200 607141 607140 665160 607160 607190 Spare part Scan this code to view a step-by-step visual guide, and assemble your product with ease...
- Page 4 Step 1 Parts needed to complete this section On one side of the rear tube, insert “ ” then insert “ ” with an “ ”. Repeat for the other side . Align and insert N in the dropout hole of rear tube.
- Page 5 Step 2 Parts needed to complete this section Note: The red button aligns the hole. Put the screw on the slot of the connector. Insert part E to the trike body. the hole (as shown) Insert part C to the mudguard (D).
- Page 6 Step 3 Parts needed to complete this section insert, slightly turn until you insert, Turn the apple to face you. Push the apple until you hear a "click" sound. Pull the wheel clutch outward for parent control mode. With the red button on the right side of the trike, insert the wheel Cover the connector.
- Page 7 Step 4 Parts needed to complete this section Place and "click" F on rear Use O1 to unscrew the back axle. screw (counter clockwise). Use O1 to secure the basket (clockwise). Scan this code to view a step-by-step visual guide, and assemble your product with ease...
- Page 8 Step 5 Parts needed to complete this section 3a 5a Place G aligned with the rear body's hole. Insert the screw through G and secure the hole in Unscrew the seat's screw. the rear body with O2, clockwise. 31902A 1. Insert H behind the apple until it 'clicks'.
- Page 9 Step 6-7 Parts needed to complete this section WARNING: This product should be used on safe ground, it should not be used near steps, slopes, roadways, public highways or wet areas. WARNING: Ensure safety pin is inserted correctly and secured. 1.
- Page 10 Step 8 Parts needed to complete this section WARNING: Nut must be inserted correctly and secured. Insert J into part I. Insert part O2 into the Keep the nut in place, remove Align the hole of part I with the safetybar, until you the screw from part I by the corresponding hole in turning counter clockwise.
-
Page 11: Parent Control
Parent Control Free-wheel Position: When the clutch is pulled away from the wheel, there is no pedal control. The wheel is in the free-wheel position. Child Control For the 24+ months stage, Push release button to place it fold up left and right footrest. back into frame. - Page 12 The child has pedal control when the clutch is: 1. Pushed closed. 2. Aligned with the front wheel. Step 2: Secure the screw at the second hole. Scan this code to view a step-by-step visual guide, and assemble your product with ease -12-...
- Page 13 Scan this code to view a step-by-step visual guide, and assemble your product with ease -13-...
- Page 14 -14-...
- Page 15 -15-...
- Page 16 www.smarTrike.com 31928183603 -16-...
Need help?
Do you have a question about the Zoom 319 and is the answer not in the manual?
Questions and answers