Sign In
Upload
Download
Table of Contents
Contents
Add to my manuals
Delete from my manuals
Share
URL of this page:
HTML Link:
Bookmark this page
Add
Manual will be automatically added to "My Manuals"
Print this page
×
Bookmark added
×
Added to my manuals
Manuals
Brands
Spartan Manuals
Industrial Equipment
1065
Product manual
Spartan 1065 Product Manual
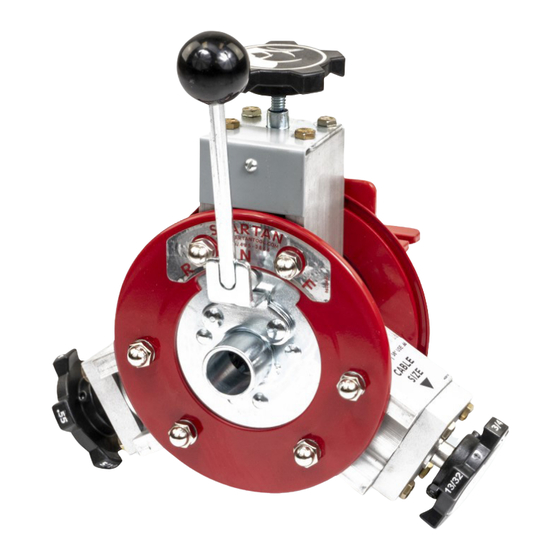
Power cable feed
Hide thumbs
Also See for 1065
:
Owner's manual
(63 pages)
1
Table Of Contents
2
3
4
5
6
7
8
9
10
11
12
13
14
15
16
17
18
19
20
21
22
23
24
page
of
24
Go
/
24
Contents
Table of Contents
Bookmarks
Table of Contents
Table of Contents
Warnings & Introduction
Introduction
Cable Safety Guide
Attaching the Cable Safety Guide to the Power Cable Feed
Setting Cable Size
Setting Your Spartan Power Cable Feed Cable Size
Parts & Assembly
Universal Power Feed (04221000)
Power Feed Assembly (04217500)
Bearing Block Assembly, Long (04224000)
Bearing Block Assembly, Short (44219900)
Wheel Carrier Body Comp, Long (44119600)
Wheel Carrier Body Comp, Short (44119700)
Installation Instructions
Installation Instructions for Model 1065 & 2001
Installation Instructions for Model 300
Installation Instructions for Model 100
Operating Instructions
Cleaning Operation
Disassembly & Reassembly
Disassembly of Short Bearing Blocks
Disassembly of Long Bearing Blocks
Disassembly of Short Bearing Blocks
Re-Assembly of Short Bearing Blocks
Re-Assembly of Long Bearing Blocks
Instructions
Warranty Information
Advertisement
Quick Links
1
Universal Power Feed (04221000)
2
Power Feed Assembly (04217500)
Download this manual
PRODUCT MANUAL
Power Cable Feed
Spartan Tool LLC
|
1618 Terminal Road
|
Niles, MI 49120
800.435.3866
SpartanTool.com
order by phone
order online
© 2020 Spartan Tool LLC
Part #04421100 (Rev. G) 2020-011
Table of
Contents
Previous
Page
Next
Page
1
2
3
4
5
Advertisement
Table of Contents
Need help?
Do you have a question about the 1065 and is the answer not in the manual?
Ask a question
Questions and answers
Related Manuals for Spartan 1065
Pipe cleaners Spartan 1065 Owner's Manual
(63 pages)
Cleaning Equipment Spartan 100 Owner's Manual
(58 pages)
Cleaning Equipment Spartan 300 Product Manual
Electric drain and sewer cleaning machine (44 pages)
Industrial Equipment Spartan 87301 Installation Instructions Manual
(27 pages)
Industrial Equipment Spartan 2001 Product Manual
Power cable feed (24 pages)
Industrial Equipment Spartan TE200 Series User Manual
(5 pages)
This manual is also suitable for:
2001
300
100
Table of Contents
Print
Rename the bookmark
Delete bookmark?
Delete from my manuals?
Login
Sign In
OR
Sign in with Facebook
Sign in with Google
Upload manual
Upload from disk
Upload from URL


Need help?
Do you have a question about the 1065 and is the answer not in the manual?
Questions and answers