Advertisement
This product is intended for installation only by expert users. Please consult with a qualified technician for installation. Improper installation may result in damage to your equipment. EK Water Blocks assumes no liability
whatsoever, expressed or implied, for the use of these products, nor their installation. The following instructions are subject to change without notice. Please visit our web site at
Before you start using this product please follow these basic guidelines:
1.
Please carefully read the manual before through before beginning with the installation process!
2.
Art eraser insulation method is not recommended on graphics cards which exhibit severe memory IC "cold bug". In such cases EK recommends either Vaseline coat insulation method or using
neoprene sheets.
3.
It is vital to ensure proper VRM (voltage regulation module) cooling, especially when overclocking high power draw graphics cards. Leaving VRMs uncooled may result in permanent damage
to the graphics card.
4.
It is vital to insulate PCI-express goldfingers (pins) on the motherboard in order to prevent any short circuit which may damage motherboard and/or graphics card. Standard extreme
overclocking rules and precautions apply.
STEP 1: GENERAL INFORMATION ON PRODUCT COMPATIBILITY
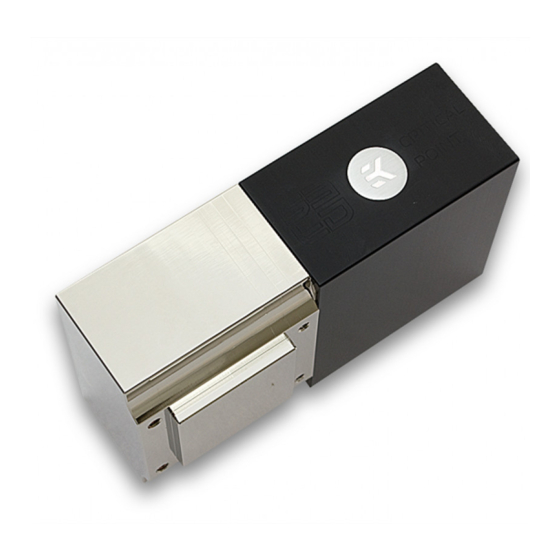
Congratulations on your purchase of EK-SF3D Critical Pint universal GPU liquid
nitrogen evaporation cooler. This item comes pre-assembled and ready for use on
GeForce GTX 670/680/770/780(Ti)/Titan series graphics cards.
In order to install this product on graphics card other than mentioned above it is
mandatory to exchange the mounting plate for alternative enclosed with this product
as well as on how to install the thermal probe please SEE STEP 5 and STEP 6.
M4x6 DIN7991 screw
GPU mounting plate with
standoff
0.8mm plastic washer
Aluminum extension
Main copper core
STEP 3: PREPARING THE GRAPHICS CARD
1. CLEANING THE CARD: Carefully detach the original stock cooler after removing
all screws securing it to the board. Wipe off the remains (by using non–abrasive
cloth or
qtip
, as shown on sample photo) of the original thermal compound until the
components and circuit board are completely clean. EKWB recommends the use of
denatured alcohol for removing TIM leftovers.
2. APPLYING THERMAL COMPOUND: Wipe off the remains (by using non–
abrasive cloth or
qtip
) of the original thermal compound until the components and
circuit board are completely clean. Apply thermal compound: lightly coat GPU chip
with enclosed Gelid GC-Extreme thermal grease. EKWB recommends to apply
thermal grease in cross form for best performance (see sample picture).
STEP 4 cont.: INSTALLING THE GPU EVAPORATOR UNIT
1. USING NO BACKPLATE: By using Philips screwdriver screw in enclosed
M3x4 DIN7985 screws (or M2.5x4 DIN7985 – depending on the type of graphics
card; see STEP 5). Always use a plastic washer under each and every screw!
All disclosures, notices and warranty conditions are being written on EK Water Blocks website.
EK-SF3D Critical Point
GPU liquid nitrogen evaporation cooler installation manual
STEP 2: TABLE OF CONTENT
The following items are enclosed with each EK-SF3D Critical Point unit:
Insulation material is not enclosed. We
recommend self-adhesive neoprene tape
(50mm wide; 3mm thickness). Insulation
material must never overlap or interfere in any
other way with mounting hold-down plate
and/or standoffs!
STEP 4: INSTALLING THE GPU EVAPORATOR UNIT
Put the insulated EK-SF3D Critical Point unit on it's back and place the
graphics card onto the unit as shown on the picture below:
2. USING UNIVERSAL BACKPLATE:
1) Install four (4) enclosed M3 Thumbs screws with washers onto the graphics
card.
2) Place universal GPU backplate on top of
it with enclosed M3x4
DIN7985 screws.
This backplate system is designed
Screw M3 or M2.5x4
to accommodate 10mm thick sheet
DIN7985
of insulation material (neoprene)
beneath the back plate assembly.
Plastic washer
Screw M3x4 DIN7985
M3 Thumb Screw
-
EK-SF3D Critical Point
/w pre-installed G80 mounting plate and 2.5mm M3
standoffs
-
Universal GPU Backplate (stainless steel)
-
Additional mounting plates:
G92 (53x53mm square pattern) /w 2.5mm standoffs (M3 thread)
o
G200 (61x61mm square pattern) /w 3.9mm standoffs (M2.5 thread)
o
GF560 /w 3.9mm standoffs (M3 thread)
o
HD7970 (54x54mm square pattern) /w 2.5mm standoffs (M3 thread)
o
-
Mounting screws:
Plastic washers M4 (0.8mm) & M3 (0.5mm)
o
M3 Thumb screws
o
M3x4 DIN7985 screws
o
M2.5x4 DIN7985 screws
o
Additional 3.9mm standoffs (M3 thread)
o
Required set of 2.5mm Allen key and EK-UNI standoff key
-
TIM Gelid GC-Extreme (1.5g)
-
Universal GPU
backplate
www.ekwb.com
for updates.
thumbs screws and secure
th
Revision 1.0. Released on 5
of December, 2013.
Advertisement
Table of Contents

Related Manuals for ekwb EK-SF3D Critical Point


Summary of Contents for ekwb EK-SF3D Critical Point
- Page 1 STEP 4: INSTALLING THE GPU EVAPORATOR UNIT 1. CLEANING THE CARD: Carefully detach the original stock cooler after removing Put the insulated EK-SF3D Critical Point unit on it’s back and place the all screws securing it to the board. Wipe off the remains (by using non–abrasive...
- Page 2 STEP 5: INSTALLING THERMAL SENSOR PROBE AND/OR ALTERNATIVE GPU MOUNTING PLATE Prior to take the next steps it is mandatory to remove the four M4x6 DIN7991 screws holding the mounting plate attached to the copper base. Use enclosed Allen key 2.5mm to remove the screws as shown in STEP 1. 1.INSTALLING THERMAL SENSOR PROBE: After disassembling the mounting plate as shown on the STEP 1 please install the thin-wire K-type thermocouple (TC) sensor/probe (or equivalent;...
Need help?
Do you have a question about the EK-SF3D Critical Point and is the answer not in the manual?
Questions and answers