Advertisement
This product is intended for installation only by expert users. Please consult with a qualified technician for installation. Improper installation may result in damage to your equipment. EK Water Blocks assumes no liability
whatsoever, expressed or implied, for the use of these products, nor their installation. The following instructions are subject to change without notice. Please visit our web site at
of this product please read important notice, disclosure and warranty conditions printed on the back of the box.
Before you start using this product please follow these basic guidelines:
1.
Please carefully read the manual before through before beginning with the installation process!
2.
Please remove your motherboard from the computer to assure safest mounting process in order to prevent any possible damages to your CPU and/or motherboard's circuit board (PCB).
3.
The EK-HFB, EK-HDC and EK-ACF type fittings require only a small amount of force to screw them firmly in place as the liquid seal is ensured by the rubber o-ring gaskets.
4.
The use of corrosion inhibiting coolants is always recommended for any liquid cooling system.
STEP 1: GENERAL INFORMATION ON PRODUCT COMPATIBILITY
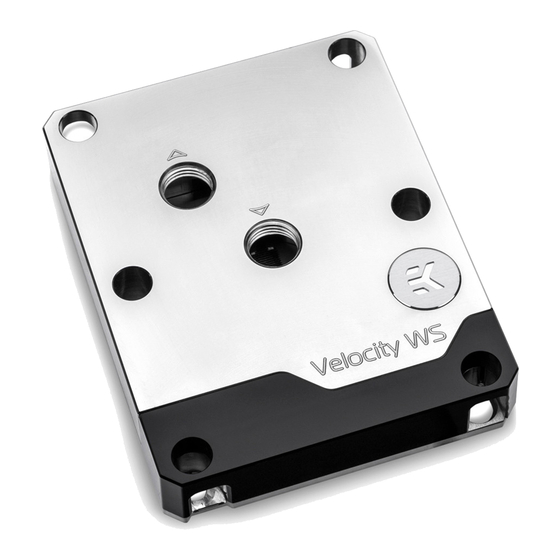
Congratulations on your purchase of EK-Velocity WS water block. This
water block is pre-assembled for use with modern Intel
with LGA 3647 socket for server and workstation type motherboards.
This water block supports the LGA 3647 socket.
STEP 3: PREPARING CPU AND APPLYING THERMAL GREASE (TIM)
Cleaning the CPU: Wipe the CPU's contact surface (by using non–
Q-tip
abrasive cloth or
).
Applying thermal compound: EK recommends a blob or line method
of applying the enclosed EK-TIM Ectotherm™ thermal compound to the
CPU heatspreader (IHS) - see sample photo on right. The quantity of
about pea size is just about right. There is no need to cover the whole
IHS. Applying too much thermal grease will have negative impact on the
cooling performance!
All disclosures, notices and warranty conditions are being written on EKWB website.
EK-Velocity WS
STEP 2: TABLE OF CONTENT
®
Processors
Top
O-Ring
Jet Plate
Mounting plate
Copper Base
M3x18
STEP 4: INSTALLING THE WATER BLOCK
1) On majority of motherboards the EK-Velocity WS can be sucessfully
installed with motherboard already being pre-fitted to the computer
chassis. Still, it is best practice to place a motherboard on an even
surface with front side facing up.
2) Install CPU and apply TIM (thermal grease) as shown in STEP 3
3) Align water block above the LGA 3647 socket on motherboard with
pre-installed CPU.
4) You have to tighten the screws in cross pattern sequence using 4mm
Allen Key. Screws 1 and 2 must be tightened until they hit the limiter
and are not able to turn more.
Do not overtighten the screws 3 and 4!
series CPU water block installation manual
3
1
Revision 1 Released on 7
www.ekwb.com
for updates. Before installation
2
4
th
of March 2019
Advertisement
Table of Contents

Related Manuals for ekwb EK-Velocity WS Series


Summary of Contents for ekwb EK-Velocity WS Series
- Page 1 Allen Key. Screws 1 and 2 must be tightened until they hit the limiter and are not able to turn more. Do not overtighten the screws 3 and 4! All disclosures, notices and warranty conditions are being written on EKWB website. Revision 1 Released on 7 of March 2019...
- Page 2 Please ensure that the arrow indicated on the connector is plugged into the +12V line as indicated on your motherboard. Failure to do so, will damage your motherboard or LED strip. All disclosures, notices and warranty conditions are being written on EKWB website. Revision 1 Released on 7...
Need help?
Do you have a question about the EK-Velocity WS Series and is the answer not in the manual?
Questions and answers