NuTone Heat-A-Ventlite 665RP Installation Instructions
Hide thumbs
Also See for Heat-A-Ventlite 665RP:
- Installation manual (13 pages) ,
- Instruction manual (9 pages) ,
- Installation instructions (4 pages)
Table of Contents
Advertisement
Quick Links
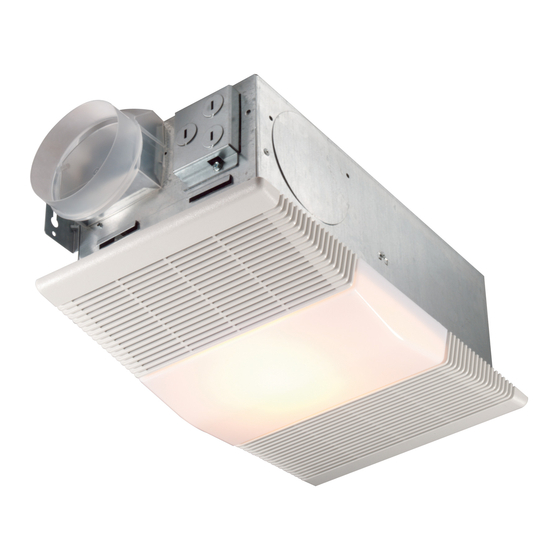
Heat-A-Ventlite
Combination
MODEL: 665RP
Type IC suitable for use under thermal insulation
LOCATION
1. Mount heater to ceiling joists, or if necessary, to a header
installed between joists.
2. Caution: Do not mount heater closer than 12" to a
vertical surface. Do not mount over tub or in shower
enclosure.
3. Installation in existing construction requires an accessible
area above the desired location. Make sure that wiring
and ducting can be run to the location.
4. For installation in sloped ceilings up to 12/12 pitch.
5. Ductwork must point up.
MOUNTING HEATER HOUSING
NEW CONSTRUCTION
Using Hanger Bars
Refer to Figure 1.
1. Insert hanger bars in slots provided in housing.
2. Locate heater housing between joists so that bottom of heater housing is even with the planned finished ceiling.
3. Use screws or nails (not provided) to secure hanger bars to ceiling joists.
Using Side Mounting Tabs
1. Locate heater housing next to ceiling joist.
2. Use wood screws (not provided) through keyhole slots in mounting tabs to loosely attach housing to ceiling joist.
3. Adjust housing so that it will be flush with the finished ceiling. When housing is properly adjusted, tighten screw in slots to
secure housing.
EXISTING CONSTRUCTION
1. Determine desired location for heater.
2. Drill a small hole through the ceiling at the desired location and stick a coat hanger or stiff wire through hole into attic to
help find the location from above.
3. Check the area above to make sure that wiring and ducting can be installed and that the installation will not interfere with
existing electrical wiring.
4. From above, place the housing between ceiling joists at the desired location. Using the housing as a template, mark the
area to be cut out along the bottom flange of the housing.
5. After making the cutout, install the housing in the opening using the hanger bars or mounting tabs as described above.
Make sure that the bottom of the housing is flush with the bottom of the finished ceiling.
To register this product, visit www.nutone.com
®
INSTALLATION INSTRUCTIONS
READ & SAVE THESE INSTRUCTIONS!
FIGURE 1
Advertisement
Table of Contents

Related Manuals for NuTone Heat-A-Ventlite 665RP


Summary of Contents for NuTone Heat-A-Ventlite 665RP
- Page 1 To register this product, visit www.nutone.com INSTALLATION INSTRUCTIONS READ & SAVE THESE INSTRUCTIONS! Heat-A-Ventlite ® Combination MODEL: 665RP Type IC suitable for use under thermal insulation LOCATION 1. Mount heater to ceiling joists, or if necessary, to a header installed between joists.
- Page 2 To remove the lens for relamping, gently pry along before turning back on. If heater does not reset or trips the side of the lens with a screwdriver to disengage the repeatedly, contact a NuTone service center. snap in tabs while pulling down on the lens. LENS...
- Page 3 Product specifications subject to change without notice. 4820 Red Bank Road, Cincinnati, Ohio 45227 Printed in Canada, Rev. 02/06, Part No. 101001...
- Page 4 30652-000 89760 Grille 89760-000 53740 Lens 53740-000 89765 Reflector 89765-000 35758 Lamp Socket 35758-000 NuTone Attn: Parts Department 4820 Red Bank Road NOTE: Always order by Cincinnati, OH 45227-1599 current part number Phone: (513) 527-5426 Fax: (513) 527-5173 665RP I.I.
Need help?
Do you have a question about the Heat-A-Ventlite 665RP and is the answer not in the manual?
Questions and answers