Advertisement
Quick Links
Advertisement

Related Manuals for Tentandtable.com WEST COAST FRAME TENT 20x40


Summary of Contents for Tentandtable.com WEST COAST FRAME TENT 20x40
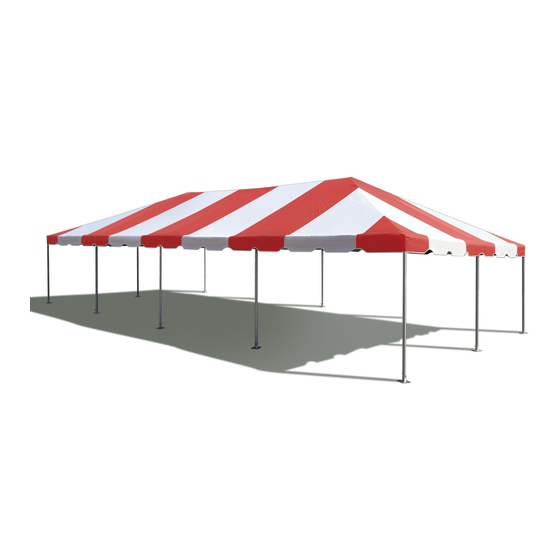
- Page 1 Assembly Instructions WEST COAST FRAME TENT 20´x40´...
- Page 2 716 832-TENT ( 8368 ) WEST COAST TENT OVERVIEW West Coast designed tents involved less frame work, with no center poles. This tent features stronger tubes, fewer parts which makes for faster set-up. It’s worth pointing out fewer parts means; less load, less to assemble, faster set-up and faster strike time.
- Page 3 716 832-TENT ( 8368 ) STEP 1. CHECK ITEM LIST (20ft. x 40ft.) Item Illustration Size Quantity (all parts available for replacement) Size: 14´ -4˝(red) 20x40 Hip Rafters (yellow/red) SKU: BT-WCF-PIPE-RED Size: 10´ -6˝(green) Rafters 20x40 (green/red) SKU: BT-WCF-POLE21-10 Size: 9´ -4˝(white) 20x40 Spreaders (white/red)
-
Page 4: Step 2. Safety Check List
716 832-TENT ( 8368 ) STEP 1. CONTINUED Estimated Recommended Tent Size Quantity Tools This item is very important in 6ft. step ladders 10 x 10 none the process, Frame Tent Jack 10 x 20 none Sledge Hammer 15 x 15 none (sold separately). - Page 5 716 832-TENT ( 8368 ) STEP 3. LAYOUT FRAME • Place all tent poles and fittings on the ground in the location Position parts in the exact location of finished tent you have selected for the finished tent • This layout is illustrates a 20 x 40 tent —...
- Page 6 716 832-TENT ( 8368 ) STEP 5. COMPLETED FRAME • Now that the frame portion is complete and while the frame is still on the ground, double check the ‘R’-pins • Also, with plenty of hands on deck, lift and adjust frame position if needed, at this point •...
-
Page 7: Step 10. Installing Legs
716 832-TENT ( 8368 ) STEP 8. CANOPY CORNERS • After canopy is pulled over frame and and corners are pulled into position, Under canopy velcro corner seams together, loosely— there will be tighten after legs are installed several Spring Buckle Straps •... - Page 8 716 832-TENT ( 8368 ) • For larger tents, (15x30 and larger) STEP 10. INSTALLING LEGS (15x30 and larger tents) frame tent jacks should be used to raise the frame and install the leg poles • Locate one of the long sides of the frame—this will be raised first, while the 20 x 40 example opposite side remains on the ground...
- Page 9 716 832-TENT ( 8368 ) • As the assembly nears completion it STEP 12. SECURING ROPES is time to tighten all ropes/ratchet straps • Keep an eye any lean that might be caused Anchor Ropes by the tightening process should be tight •...
- Page 10 716 832-TENT ( 8368 ) WIND AND RAIN – IMPORTANT INFORMATION: WIND! Wind can cause the ratchet assemblies and stakes to loosen, or cause the poles to sink or shift through constant movement and vibration — the tension of the tent will be negatively altered. Follow these steps to provide extra security and safety during windy conditions: •...
- Page 11 716 832-TENT ( 8368 ) (basically, reverse order from assembly) STRIKE PROCEDURE 1.) Undo ratchet strap assemblies/untie ropes 7.) Lower rest of frame to ground 2.) Unfasten spring buckle straps, under canopy 8.) Lay tarp next to a long side of frame 3.) Remove leg poles, on one long side 9.) Loosen canopy corners (use tent jacks for larger tents)
- Page 12 Appendix A. • Plans— showing tent sizes, leg pole and connector quantity and locations 20X40 TENT Leg pole and base plate positions 9´-4˝(W) 10´-6˝(G) 9´-4˝(W) 6-way crown ridge crown side tee (14) spreaders-w (4) hip rafters-r (8) rafters-g corner fitting Refer to (page 1) for basic spreader and rafter layout...
Need help?
Do you have a question about the WEST COAST FRAME TENT 20x40 and is the answer not in the manual?
Questions and answers