Table of Contents
Advertisement
Quick Links
Advertisement
Table of Contents

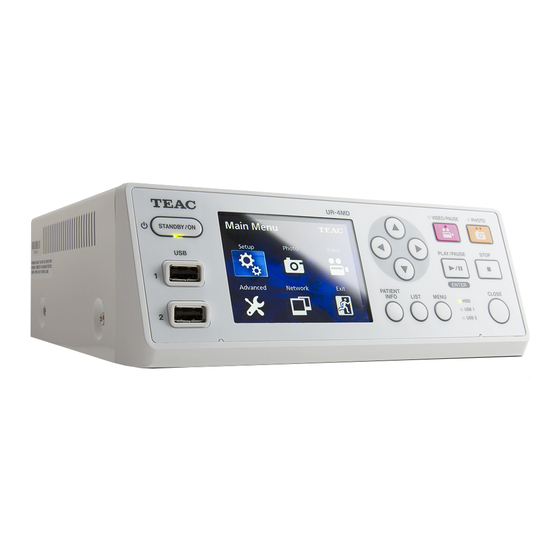
Summary of Contents for Teac UR-4MD DICOM
- Page 1 Instructions For Use UR-4MD DICOM Digital Video Recorder Thank you for choosing TEAC. Read this manual carefully to get the best performance from this unit. After reading this manual, keep it in a safe place for future reference. August 2019...
-
Page 2: Table Of Contents
General ............2 This manual explains how to set up UR-4MD DICOM Settings . -
Page 3: Settings
Getting started Obtaining of an IP address is essential to activate DICOM funciton on the TEAC UR-4MD. It can be done by locat- ing a computer (PC or Mac) and the UR-4MD in the same network. Establish network connection for the computer... -
Page 4: Obtain An Ip Address Automatically (Dhcp)
General Obtain an IP address automatically (DHCP) When the network supports DHCP or if not sure, follow the steps below. Press the ENTER button to open the Network Options. Move the cursor to “IP Address” and select “Automatic (DHCP)”. Press the ENTER button to determine “Automatic (DHCP)”... -
Page 5: Obtain An Ip Address Manually
MAC address. It is unique to each unit. This address is required to achieve an “Activation Key” from TEAC for DICOM activation. The IP address “192.168.0.121“ shows up with the blinking cursor in the top row. This is a default IP address. -
Page 6: Establishment Of Network Communication
General Establishment of Network Communication Using the obtained IP address, establish network com- munication between the UR-4MD and server. Open a browser, such as Internet Explorer, Microsoft Edge, Chrome™ browser, Firefox or Safari, on the computer. Enter the UR-4MD IP address that was obtained in the previous process, followed by “:10080”... -
Page 7: Activation
General Activation When the browser shows the “UR-4MD” screen, perform the following steps. Click DICOM Service. The browser shows the Activation Key input dialog. Continued on the next page... - Page 8 IMPORTANT NOTE o The MAC address is required to receive the subject key from TEAC. See the last part of the section “Obtain an IP address automatically (DHCP)” on page 4 or “Obtain an IP address manually” on page 5 for how to check the MAC address.
- Page 9 Digital Video Recorder About Device status Device status Device Good ( FW Ver : x.xx FPGA Ver : xxxxxxxx ) Set-up Hard Drive Good ECHO test DICOM service DICOM settings Administration Current settings Log file Date & Time TEAC Corporation...
-
Page 10: Basic Settings Screen Operation
General Basic settings screen operation Open the settings screen and select “DICOM settings” on the left side. UR4MD Digital Video Recorder About DICOM settings *Click "Save Changes" button to update you settings. Device status General Set-up UR4MD Station (Name) In case of blank, UR4MD is set ECHO test DICOM service Institution... -
Page 11: Explanation Of Setting Items
General Explanation of setting items General Station (Name) General Enter the station name. In case of UR4MD Station (Name) blank, UR4MD is set Institution (Name) Enter the institution name. Institution (Name) Manufacturer’s Model (Name) Enter the model name. Manufacturer's Model (Name) SC (Secondary Capture) Image Device ID Enter the secondary capture device ID. -
Page 12: Modality Worklist Management
General Modality Worklist Management Mode Modality Worklist Management Set this to ON to connect to an MWM server. Mode Value Representations Select the transfer data structure. Value Implicit Explicit Representations Explicit: Explicit VR Little Endian Implicit: Implicit VR Little Endian IP address IP address Enter the MWM server IP address. -
Page 13: Echo Testing
General ECHO testing DICOM C-ECHO testing can be conducted with any DICOM SCP or other storage or MWM servers that have been set in advance. Select “ECHO test” from the items on the left side of the screen, and test each server from the right side of the screen. Open the settings screen and select “ECHO test”... -
Page 14: Using Dicom Functions
Using DICOM functions Press the MENU button. Storage function By enabling the storage function, when still images are captured by the UR-4MD, they can be automat- ically transferred to the server set using the DICOM Storage settings. If images cannot be sent because of network transmission issues or inability to connect to the server, for example, it will keep retrying until connec- tion becomes possible.


Need help?
Do you have a question about the UR-4MD DICOM and is the answer not in the manual?
Questions and answers