
Subscribe to Our Youtube Channel
Related Manuals for FuzzDog 3PDT


Summary of Contents for FuzzDog 3PDT
- Page 1 FuzzD’s 3PDT ‘Direct Connect’ DaughterBoard Minimising your wiring woes Contents of this document are ©2015 Pedal Parts Ltd. No reproduction permitted without the express written permission of Pedal Parts Ltd. All rights reserved.
- Page 2 First things first.. DO NOT SOLDER YOUR 2K2 CURRENT LIMITING RESISTOR (CLR) TO THE MAIN PCB OF THE PROJECT. It should be soldered on to the footswitch daughterboard. It isn’t the end of the world if you’ve not bothered to read this document before starting and have used it, but it means running wire where there shouldn’t be any.
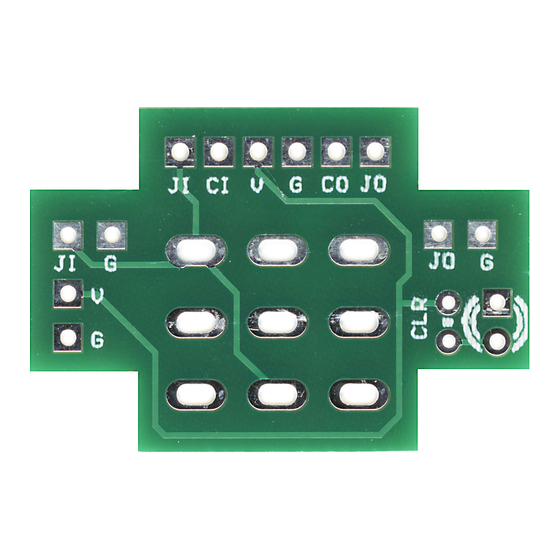
- Page 3 They can be used with any circuit, but will be neatest when paired with a FuzzDog PCB which has the pads in the matching configuration, enabling perfectly straight wire runs, or even 2.5mm pitch ribbon cable.
- Page 4 In the case above the Enlightned MkII PCB has six corresponding pads with the daughterboard, including Jack In and Jack Out. It can be connected with 6 wires or ribbon cable. You then have the choice of taking the Jack Signal and GND connections from either board which can make your wiring shorter and neater. Notice there are unused Jack and GND connections on both boards, as the closest ones have been used in each case.
- Page 5 BATTERY There’s no provision for adding a battery on the DB. Simply wire it as shown, connecting to the RING lug of a stereo jack, and the switched + lug of the DC socket. FuzzDog co uk...
- Page 6 BATTERY - POSITIVE GROUND FuzzDog co uk...
Need help?
Do you have a question about the 3PDT and is the answer not in the manual?
Questions and answers