Summary of Contents for Seek Thermal Reveal FirePRO
- Page 1 Reveal FirePRO Manual A comprehensive guide to understanding and operating your Thermal Imaging Camera (TIC)
-
Page 2: Table Of Contents
Charging your Battery ........................ 4 Setting up your Device ......................4 Home Screen ..........................5 Temperature Color Bar ......................5 Reveal FirePRO Interface ......................6 Modes ............................7 Fire Mode ..........................7 Survey Mode ..........................7 Color Mode ..........................8 Menu ............................. -
Page 3: Registering Your Product
Registering your product • By sharing your name, email, and serial number, you enable us to send you product updates and tips and techniques. We can also expedite your warranty inquiries by knowing when and where you purchased your FirePRO. •... -
Page 4: Quick Start
ANY button. NOTE: Reveal FirePRO will provide up to 4 hours of imaging time with a full charge. Setting up your Device To turn on your device, press the CENTER button and hold until the screen lights up. -
Page 5: Home Screen
The Seek Thermal watermark is located at the left-hand corner of the screen, and the battery life at the bottom right-hand corner of the screen. -
Page 6: Reveal Firepro Interface
Reveal FirePRO Interface... -
Page 7: Modes
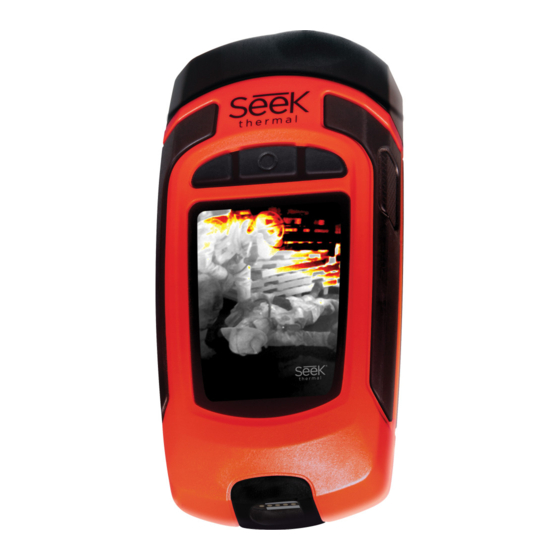
Modes The Reveal FirePRO has three different modes which have been optimized for Firefighters and First Responders. Press the LEFT button to cycle through the different modes. Fire Mode Displays an image in shades of gray, which turn bright orange/red when areas of extreme heat are present. -
Page 8: Color Mode
Color Mode This is a demonstration mode and is best-suited for the classroom, which highlights areas of heat in red with colorful borders as the temperature decreases. While it’s seldom used in the field, this is a useful demo mode for third-party observers. -
Page 9: Menu
Menu To access the menu, simultaneously press and hold both the LEFT and RIGHT buttons for one second. You will then be directed to the following screen: The Menu gives you access to your gallery of saved images, switching temperature units from Fahrenheit to Celsius, and device settings and information. -
Page 10: Device
LEFT or RIGHT button down to adjust the brightness lower or higher. Flashlight While other Reveal devices are limited to ‘high’, ‘low’ and settings, the Reveal FirePRO includes a Strobe light option. This feature has been designed for helping locate downed firefighters in visually compromised scenarios. -
Page 11: Watermark
Pressing it four times will toggle you through the options ‘high, ‘low’, ‘strobe’ and ‘off’. The flashlight will work regardless of whether or not the camera is OFF. Watermark Press the CENTER button to turn the Seek Thermal watermark present at the bottom left of the scanning screen ‘on’ or ‘off.’ Restore This option will restore your device back to its factory settings. -
Page 12: Capturing A Photo
Downloading Images Images taken with Reveal FirePRO may be directly downloaded by opening the rubber door from the end of your camera and connecting the USB cable from your computer to the device. You can copy or drag photos to your computer (Mac or PC) for storage. -
Page 13: Cleaning The Lens
2. Use the Q-tip to lightly rub the reflective inner lens of the camera until clean. 3. Lightly pat and dry the lens with a clean cloth and let air dry. NOTE: Never use window cleaners, harsh chemicals, or cleaning solvents on your Reveal FirePRO, and never spray anything directly onto the screen. -
Page 14: Help And Customer Support
Help and customer support We’re here to help! If you need customer support for an issue not addressed here with your product, you may email your request directly to support@thermal.com. Your request will be answered within 3-5 business days. Note: Please include the information from the ‘About’ screen when contacting support if you have an issue. -
Page 15: Troubleshooting
Troubleshooting The device will not power on. • Try plugging the device in with the supplied wall charger or another 1-amp-rated (or greater) charger to ensure there is enough battery remaining. • Try performing a hard system reset by holding down the CENTER button for thirty seconds, release and wait. - Page 16 considerable amount of power. When the battery voltage drops to near empty, the flashlight will begin to dim to preserve battery life and allow the thermal imager to work. The camera keeps making a clicking noise. There’s no need to worry, this is perfectly normal and is simply the camera adjusting and calibrating the image to achieve the best image quality possible.


Need help?
Do you have a question about the Reveal FirePRO and is the answer not in the manual?
Questions and answers