Advertisement
Quick Links
Advertisement

Subscribe to Our Youtube Channel
Related Manuals for cetoni BASE 120


Summary of Contents for cetoni BASE 120
- Page 1 QUICKSTART GUIDE Instructions for the initial start...
- Page 2 Nevertheless, please take the time to study our hardware and software manuals. They contain all safety instructions as well as detailed information for the use of the CETONI products. For a first overview about the basic functions with our pump system we recommend to review chapter 4, 5 and 7 in our QmixElements software manual.
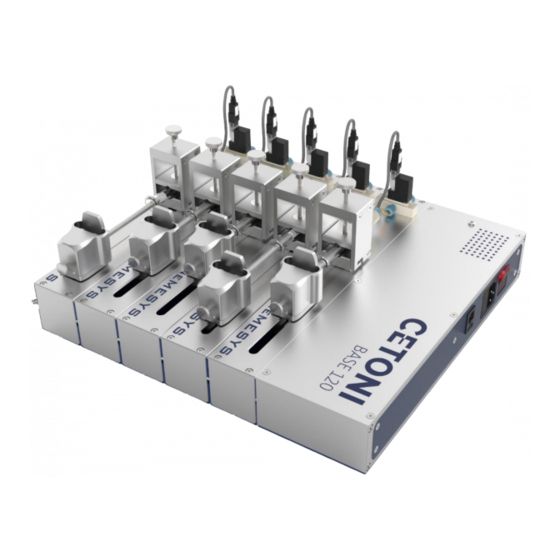
- Page 3 Example setup configuration: A BASE 120 Base Module Power Supply cable B 2 Low Pressure Syringe Pumps neMESYS 290N F Active USB-Cable C BUS Terminator G Interconnect cable D 2 Glass Syringes H Windows PC Quickstart Guide [V19072019]...
-
Page 4: Installation
Installation Step 1: Creating a device configuration 1. Install the QmixElements software on the supplied CD on your PC. (Please review chapter 3 in the QmixElements software manual for the system requirements and installation process.) 2. Please connect the base module with your control unit (PC). Use the supplied USB-cable and power-cable for this. - Page 5 Step 2: Configuring single modules 1. Please first connect only one module with the base module and follow the instructions displayed on the screen step by step. 2. After the successful configuration, disconnect the first module. 3. Follow the instructions displayed on the screen as before. 4.
- Page 6 Step 3: Plugging hardware modules together and connecting with software 1. After the successful software device configuration of all modules, you can connect the physical devices all together to one whole setup now. 2. After restarting the software you can finally create a connectivity with the physical devices by clicking on the “plug”-symbol in the left upper corner on the graphic user interface.
- Page 7 Step 4: Attaching syringes to the pump 1. Right-click on the syringe in the graphic user interface and choose “Configure Syringe”. 2. Choose the appropriate syringe from the pre-set table or create your own specific parameters. (Please review chapter 7 of the QmixElements software manual for more details.) 3.
- Page 8 Further functional software settings If your device consists of an external I/O-interface, you can assign e.g. a pressure sensor. By right-clicking on the “AnalogIN 1” icon (label „neMESYS Low Pressure 1 AnalogIN 1”) you can transform the channel into the adequate sensor property. (Please review chapter 8 QmixElements software manual for more details.) After converting the AnalogIN channel into the adequate device property (here: pressure) you can assign the pressure sensor from the I/O channel column per drag &...
- Page 9 Also by right-clicking to the valve-symbol you can configure an automated switching modus for the valve. (Please review chapter 7 of the QmixElements software manual and chapter 5 of the neMESYS 290N hardware manual for more details.) By moving with the mouse cursor over diverse icons, an explaining-window pops up‚ by right-clicking on the symbols different functional options are displayed.
-
Page 10: We Support You
The described steps in this Quickstart Guide have shown the principal settings and installation process of CETONI devices. The procedure is transferable to all other modules which are listed in the device configurator list. Further hardware manuals are freely downloadable on the related product websites.
Need help?
Do you have a question about the BASE 120 and is the answer not in the manual?
Questions and answers