Advertisement
Available languages
Available languages
WHAT'S IN THE BOX
• LED Fixture
• 2 x 1/2" Cable Glands
• 2 x Mounting Clips
• 4 x Mounting Screws
• 4 x Screw Anchors
• 1 x 1/2" Knockout Plugs
• 5 x Wire Nuts
WHAT YOU'LL NEED
• Safety Glasses
• Wire Cutters
• Wiring Supplies as specified by Code
WARNING
Turn off electrical power at fuse or circuit breaker box
•
before wiring fixture to the power supply.
Turn off the power when you perform any
•
maintenance.
Verify that supply voltage is correct by comparing it
•
with the luminaire label information.
Keep lens tightly closed when in operation.
•
Modifications to the product voids the warranty.
•
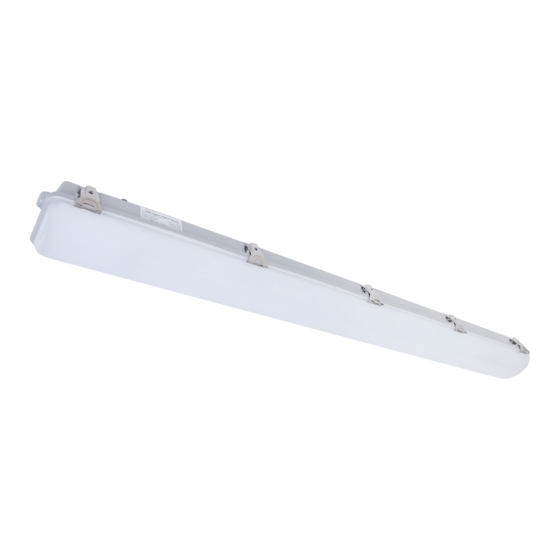
VP2 SERIES
VAPOR PROOF FIXTURE
INSTALLATION INSTRUCTIONS
For use with:
Model #
Voltage
VP2-4324-3
120-347V
VP2-4325-3
120-347V
VP2-4464-3
120-347V
VP2-4465-3
120-347V
VP2-8654-3
120-347V
VP2-8655-3
120-347V
IMPORTANT
Before assembling your PREMISE LED
fixture, please make sure that you
carefully read through this
instruction sheet. Consider having
your fixture installed by a qualified
licensed electrician.
Note: The important safeguards and
instructions that appear in this sheet
are not meant to cover all possible
conditions and situations that may
occur. It must be understood that
common sense, caution, and care
are factors that cannot be built into
any product. These factors must be
supplied by the person(s) caring for
and operating the fixture.
Wattage
CCT
32W
4000K
32W
5000K
46W
4000K
46W
5000K
65W
4000K
65W
5000K
PREMISE LED Inc.
80-86 Carrier Drive
Toronto, ON Canada
M9W 5R1
PREMISELED.COM
1
Advertisement
Table of Contents

Related Manuals for Premise VP2 Series


Summary of Contents for Premise VP2 Series
- Page 1 • LED Fixture • 2 x 1/2" Cable Glands IMPORTANT • 2 x Mounting Clips Before assembling your PREMISE LED • 4 x Mounting Screws fixture, please make sure that you • 4 x Screw Anchors carefully read through this •...
- Page 2 TO INSTALL THE FIXTURE 1. Mount the two ceiling brackets directly to the ceiling using suitable anchors and screws. The housing will snap into these when you attach the fixture after wiring. 2. Next, open the lens cover by opening the five stainless steel clips on each side of the lens.
- Page 3 OUTILS NÉCESSAIRES IMPORTANT • LUNETTES DE PROTECTION Lire attentivement cette feuille d’instruction avant de monter ce luminaire PREMISE LED. Il est préférable de faire installer ce • PINCE COUPE-FILS plafonnier par un électricien agréé. • FOURNITURES DE CÂBLAGE ÉLECTRIQUE N.B. Les mises en garde et consignes figurant sur TELLES QUE SPÉCIFIÉES PAR LE CODE...
- Page 4 MONTAGE AU PLAFOND 1. Monter les deux supports de montage directement au plafond en utilisant les vis et ancres appropriées. Le boîter va s’insérer par déclic dans ces supports lorsqu’ils seront alignés. 2. Ouvrir les loquets en acier inoxyable. Retirer le difuseur.
Need help?
Do you have a question about the VP2 Series and is the answer not in the manual?
Questions and answers