Advertisement
WHAT'S IN THE BOX
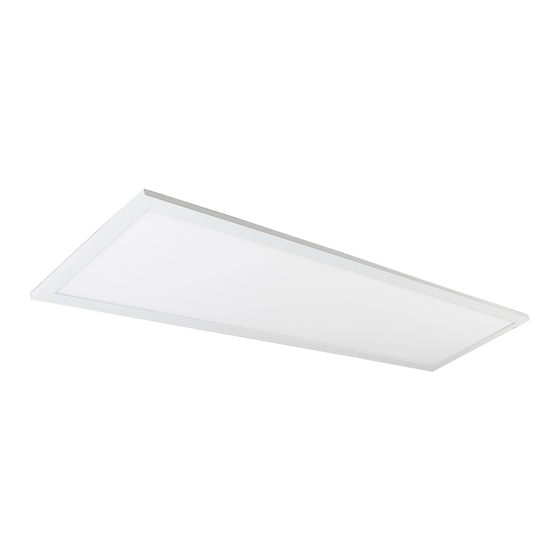
• LED FIXTURE
WHAT YOU'LL NEED
• SAFETY GLASSES
• WIRE CUTTERS
• AIRCRAFT CABLES (OPTIONAL, NOT INCLUDED)
• SURFACE MOUNT KIT (OPTIONAL, NOT INCLUDED)
WARNING
• Inherently protected
• Vapor barrier must be suitable for 90˚C
• Minimum 90˚ supply conductors
• Suitable above ceiling required
• Can be used in damp locaFons
• ModificaFons to the product voids the warranty.
FP4 SERIES
FLAT PANEL FIXTURES
INSTALLATION INSTRUCTIONS
For use with:
LED Flat Panels
FP4-1440S4-1
FP4-2240S4-1
FP4-2450S4-1
IMPORTANT
Before assembling your fixture,
please make sure that you carefully
read through this instrucFon sheet.
Consider having your fixture installed
by a qualified licensed electrician.
Note: The important safeguards and
instrucFons that appear in this sheet
are not meant to cover all possible
condiFons and situaFons that may
occur. It must be understood that
common sense, cauFon, and care are
factors that cannot be built into any
product. These factors must be
supplied by the person(s) caring for
and operaFng the fixture.
PREMISE LED Inc.
82-86 Carrier Drive
Toronto, ON Canada
M9W 5R1
PREMISELED.COM
1
Advertisement
Table of Contents

Related Manuals for Premise FP4 Series


Summary of Contents for Premise FP4 Series
- Page 1 FP4 SERIES FLAT PANEL FIXTURES INSTALLATION INSTRUCTIONS For use with: LED Flat Panels FP4-1440S4-1 FP4-2240S4-1 FP4-2450S4-1 IMPORTANT Before assembling your fixture, WHAT’S IN THE BOX please make sure that you carefully read through this instrucFon sheet. • LED FIXTURE Consider having your fixture installed by a qualified licensed electrician. Note: The important safeguards and WHAT YOU’LL NEED instrucFons that appear in this sheet are not meant to cover all possible • SAFETY GLASSES condiFons and situaFons that may • WIRE CUTTERS occur. It must be understood that • AIRCRAFT CABLES (OPTIONAL, NOT INCLUDED) common sense, cauFon, and care are • SURFACE MOUNT KIT (OPTIONAL, NOT INCLUDED) factors that cannot be built into any product. These factors must be...
- Page 2 INSTALLATION OPTIONS The Flat Panel fixture can be installed via suspension (aircra_ cables), recess mount (T- bar ceilings) or surface mount (SMK kit). GENERAL WIRING DIAGRAM TO SUSPENSION MOUNT (USING AIRCRAFT CABLE) 1. Drill holes in the ceiling according to the specificaFons of your aircra_ cable suspension kit (1/4” diameter and 1 3/8” deep). 2. Insert the expanded screw into the hole and ensure the external rim is flush with the wall. 3. Thread the upper suspended rope into the hole of the flange to ensure the end cap is inside the flange. 4. Affix flange onto the ceiling by using self-tapping screws. 5. Fix the suspension cables onto the lamp. 6. Thread the other side of the upper suspension cable into the hasp. 7. Adjust the suspension cables to reach the desired height. NOTE: To ensure a safe installaFon, the end cap must be locked by a spanner.
- Page 3 TO RECESS MOUNT (USING T-BAR) Note: Please confirm the dimensions of the ceiling channel and ensure sizing matches the flat panels you are installing and double-check the load bearing of your ceiling is enough to support the fixtures. 1. Refer to the chart to ensure your ceiling meets the requirement for recessed installaFon. 2. Take the ceiling panel down (where you will be installing the flat panel fixture). 3. PosiFon flat panel downwards, Flt by 30-45˚, and insert into the ceiling channel. 4. Double-check that the lamp has been inserted correctly into the ceiling channel (there should not be more than 1/8” of space between fixture and ceiling channel).
- Page 4 TO SURFACE MOUNT (USING SMK KIT) 1. Using the pre-drilled holes, screw the L-shaped brackets to the end of each frame. 2. Next, use the screws to connect two sides of the frame together. 3. ConFnue to connect three sides of the frame together so that one side remains open. 4. Once you have three sides of the frame assembled (leaving one side open), mount the three-sided frame to the posiFon in the ceiling where you want to install the panel. 5. Next, connect the LED Flat Panel to the exisFng juncFon box, then slide it into the frame of the surface mount kit on the ceiling. 6. Screw in and the ajach the fourth side of the frame to fully enclose the LED Flat Panel. The surface mount installaFon is now complete.
Need help?
Do you have a question about the FP4 Series and is the answer not in the manual?
Questions and answers