
Subscribe to Our Youtube Channel
Related Manuals for Zanussi ZOD35661WK


Summary of Contents for Zanussi ZOD35661WK
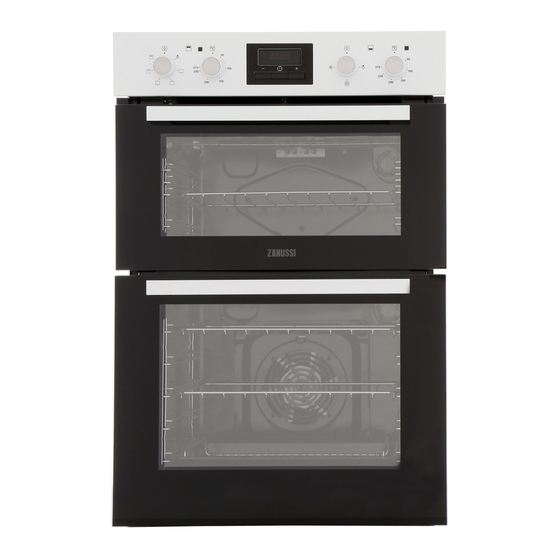
- Page 1 User Manual GETTING STARTED? EASY. ZOD35661WK ZOD35661XK EN User Manual Built-In Double Oven...
-
Page 2: Table Of Contents
VISIT OUR WEBSITE TO: Get usage advice, brochures, trouble shooter, service and repair information: www.zanussi.com/support Subject to change without notice. CONTENTS 1. SAFETY INFORMATION....................2 2. SAFETY INSTRUCTIONS....................4 3. PRODUCT DESCRIPTION..................... 6 4. CONTROL PANEL......................6 5. BEFORE FIRST USE......................7 6. - Page 3 Keep all packaging away from children and dispose of it • appropriately. WARNING: Keep children and pets away from the • appliance when it operates or when it cools down. Accessible parts become hot during use. If the appliance has a child safety device, it should be •...
-
Page 4: Safety Instructions
2. SAFETY INSTRUCTIONS 2.1 Installation Mounting screws 3.5x25 mm WARNING! Only a qualified person must 2.2 Electrical connection install this appliance. WARNING! • Remove all the packaging. Risk of fire and electric shock. • Do not install or use a damaged appliance. - Page 5 2.3 Use • This appliance is for cooking purposes only. It must not be used for other purposes, for example room heating. WARNING! • Always cook with the oven door closed. Risk of injury, burns and electric • If the appliance is installed behind a shock or explosion.
-
Page 6: Product Description
• Use only lamps with the same • Disconnect the appliance from the mains specifications. supply. • Cut off the mains electrical cable close to 2.6 Service the appliance and dispose of it. • Remove the door catch to prevent •... -
Page 7: Before First Use
To set a clock function. To set the time. 4.2 Display A. Clock functions B. Timer The display works only with the main oven. 5. BEFORE FIRST USE WARNING! Refer to Safety chapters. 5.1 Before first use The oven can emit an odour and smoke during preheating. Make sure that the room is ventilated. -
Page 8: Daily Use
6. DAILY USE WARNING! Step 2 Turn the control knob to select the tem‐ Refer to Safety chapters. perature. Step 3 When the cooking ends, turn the knobs 6.1 How to set: Heating function to the off position to turn off the oven. Step 1 Turn the knob for the heating functions to select a heating function. -
Page 9: Clock Functions
Heating function Application To defrost food (vegetables and fruit). The defrosting time depends on the amount and size of the frozen food. Defrost 7. CLOCK FUNCTIONS 7.1 Clock functions Clock function Application To set, change or check the time of day. Only the top oven works without the set time. -
Page 10: Using The Accessories
How to set: Minute Minder Step 1 - press repeatedly. - starts to flash. Step 2 - press to set the time. The function starts automatically after 5 sec. When the set time ends, the signal sounds. Step 3 Press any button to stop the signal. Step 4 Turn the knobs to the off position. -
Page 11: Additional Functions
Deep pan: Push the tray between the guide bars of the shelf support. Wire shelf, Deep pan: Push the tray between the guide bars of the shelf support and the wire shelf on the guide bars above. 8.2 Trivet and Grill- / Roasting pan Step 1 Put the trivet into a deep pan. -
Page 12: Hints And Tips
10. HINTS AND TIPS 10.2 Baking Refer to Safety chapters. For the first baking, use the lower temperature. 10.1 Double oven You can extend the baking time by 10 – 15 minutes if you bake cakes on more than one Top oven shelf position. - Page 13 Food Temperature (°C) Time (min) Shelf position Bread rolls / buns 170-180 10 - 15 Cakes: - Small & Queen 160 - 170 18 - 25 - Sponges 160 - 175 20 - 30 - Victoria Sandwich 160 - 170 18 - 25 - Madeira 140 - 150...
- Page 14 Food Temperature (°C) Time (min) Shelf position - Large 200 - 210 25 - 40 - Individual 210 - 220 15 - 25 10.5 Tips on Roasting Set the shelf into the shelf position as recommended in the grilling table. Use heat-resistant ovenware.
-
Page 15: Care And Cleaning
10.7 Defrost - Main oven Do not cover the food with a bowl or a plate, as this can extend the defrost time. Remove the food packaging and put the food on a plate. Use the first shelf position from the bottom. Food Quantity Defrosting... - Page 16 11.2 How to remove: Shelf supports Remove the shelf supports to clean the oven. Step 1 Turn off the oven and wait until it is cold. Step 2 Pull the front of the shelf support away from the side wall. Step 3 Pull the rear end of the shelf support away from the side wall and remove...
- Page 17 Step 3 Close the oven door to the first opening position (approximately 45° angle). Hold the door with one hand on each side and pull it away from the oven at an upwards angle. Put the door with the outer side down on a soft cloth on a stable surface.
-
Page 18: Troubleshooting
Product number (PNC) ......... Serial number (S.N.) ......... 13. ENERGY EFFICIENCY 13.1 Product Information and Product Information Sheet* Supplier's name Zanussi ZOD35661WK 944171716 Model identification ZOD35661XK 944171711 Top oven: 106.8 Energy Efficiency Index Main oven: 95.2 Top oven: A Energy efficiency class Main oven: A Top oven: 0.78 kWh/cycle... - Page 19 Electricity Top oven: 42 l Volume Main oven: 66 l Type of oven Built-In Oven ZOD35661WK 50.0 kg Mass ZOD35661XK 49.5 kg * For European Union according to EU Regulations 65/2014 and 66/2014. For Republic of Belarus according to STB 2478-2017, Appendix G; STB 2477-2017, Annexes A and B.
- Page 20 WWW.ZANUSSI.COM/SHOP...
Need help?
Do you have a question about the ZOD35661WK and is the answer not in the manual?
Questions and answers