
Related Manuals for Nibe AG-AA10 Series


Summary of Contents for Nibe AG-AA10 Series
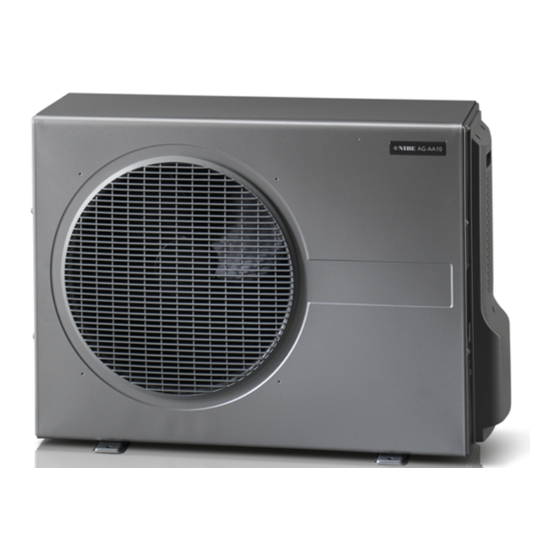
- Page 1 Installer manual AG-AA10 AG-AA10-30 Air/air heat pump AG-AA10-40/50 IHB GB 1516-1 331554...
-
Page 3: Table Of Contents
Table of Contents 1 Important information 5 Installation Safety information Model combinations Read before starting the installation Installation instructions Electrical requirements Pump down 2 Delivery and handling 6 The main functions of the valves Transport 7 Disturbances in comfort Assembly Troubleshooting Supplied components 8 Accessories... -
Page 4: Important Information Safety Information
Marking AG-AA10 is CE marked and fulfills IPX4. The CE marking means that NIBE ensures that the product meets all regulations that are placed on it based on relevant EU directives. The CE mark is obligat- ory for most products sold in the EU, regardless where they are made. -
Page 5: Read Before Starting The Installation
Tighten the cables securely. Incorrect connections ■ NIBE does not accept any responsibility for damage can cause overheating and fire. that occurs in the event of incorrect installation or im- proper maintenance. -
Page 6: Delivery And Handling
2 Delivery and handling Selection of installation location for outdoor Transport unit Take care when lifting and moving the indoor and During installation... outdoor unit. We recommend that you ask for assist- ance and bend your knees when you lift to avoid injur- ...in damp or uneven locations: ■... -
Page 7: Pipe Connections General
3 Pipe connections General Pipe length Pipe installation must be carried out in accordance with The refrigerant pipes' minimum length 1.5 m current norms and directives. The refrigerant pipes' total length with 7.5 m Only use refrigerant pipes that are seamless, degreased, standard filling deoxidized and suitable for a pressure of at least 42 bar. -
Page 8: Electrical Connections
4 Electrical connections General Connecting accessories A heat pump must not be connected without the The outdoor unit is equipped for connection of a con- ■ permission of the electricity supplier and must be densation water pipe (AG-CH10).. Connect the power connected under the supervision of a qualified elec- supply to AG-CH10 as illustrated: trician. -
Page 9: Installation
5 Installation Model combinations Installation instructions See product catalogue for further information about 1. Place the outdoor unit on a stable base raised model combinations. above the ground and secure it. Outdoor unit Indoor unit When installing stand, install screws AG-AA10-30 AG-WT10-4 downward to facilitate removal of the... - Page 10 3. Remove the side panel, then connect the supply 5. Remove burrs from the pipe ends. Turn the pipe and communication cables to the outdoor unit and ends downwards to prevent residue entering the secure them with load relief. pipe. 6.
- Page 11 7. A good upward bend must have the following 9. Insulate the pipes thoroughly and keep the pipe properties: connections free for leak testing. a smooth and even inner surface ■ Before vacuuming, leak trace the system. Fill with nitrogen to approx. 3 bar. Leak trace all connec- a uniform and even outer edge ■...
- Page 12 11. Remove the valve caps from both valves. Now start 13. Open the service valves fully (anti-clockwise direc- the vacuum pump. If damp air has entered the tion). Disconnect the vacuum pump. Reinstall the cooling pipes, flush through with dry nitrogen. caps on the valves, tighten to a torque of 20 Nm.
-
Page 13: Pump Down
2. Start the climate unit in cooling mode. When the Pump down pressure that is read out from the manometer has dropped to a value less than 0.6 bar (absolute Pump down means retrieving all refrigerant in the pressure), the low pressure valve must be closed outdoor unit without losing the system's filling. -
Page 14: The Main Functions Of The Valves
6 The main functions of the valves Action 2-way valve (service valve) 3-way valve (service valve) Delivery Valve cap CLOSED O-ring Cone Function and test of the climate unit OPEN Pressure measurement and gas filling OPEN Vacuuming with vacuum pump CLOSED The service valve on the outdoor unit that gives access to the refrigerant system is of the "Schrader"... -
Page 15: Disturbances In Comfort Troubleshooting
7 Disturbances in comfort Basic actions Troubleshooting Start by checking the following possible fault sources: NOTE That the climate unit is running or that the supply ■ cable to AG-AA10 is connected. Work behind covers secured by screws may only be carried out by, or under the supervision Group and main fuses of the accommodation. -
Page 16: Accessories
8 Accessories Condensation water pipe Condensation water pipe for leading condensation to external drain. AG-CH10-10 Length: 1000 mm Part no. 067 466 AG-CH10-30 Length: 3000 mm Part no. 067 467 AG-CH10-60 Length: 6000 mm Part no. 067 468 Ground stand Ground stand AG-GS10-1 Part no. -
Page 17: Technical Data
9 Technical data Dimensions AG-AA10-30 1/4" 3/8" AG-AA10-40/50 1/4" 3/8" (AA10-40) 1/2" (AA10-50) AG-AA10 Chapter 9 | Technical data... -
Page 18: Technical Specifications
Technical specifications AG-AA10-30 AG-AA10-40 AG-AA10-50 Output data Cooling capacity +35°C / 27°C , min/max 1370/3650 W 1010/4060 W 900/5650 W Heat capacity +7 °C / +20 °C , min/max 930/3880 W 910/4870 W 1030/5290 W Heat capacity -7 °C / +20 °C , max 2650 W 3510 W... - Page 19 AG-AA10-30 AG-AA10-40 AG-AA10-50 Recommended working range Min/max outdoor temp. during cooling -20/50 °C Min/max indoor temp. during cooling 10/32 °C Min/max outdoor temp. during heating -20/24 °C Min/max indoor temp. during heating 0/27 °C Miscellaneous Max. sound pressure level at 2 m, according to ISO 40 dB(A) 44 dB(A) 41 dB(A)
-
Page 20: Index
10 Item register Item register Accessories, 14 Pipe connections, 5 Condensation removal, 5 Delivery and handling, 4 Connecting the cooling circuit, 5 Assembly, 4 Transport, 4 Safety information Marking, 2 Electrical connection, 6 Symbols, 2 Safety precautions, 2 Supplied components, 4 Important information, 2 Symbols, 2 Electrical requirements, 3... - Page 24 37 4255 128 01 NIBE AB Sweden Hannabadsvägen 5 Box 14 SE-285 21 Markaryd info@nibe.se www.nibe.eu 331554...
Need help?
Do you have a question about the AG-AA10 Series and is the answer not in the manual?
Questions and answers