Advertisement
Quick Links
Advertisement

Related Manuals for Luxair LA 90 ANZI CM


Summary of Contents for Luxair LA 90 ANZI CM
- Page 1 Installation instruction LA 90 ANZI CM...
- Page 2 WARNING! The hood is equipped with standard fixing material. The person who is mounting the hood should make sure that the fixing elements are right and suitable for the walls and ceilings he finds. The manufacturer declines any responsibility for damages caused by incorrect mounting.
- Page 3 The slimline motor can be rotated 360° Standard installation The slimline motor is already attached to the ceiling hood,the ducting is 125mm flat channel ducting outlet from the motor and not round as shown Extra ducting parts required see ducting max 6.5 mtrs to outside section supplied...
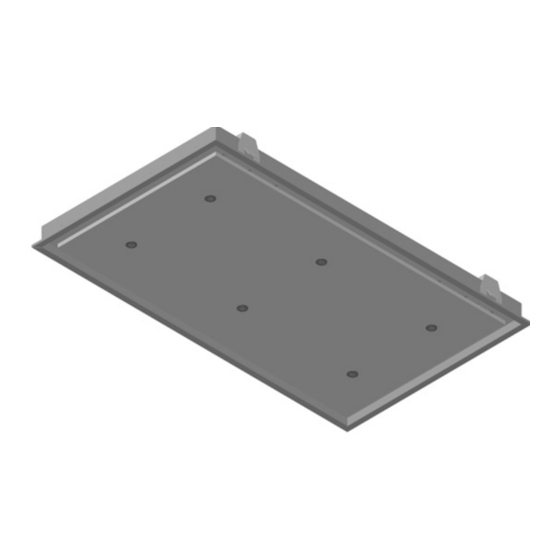
- Page 4 Removable motor installation Motor supplied Mounting Box supplied supplied Connection Plate Max 6.5 Meters 5 Meter cable supplied and connectors The above motor is connected with 125mm flat ducting, you will require a 6 meter flat ducting kit that has all the connectors and bends and includes the reducer collars The maximum height from your hob or cooker is not set in stone, however...
- Page 5 Please ensure that you have the correct fixings for the type of ceiling you are installing this hood on, we supply only screws that are satiable for timber frame joists. Never use 4" 100mm ducting on this ceiling hood as this will cause vibration and poor extraction, your warranty will be void if 4"...
- Page 6 Slimline Motor Installation Loosen the fixing brackets fig 5, these brackets will allow you to make adjustments on both height and levels. Unscrew until loose but do not remove them H+10 mm H=max 45 mm...
- Page 7 CLICK! Offer the ceiling hood to your cut out and push firmly into place, you will hear a click! (A) M 6 STOP! Now make your adjustments as necessary fig 8 (A) M 7...
- Page 8 Remove the metal grease filters to gain access to the motor and connections (A) M 8 unscrew the access panel to get access to the ducting connections (A) M 9...
- Page 9 Now connect your ducting and electric (A) M 10 Replace the access panel and grease filters Push and click the drop down panel (A) M 11...
- Page 10 Remote Motor Installation Disconnect the electrical connector by pressing the lugs and pulling apart (B) M 6 Replace the void with the ducting plate cover, supplied Unscrew the motor from the unit (B) M 7...
- Page 11 Run your ducting and electrical connection 5 mtr cable supplied and fit your ceiling hood. extra ducting connector required depending on ducting used. (B) M 8 CLICK! (B) M 9...
- Page 12 STOP! (B) M 10 Now fit the motor to the box section supplied (B) M 11...
- Page 13 Fit and secure your motor to a firm solid wall or timber, please ensure your ducting to the outside wall is kept as short as possible ducting direction (B) M 12 outlet to outside Reconnect the cable Inlet from cooker hood (B) M 13...
- Page 14 Operating the remote control Operation of your remote control 1. ensure the power to your hood is switched off. 2. press and hold the + key on the remote fob and point it to your cooker hood. 3. keeping the + key help down, now turn the power back on to your hood.
Need help?
Do you have a question about the LA 90 ANZI CM and is the answer not in the manual?
Questions and answers