Advertisement
Quick Links
POWERSPORTS
BK200
ASSEMBLY INSTRUCTIONS
PLEASE NOTE THAT THIS IS NOT THE OWNER'S MANUAL
BUT THE ASSEMBLY INSTRUCTIONS ONLY.
BEFORE OPERATING THIS GO-KART, MAKE SURE THE
OPERATOR HAS READ AND UNDERSTANDS THE
OWNER'S MANUAL, WARNING LABELS AND IS FAMILIAR
WITH ALL OF THE GO-KART CONTROLS. FOR
QUESTIONS REGARDING THE ASSEMBLY OF THIS
GO-KART PLEASE CALL COLEMAN POWERSPORTS
(888) 405-8725
070719
Advertisement

Related Manuals for Coleman BK200


Summary of Contents for Coleman BK200
- Page 1 BEFORE OPERATING THIS GO-KART, MAKE SURE THE OPERATOR HAS READ AND UNDERSTANDS THE OWNER’S MANUAL, WARNING LABELS AND IS FAMILIAR WITH ALL OF THE GO-KART CONTROLS. FOR QUESTIONS REGARDING THE ASSEMBLY OF THIS GO-KART PLEASE CALL COLEMAN POWERSPORTS (888) 405-8725...
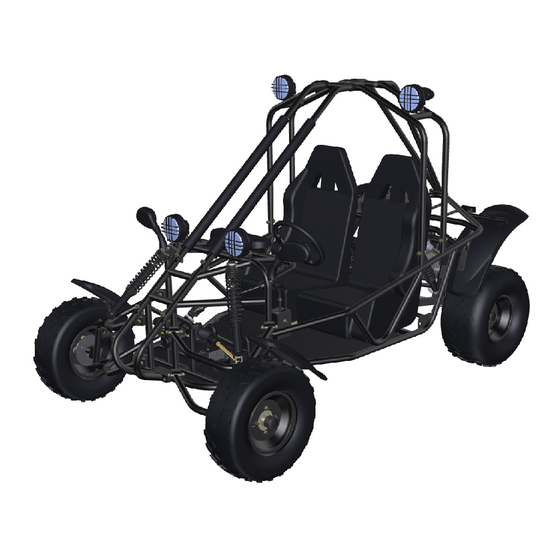
- Page 2 PARTS Front Bumper Center Brush Guard (A) Front Brush Guards (B) Front Fenders Rear Brush Guard (C) Hub Caps Mirrors packet with hardware Front Wheels 1. Lift the front of the Kart with a jack. Place jack stands or a bucket under kart to lift front end so fenders and wheels can be installed.
-
Page 3: Front Fenders
FRONT FENDERS Hardware: M6 X 20 BOLTS (1) M6 Lock Nuts (2) 1. Locate the fender attachment holes on the A-Arm spindle assembly. 2. Attach bottom of fender bracket to attach- ment holes with Bolts (1) and Lock nuts (2) -
Page 4: Front Wheels
FRONT WHEELS Hardware: M10 Flat Washers (1) M10 Lock Nuts (2) 1. Install front wheels with tread pattern on tire facing forward. Valve stem should be on the outside of tire. Tread pattern facing forward on top of tire Valve stem 2. - Page 5 BRUSH GUARD, BUMPER Hardware: M8 x 55 Bolts (1) M8 x 15 Bolts (2) M8 Concave Washers (3) M8 Lock Nuts (4) NOTICE: FOR EASE OF ASSEMBLY, DO NOT TIGHTEN ANY BOLTS UNTIL ALL PARTS ARE IN PLACE 1. Install center brush guard support (A) Use bolts (1) Concave washers (4) and lock nuts (3)
- Page 6 BRUSH GUARD, BUMPER (CONT.) 3. Install rear brush guard support (C). On top of brush guard use bolts (1) and concave washers (4). On bot- tom of brush guard use bolts (2) 4. Tighten all bolts once brush guard is installed. 5.
- Page 7 MIRRORS Hardware: M8 Allen head bolts (1) M8 Lock washers (2) M8 Flat washers (3) M8 Lock nuts (4) Mirror bolt cover plugs (5) 1. Install mirrors to the mirror bracket with Mirror hardware in the following order. Allen head bolt (1), lock washer (2), mirror, flat washer (3), lock nut (4) .
-
Page 8: Pre-Ride Inspection
PRE-RIDE INSPECTION WHAT TO CHECK FOR Inspecting and checking the CHECK condition of the Go Kart Steering • Smoothness before each ride is important. • No restriction of Following the pre-ride check movement list will help insure the you do Brakes •... - Page 9 WARNING Never Attempt to start this Go-Kart without reading and understanding the Owner’s/Operator’s manual. The Owner’s/Operator’s manual provides information on safety, parts, functions, pre-ride inspection, starting and maintenance. Powersports Phone: 888-405-8725 Colemanpowered.com...
Need help?
Do you have a question about the BK200 and is the answer not in the manual?
Questions and answers