Hub Controls HUB Controller Installation Manual
Hide thumbs
Also See for HUB Controller:
- Installation manual (12 pages) ,
- Installation manual (12 pages)
Table of Contents
Advertisement
Advertisement
Table of Contents

Related Manuals for Hub Controls HUB Controller

Summary of Contents for Hub Controls HUB Controller
- Page 1 HUB Controller Installation Guide the 5-minute installation c o n t r o l s...
-
Page 2: Table Of Contents
Contents 1. Technical Specifications 2. Box Contents 3. Compatibility 4. Installation Methods a. 2-wire mode b. 3-wire mode 5. Electrical Diagrams 6. Safety 7. Setup 8. Warranty c o n t r o l s... -
Page 3: Technical Specifications
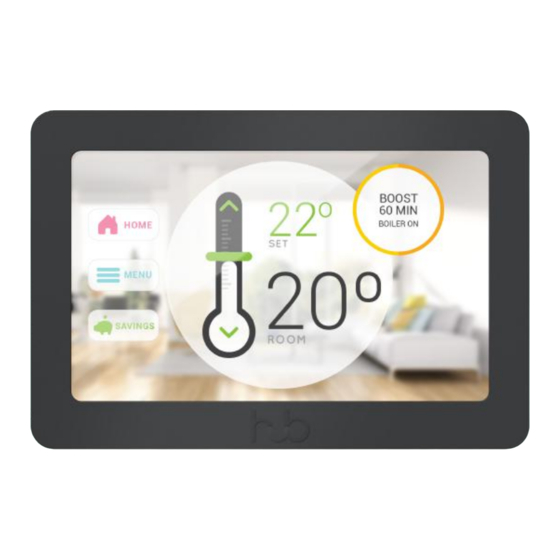
Technical Specifications 88mm 129mm 32mm Screen Wireless and Security · TFT LCD resistive touch screen · Self-contained ultra-low power Wi-Fi · Resolution: 800 x 480px module · 5in (12.7cm) diameter · IEEE Wi-Fi 802.11 b/g/n Wi-Fi transceiver · 802.11g: up to 54 Mbps Size and Weight ·... -
Page 4: Box Contents
Box Contents This is everything you will need to install the HUB Controller: HUB Display HUB Base Plate Child Safety Tool Quick Start Installation Instructions HUB Screwdriver Screws Washer Quick Start Guide c o n t r o l s... -
Page 5: Compatibility
Compatibility The HUB Controller was built to directly replace any mechanical thermostat. To check the HUB Controller’s compatibility with a heating system: Mechanical Thermostat The HUB Controller can replace any mechanical thermostat, regardless of the fuel type. Programmer or Timer Clock... -
Page 6: Installation Methods
Installation Methods Depending on the heating system, the HUB Controller can be installed in two di erent ways: a. 2-wire mode - go to page 6 b. 3-wire mode - go to page 7 WARNING: High voltage. NOTE: The HUB Controller should be installed by a professional. -
Page 7: 2-Wire Mode
CLICK 5. Connect the HUB Display to the base 6. The HUB Controller will start plate aligning the display with the right automatically so follow the on screen side of the base plate. Once done, push the instructions to proceed to setup. -
Page 8: 3-Wire Mode
CLICK 5. Connect the HUB Display to the base 6. The HUB Controller will start plate aligning the display with the right automatically so follow the on screen side of the base plate. Once done, push the instructions to proceed to setup. -
Page 9: Electrical Diagrams
Electrical Diagrams 2-wire mode V1 L 3-wire mode N V1 L c o n t r o l s... -
Page 10: Safety
Safety The only way to take the HUB Controller o the wall is by using the HUB Child Safety Tool. To remove the HUB o the wall: 1. Place the Child Safety Tool on the le side of the HUB Controller. Make sure that the two teeth align with the release buttons. -
Page 11: Setup
Setup A er the installation is complete, the HUB Controller will start automatically. 1. Select the network The HUB Controller The device will begin to scan the will operate on its home for wireless networks. Once own without being the HUB has discovered all the connected to Wi-Fi. -
Page 12: Warranty
This warranty does not cover removal or re-installation costs. This warranty will not apply if it is shown by HUB Controls that the defect or malfunction was caused by damage which occurred while the product was in the possession of the consumer through: i) accident, abuse, or misapplication;... - Page 13 Recycle your old thermostat. Please recycle the HUB Controller’s packaging. EU Declaration of Conformity HUB Controls Ltd. Hereby declares that the HUB Controller is in compliance with the essential requirements and other relevant provisions of Directives 1999/5/EC, 2006/95/EC, 2004/108/EC. c o n t r o l s...
Need help?
Do you have a question about the HUB Controller and is the answer not in the manual?
Questions and answers