Hub Controls HUB Controller Installation Manual
Smart thermostat
Hide thumbs
Also See for HUB Controller:
- Installation manual (12 pages) ,
- Installation manual (13 pages)
Advertisement
Advertisement
Table of Contents

Related Manuals for Hub Controls HUB Controller


Summary of Contents for Hub Controls HUB Controller
- Page 1 Installation guide Smart Thermostat Reduce your home energy bills Works on all heating systems Control on the go - Smartphone compatible...
-
Page 2: Table Of Contents
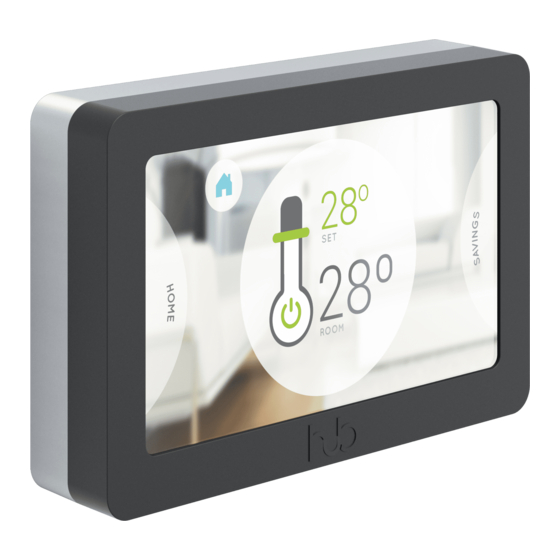
Contents Technical specifications Compatibility Replacing a mechanical thermostat Wiring diagram single zone Wiring diagram two zones Wiring diagram three zones Replacing a time clock Wiring diagram single zone Installation steps Setup Alternative installation modes Switching a pump In parallel with a time clock Troubleshooting... - Page 3 Temperature sensor range and accuracy: 0°- 65° ± 1.0°C Depth: 1.29 in (32.75mm) Box Contents This is everything you can find HUB display Screwdriver in the Hub Controller box. HUB back plate Screws Screwdriver Washer Child-safe removal tool Quick start guide...
-
Page 4: Compatibility
Compatibility The HUB Controller was built to directly replace the existing heating controls. It measures room temperature and allows the user to modify operation and set point temperature. It can be installed in any household with an individual heating system. The HUB Controller can replace:... -
Page 5: Replacing A Mechanical Thermostat
The HUB Controller can replace any mechanical thermostat, regardless of the fuel type. Mechanical thermostats usually only use 2 wires and the HUB Controller has been designed to work specifically in this situation. It has a rechargeable battery that is powered by the existing 2 wires on the wall. -
Page 6: Wiring Diagram Two Zones
N connector. Wiring diagram three zones brown 230 V~ 50Hz valve brown time clock cylinder stat valve NOTE: In case of fitting the HUB Controller in a multizone system, you will need a HUB Controller per zone. -
Page 7: Replacing A Time Clock
Replacing a time clock In a heating system without a thermostat, the HUB Controller can replace a time clock or a programmer. Because the existing time clock/programmer is directly controlling a boiler or a pump, there is always a neutral wire. In this case, the neutral wire must be connected to the N connector. -
Page 8: Installation Steps
Turn on the mains electrical power. aligning the display with the right side of the base plate. Then push the left side into place until it ‘clicks’. The HUB Controller will start auto- matically, so follow the on-screen instructions to proceed to setup. -
Page 9: Setup
Setup After the installation is complete, the HUB Controller will start automatically. Step 1 Step 2 Select the network Enter the network details The device will begin to scan for wireless Once the Wi-Fi network has been selected, type in networks. -
Page 10: Alternative Installation Modes
Alternative installation modes Switching a pump 230 V~ | 50Hz time clock pump IMPORTANT! Connecting the HUB directly to a pump requires use of neutral wire. In parallel with a time clock 230 V~ 50Hz time clock boiler NOTE: Put your programmer or clock to always off. - Page 11 Troubleshoot How to test a power supply WARNING! HIGH VOLTAGE! 230V Measuring the voltage After you turn on the mains electrical power, check voltage 230 V AC between L & N. 50mA Measuring the current in 2-wire system Measuring the current in 3-wire system The switching current between L &...
- Page 12 hubcontroller.com Happy to help. Tel +353 1 908 1771 support@hubcontrols.com...
Need help?
Do you have a question about the HUB Controller and is the answer not in the manual?
Questions and answers