Advertisement
Quick Links
Quick Start Guide
MicroHAWK ID-20 / ID-30 / ID-40 / ID-45
Copyright ©2019 Omron Microscan Systems, Inc.
Step 1 — Check Hardware
Note: Full configuration diagrams are available in the MicroHAWK ID-20 / ID-30 / ID-40 / ID-45 Configuration Guide.
Item Description
1
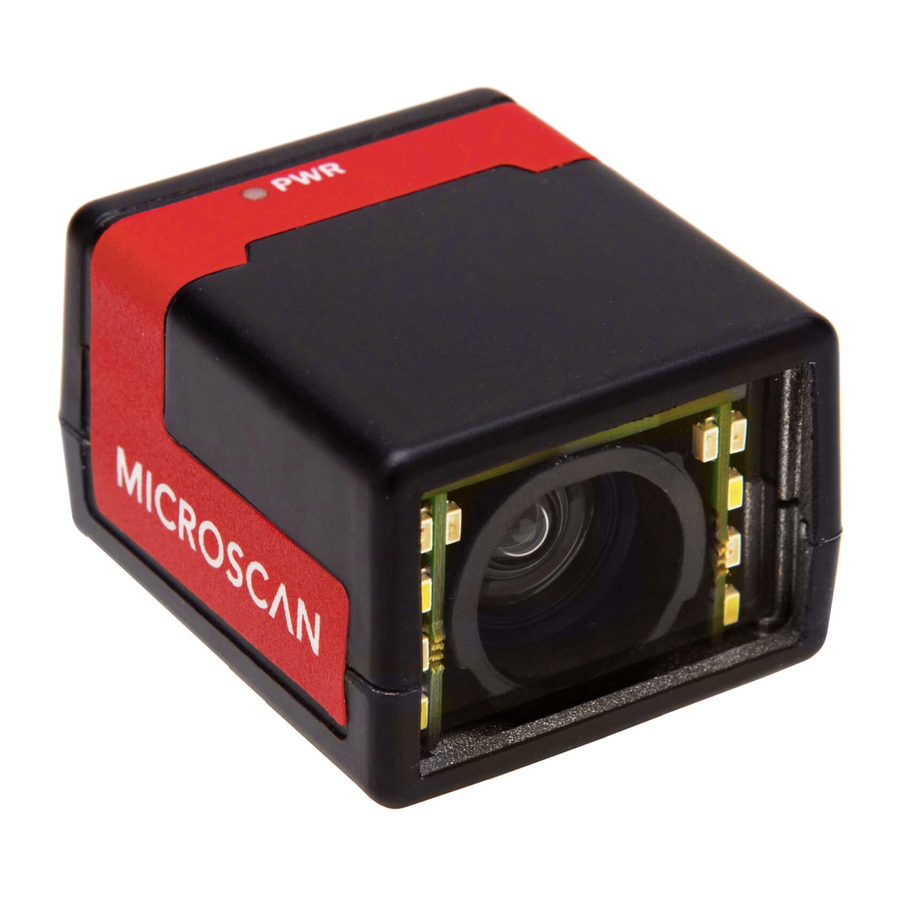
MicroHAWK ID-20, MicroHAWK ID-30, MicroHAWK ID-40, or MicroHAWK ID-45 7AXY-YZZZ-LPPP
2
Cable, USB A to Micro B, 6 ft., ID-20
3
Cable, USB A to Micro B, 3 ft., ID-20
4
Power Supply, 5V
5
Cable, DB15 to Ext. Power/USB, ID-30
6
Power Supply, 100-240VAC, +24VDC, M12 12-Pin Socket
7
Cordset, Host, Ethernet, M12 8-Pin Plug (Screw-On) to RJ45, 1 m.
Step 2 — Connect the System
To Host
2 or 3
USB Type A
Micro-USB
Plug
Type B Plug
ID-20 – Standalone USB Configuration
5
Accessory
USB Cable
To Host
to Host
Note: An accessory USB
4
cable is required between
the 15-pin corner-exit cable
Power Supply
and the host's USB port.
Note: There are two USB connection options – one is BUS-powered
and the other is externally powered. BUS-powered cable delivers
reduced illumination – approximately 30% less brightness.
ID-30 – Standalone USB Configuration
Note: The ID-40 can be configured as an RS-232 reader with the QX-1 Interface Device.
See the MicroHAWK ID-20 / ID-30 / ID-40 / ID-45 Configuration Guide for more detail.
To Power
6
7
To Host
ID-40 – Standalone Ethernet Configuration
Important: Cabling and hardware configuration for the MicroHAWK ID-45 is similar to the MicroHAWK
ID-40. See the MicroHAWK ID Configuration Guide, MicroHAWK ID-40 Specification Sheet, and
MicroHAWK ID-45 Specification Sheet for more information.
Step 3 — Mount and Position the Reader
• Position the reader several inches from the symbol. You may need to reposition the reader a few
times to find the ideal distance.
• Tip the reader relative to the symbol to avoid the glare of direct (specular) reflection.
• Symbols can be rotated (tilted) at any angle; however, for best results symbols should be aligned
with the field of view. In the case of linear symbols, aligning the bars in the direction of their movement
(ladder orientation) will minimize the chances of blurring and will result in more consistent decodes.
Important: Avoid excessive skew or pitch. Maximum skew is ±30°; maximum pitch is ±30°. The
illustration below shows approximate skew axis, pitch axis, and tilt axis.
P/N 83-9137234-02 Rev E
Step 4 — Install WebLink Drivers (ID-20 and ID-30)
1. Plug the reader into a USB port and wait for the AutoPlay dialog to appear.
2. Click Open folder to view files and double-click the Double-Click Here.bat batch file.
Part Number
3. At the command prompt, select option 1 and then type Enter. VCOM and USBLAN drivers are installed.
4. At the command prompt, select option 2 to install the WebLink and FTP drive shortcuts. WebLink
and MicroHAWK FTP drive shortcut icons will appear on the desktop.
61-9000034-01
5. When installation of the drivers and shortcuts is complete, unplug the reader from the USB port.
61-9000045-01
6. Re-plug the reader into the USB port and wait for the reader to reboot and to enter read mode (LEDs ON).
97-9000006-01
7. Double-click the WebLink desktop shortcut. WebLink will load and start (See Step 5 – Connect to
61-9000038-01
WebLink.)
97-000012-01
8. Double-click the FTP drive shortcut and log in with username: target and password: password.
61-000160-03
9. The FTP drive is opened so you can access additional resources and installers in the Tools and
Documentation folder.
You are now ready to use the MicroHAWK ID-20 or ID-30 with WebLink.
Minimum System Requirements
• Intel® Core™2 Duo Processor
• Microsoft Windows 7 (32-bit)
• Internet Explorer 11 or higher, Microsoft Edge, Mozilla Firefox, Opera, Safari (Mac)
• 1GB/128MB Video RAM
1
• 750MB hard drive space
• 16-bit color display
• 3.0 Windows Experience Index
• Web sockets
• HTML5 Canvas and HTML5 Audio
Recommended System Requirements
®
• Intel
• Microsoft Windows 10 (64-bit) or Microsoft Windows 7 (64-bit)
Integrated
• Google Chrome, current version
Corner-Exit
• 2GB RAM/128MB Video RAM
Cable
• 1GB hard drive space
• 32-bit color display
• 4.0 Windows Experience Index
• Web sockets
• HTML5 Canvas and HTML5 Audio
1
Step 5 — Connect to WebLink (ID-20 and ID-30)
When you double-click the WebLink desktop shortcut or enter the reader's IP address directly in the
address bar of your web browser, WebLink will load and start.
Type http://192.168.188.2
(the default IP address) in the
1
web browser's address bar.
The WebLink session will
begin shortly after you enter
the reader's IP address.
Core™i3 Duo Processor
Step 6 — Connect to WebLink (ID-40 and ID-45)
MicroHAWK ID-40 and ID-45 (Static Connection)
1. Navigate to Control Panel > Network and Sharing Center on your PC.
2. Click Local Area Connection 4. In the Status dialog, click Properties.
3. In the Local Area Connection Properties dialog, select Internet Protocol Version 4 (TCP/IPv4)
and click Properties again. Set your PC to a 192.168.188.X IP address (192.168.188.5, for example).
4. Click OK.
5. Open a web browser and type the reader's default IP address (http://192.168.188.2) in the web
browser's address bar.
The reader will connect to WebLink.
MicroHAWK ID-40 and ID-45 (DHCP Network Connection)
1. Plug your reader into the your network adapter.
2. Open ESP Software and connect to the reader via Ethernet TCP/IP.
3. Click Search to find the reader. When the reader appears in the field below the Search and Send
buttons, select it.
4. Change the reader from Static to DHCP and click Send and Save. The camera will reboot and ESP
will search for the reader again.
5. When the reader is found, note the new IP address that is generated.
6. Open a browser and type the new IP address.
WebLink will load.
Step 7 — Explore the Start View
The Start view is the initial view you will see when the WebLink session begins. The connected reader is
shown, along with its user-defined name (must be 19 characters or fewer), IP address, Reader Model,
Serial Number, MAC ID, Firmware Version, Sensor, Optics, Decoder, and Speed. This view allows
you to choose Assisted Setup, to Create a New Setup, or to Load a Setup.
Refer to WebLink Help for information about Advanced Settings and Terminal functionality.
Step 8 — Create a New Setup or Load an Existing Setup
Assisted Setup
When you click the Assisted Setup button in the Start view, a dialog will appear asking you a series of
application-based questions. Based on your answers, WebLink generates your initial setup automatically.
Once the setup is created, you can fine-tune its parameters in the Setup view.
Create a New Setup
The Start view also allows you to create a New Setup without using Assisted Setup. When you click
the Create a New Setup button, WebLink searches for any differences from default in the reader
parameters. If no differences from default are found, you will see the Setup view. If differences from
default are found, an alert will appear asking if you want to restore default settings.
Load a Setup
Select Load Setup to load an existing .json WebLink setup file. You can also load an .esp or .txt file from
Omron Microscan's ESP Software.
Click the gear icon to show Save,
New, Load, Advanced, Language,
Terminal, Beeper, Guided Tour,
Image Storage, Restore Default
Settings, Manage Login, Enable
USB Drive Mode (when using an
ID-20 or ID-30), WebLink Branding
Utility, and About WebLink.
Advertisement

Subscribe to Our Youtube Channel
Related Manuals for Omron Microscan MicroHAWK ID-20


Summary of Contents for Omron Microscan MicroHAWK ID-20
- Page 1 1. Plug the reader into a USB port and wait for the AutoPlay dialog to appear. Note: Full configuration diagrams are available in the MicroHAWK ID-20 / ID-30 / ID-40 / ID-45 Configuration Guide. 2. Click Open folder to view files and double-click the Double-Click Here.bat batch file.
- Page 2 Clicking the Save icon at the upper right saves current settings to the reader’s flash memory so the Important: See the MicroHAWK ID-20 / ID-30 / ID-40 / ID-45 User Manual for information about Omron settings will be available when the reader is rebooted.
Need help?
Do you have a question about the MicroHAWK ID-20 and is the answer not in the manual?
Questions and answers