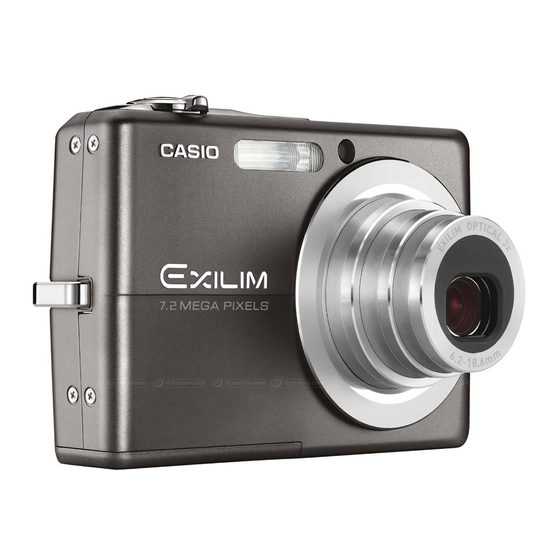
Casio EX-Z700 Basic Reference
Hide thumbs
Also See for EX-Z700:
- User manual (247 pages) ,
- Brochure (32 pages) ,
- User manual (247 pages)
Advertisement
Quick Links
ENGLISH
Basic Reference
EX-Z700
Congratulations on your selection of the CASIO EX-Z700
Digital Camera! This Basic Reference provides you with the
general information you need to start using the EX-Z700.
For more detailed information, see the EX-Z700 User's
Guide, which is in digital form as a PDF file on the CD-
ROM that comes bundled with the EX-Z700. Note that to
view the EX-Z700 User's Guide, you will have to install
R
Adobe
Reader. Consult your dealer or CASIO distributor if
you are unable to open to display the PDF format User's
Guide on the CD-ROM.
• Be sure to keep all user documentation handy for future
reference.
CONTENTS
Unpacking ......................................................... E-2
Quick Start Guide ............................................. E-3
General Guide ................................................... E-7
Monitor Screen Contents .............................. E-11
Menu Reference ............................................. E-15
Troubleshooting ............................................. E-17
Precautions ..................................................... E-18
E-1
Advertisement

Related Manuals for Casio EX-Z700


Summary of Contents for Casio EX-Z700
-
Page 1: Table Of Contents
For more detailed information, see the EX-Z700 User’s Guide, which is in digital form as a PDF file on the CD- ROM that comes bundled with the EX-Z700. Note that to view the EX-Z700 User’s Guide, you will have to install Adobe Reader. -
Page 2: Unpacking
Unpacking Check to make sure that all of the items shown below are included with your camera. If something is missing, contact your dealer as soon as possible. Rechargeable Lithium Ion USB Cradle Camera Strap Battery (NP-40) (CA-29) CD-ROM USB Cable AV Cable Basic Reference * The shape of the AC... -
Page 3: Quick Start Guide
Quick Start Guide First, charge the battery! Load the battery into the camera. Place the camera onto the USB cradle to charge the battery. • It takes about 180 minutes to achieve a full charge. USB cradle Stopper AC adaptor AC power cord [CHARGE] lamp Charging: Lights red... - Page 4 To configure display language and clock settings • Be sure to configure the following settings before using the camera to record images. Press the power button to turn on the camera. • If you make a mistake when setting the language or clock with the following procedure, you will Use [ ], [ ], [ ], and [ ] to select the language you need to use the camera’s menu to individually...
- Page 5 To record an image Auto recording icon Press [ ] (REC). • This enters the REC (recording) mode. Point the camera at the subject, use the monitor screen to compose the image, and then press 06/12 12/24 the shutter button half way. 12 : 38 •...
- Page 6 To view a recorded image To delete an image 2, 3, 4, 5 Press [ ] (PLAY). Press [ ] (PLAY). • This enters the PLAY (playback) mode. Press [ ] ( Use [ ] and [ ] to scroll through the Use [ ] and [ ] to display the image you want to images.
-
Page 7: General Guide
Shutter button General Guide Power button The following illustrations show the names of each Microphone component, button, and switch on the camera. AF assist light/self-timer lamp • Assists the Auto Focus operation whenever you are shooting where lighting is dim. Camera •... - Page 8 I Back [ ][ ][ ][ ] • [ ] ( ) (Flash/Delete) button REC mode: Cycles through the flash mode settings. : Auto Flash : Flash Off : Flash On : Soft Flash : Red-eye reduction PLAY mode: Displays the delete menu. •...
- Page 9 I Bottom USB cradle I Front Stopper Memory card slot Battery compartment Battery cover Tripod screw hole * Use this hole when attaching to a tripod. Connector When you place the camera onto the USB cradle, make sure the USB cradle’s camera connector enters this connector.
- Page 10 I Back [DC IN 5.3V] (AC adaptor connector) Connects the bundled AC adaptor here. [AV OUT] (AV output port) Connects the AV cable here. The other end of the AV cable connects to a TV. ] (USB port) Connects the special USB cable here. The other end of the USB cable connects to a computer’s USB port.
-
Page 11: Monitor Screen Contents
Monitor Screen Contents The monitor screen uses various indicators and icons to keep you informed of the camera’s status. • Note that the example screens in this chapter are for illustrative purposes only. They do not exactly match the screen contents actually produced on the camera. - Page 12 Metering mode indicator ISO sensitivity NOTE None Multi • An out of range aperture, shutter speed, or ISO Aperture value sensitivity setting causes the corresponding monitor Center Weighted Shutter speed value screen value to turn amber. Spot Date and time •...
- Page 13 PLAY Mode Digital zoom indicator PLAY mode file type Folder name/File name Example : When a file named Snapshot Zoom indicator CIMG0023.JPG is stored in a folder Movie • Left side indicates optical zoom. named 100CASIO • Right side indicates digital zoom. Audio Snapshot 100-0023 Voice Recording...
- Page 14 Flash mode indicator IMPORTANT! • Snapshots: Image Size • Movies: Image quality Flash On • Some information may not display properly if you : High Quality Flash Off display an image that was recorded using a different NORMAL : Normal : Long Play digital camera model.
-
Page 15: Menu Reference
Menu Reference Review On / Off Icon Help On / Off The following shows lists of menus that appear in the REC Memory BEST SHOT: On / Off mode and the PLAY mode, and their settings. Flash: On / Off •... - Page 16 G Quality Tab Menu G Set Up Tab Menu 7M (3072 × 2304) / 7M (3:2) (3072 × 2048) / Size Screen Auto 2 / Auto 1 / +2 / +1 / 0 5M (2560 × 1920) / 3M (2048 × 1536) / Sounds Startup / Half Shutter /Shutter / Operation / 2M (1600 ×...
-
Page 17: Troubleshooting
I PLAY Mode Troubleshooting G PLAY Tab Menu • Camera suddenly shuts off. Auto Power Off activated to turn off power. Turn Slideshow Start / Images / Time / Interval / Effect / power back on again. Cancel • Auto Focus does not seem to focus correctly. Calendar –... -
Page 18: Precautions
Data Error Precautions Precautions Note the following precautions, which apply any time the Handling Precautions operation lamp continues to flash green immediately after camera power is turned off. • The camera may become slightly warm during use. This • Never remove the memory card. is normal and does not indicate malfunction. - Page 19 • Other company, product and service names used herein international contracts. may also be trademarks or service marks of others. • CASIO COMPUTER CO., LTD. assumes no responsibility for any damage or loss resulting from the use of this manual.
Need help?
Do you have a question about the EX-Z700 and is the answer not in the manual?
Questions and answers