Table of Contents
Advertisement
Quick Links
Advertisement
Table of Contents

Related Manuals for FEC AM-1022 Series


Summary of Contents for FEC AM-1022 Series
- Page 1 User’s Manual Aer Monitor AM-1022 User Manual V0.2 December 1, 2016...
- Page 2 User’s Manual Copyright Notice This document is copyrighted, © 2014. All rights are reserved. Firich Enterprises Co., Ltd reserves the right to make improvements of the product described in this manual at any time without notice. No part of this manual may be reproduced, copied, translated, or transmitted in any form or by any means without the prior written permission from Firich Enterprise Co., Ltd.
- Page 3 User’s Manual Revision Record Date Version Description Note August 8,2015 Draft Elio Chen December 1,2016 Add Stand Installation Elio Chen...
- Page 4 User’s Manual Safety Precaution Please observe the following precautions to ensure safe use of equipment. 1. Disconnect the equipment from AC outlet before cleaning. Use only moist cloth (with water). Do not use detergent. 2. Power outlet must be easily accessible and near the equipment. 3.
-
Page 5: Table Of Contents
User’s Manual Introduction 1.2 Overview Dimension I/O Connectivity Packing List 2.1 Hardware Installation 2.1.1 Automatic adjusting the monitor resolution..............5 2.1.2 Cable and Cabling ....................6 2.1.3 Wall Mount Installation ................... 7 2.1.4 Stand Installation ....................9 2.2 Hardware Setup 2.2.1 OSD Usage ...................... - Page 6 User’s Manual 5.1 Troubleshooting...
-
Page 7: Introduction
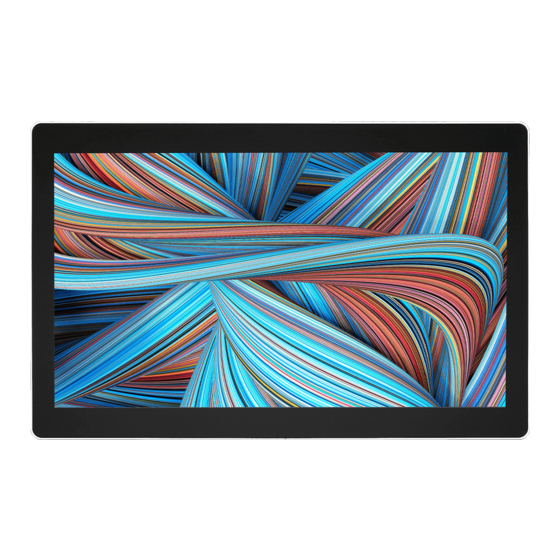
AM-1022 is a 21.5 inch bezel free monitor which is in die-cast aluminum chassis that withstands harsh environments. With easy access on screen display controls, users can adjust the settings easily and can be congruence with the FEC AerPOS Terminal Series. -
Page 8: Overview
User’s Manual 1.2 Overview 22” Touch Display 22” Touch Display Power Switch (OFF / Red ; ON / Blue) Panel Mount (M4) 100 mm 100 mm 100 mm SATA Storage 75 mm VESA Mount (M4 x 8) 100 mm SATA Storage 75 mm Speakers Speakers... -
Page 9: Dimension
User’s Manual 1.3 Dimension H: 338.05mm 49 mm W: 530.05mm 90∘ 395 mm 220 mm 220 mm... -
Page 10: I/O Connectivity
User’s Manual 1.4 I/O Connectivity 1.5 Packing List Standard Optional AM-1022 DVI Cable Power Adapter (50w) AC Power Cord VGA Cable USB A Type-B Type Cable... -
Page 11: Hardware Installation
User’s Manual CHAPTER 2 2.1 Hardware Installation SWITCH OFF POWER AND UNPLUG POWER CORD BEFORE 2.1.1 Automatic adjusting the monitor resolution. -
Page 12: Cable And Cabling
User’s Manual 2.1.2 Cable and Cabling As the picture shown below, the cables are DC cable 5.5mm, USB Type B cable, VGA cable, DVI cable, and phone jack 3.5mm cable from left to right. -
Page 13: Wall Mount Installation
User’s Manual 2.1.3 Wall Mount Installation 1. Prepare the AM-1022 and the wall mount kit. 2. Set up the wall mount kit on AM-1022 and tighten four M4 x 8 screws. 3. Set up another part of wall mount kit on the wall with four self-tapping screws. - Page 14 User’s Manual 4. Assembly two parts of wall mount kit. 5. Tighten the hand screw on the top of wall mount kit.
-
Page 15: Stand Installation
User’s Manual 2.1.4 Stand Installation 1. Prepare the PP-8632, one stand, four M4 x 8 screws, and screwdriver. 2. Tighten four screws on the back cover. - Page 16 User’s Manual...
-
Page 17: Hardware Setup
User’s Manual 2.2 Hardware Setup 2.2.1 OSD Usage 21.5” Touch Display 22” Touch Display Function Power Down Menu *Attention: Hold about 5 seconds then power button & menu button works. -
Page 18: Osd Menu
User’s Manual 2.2.2 OSD Menu You can see the menu shown below when touch menu button for 5 seconds. Auto Setup Auto adjustment (only in Analog signal) Brightness Bright adjustment Contrast Contrast adjustment Display Adjust (only in Analog signal) Color Temp. RGB color adjustment Language Language Select... -
Page 19: Software Installation And Setup
User’s Manual CHAPTER 3 3.1 Software Installation and Setup Please download drivers and utilities from http://home.eeti.com.tw/drivers_Win.html 3.1.1 Touch Utility - Mouse Mode Setting 1. Download drivers from http://home.eeti.com.tw/drivers_Win.html 2. Run Setup.exe... - Page 20 User’s Manual 3. It means finished that “beeps” when you touch the monitor.
-
Page 21: Specifications
User’s Manual CHAPTER 4 4.1 Specifications AM-1022 SKU AM-1022C3 AM-1022C5 AM-1022K5 Panel TFT-LCD Viewable Size 21.5 inch Display Area 476.64 mm(H) x 268.11 mm(V) Bezel Free Bezel Free Bezel Free Touch P-Cap touch GG P-Cap touch GG P-Cap touch GG Display LED / 30K hours... - Page 22 User’s Manual CHAPTER 5 5.1 Troubleshooting This guide is for people with strong knowledge in computing hardware Touch Panel does not work Check the connection between touch panel and touch controller HID USB touch device is detected by O/S (P-Cap) P-Cap touch is detected by O/S or try reinstallation (P-Cap touch calibration) reboot the system and P-Cap touch will calibrate automatically OSD Buttons do not work...
Need help?
Do you have a question about the AM-1022 Series and is the answer not in the manual?
Questions and answers